Game version and evidence: Route coverage: the documented Patch 1.0.10 progression baseline. Follow the objective and item names shown in your game; these notes do not claim a new playtest of the current patch.
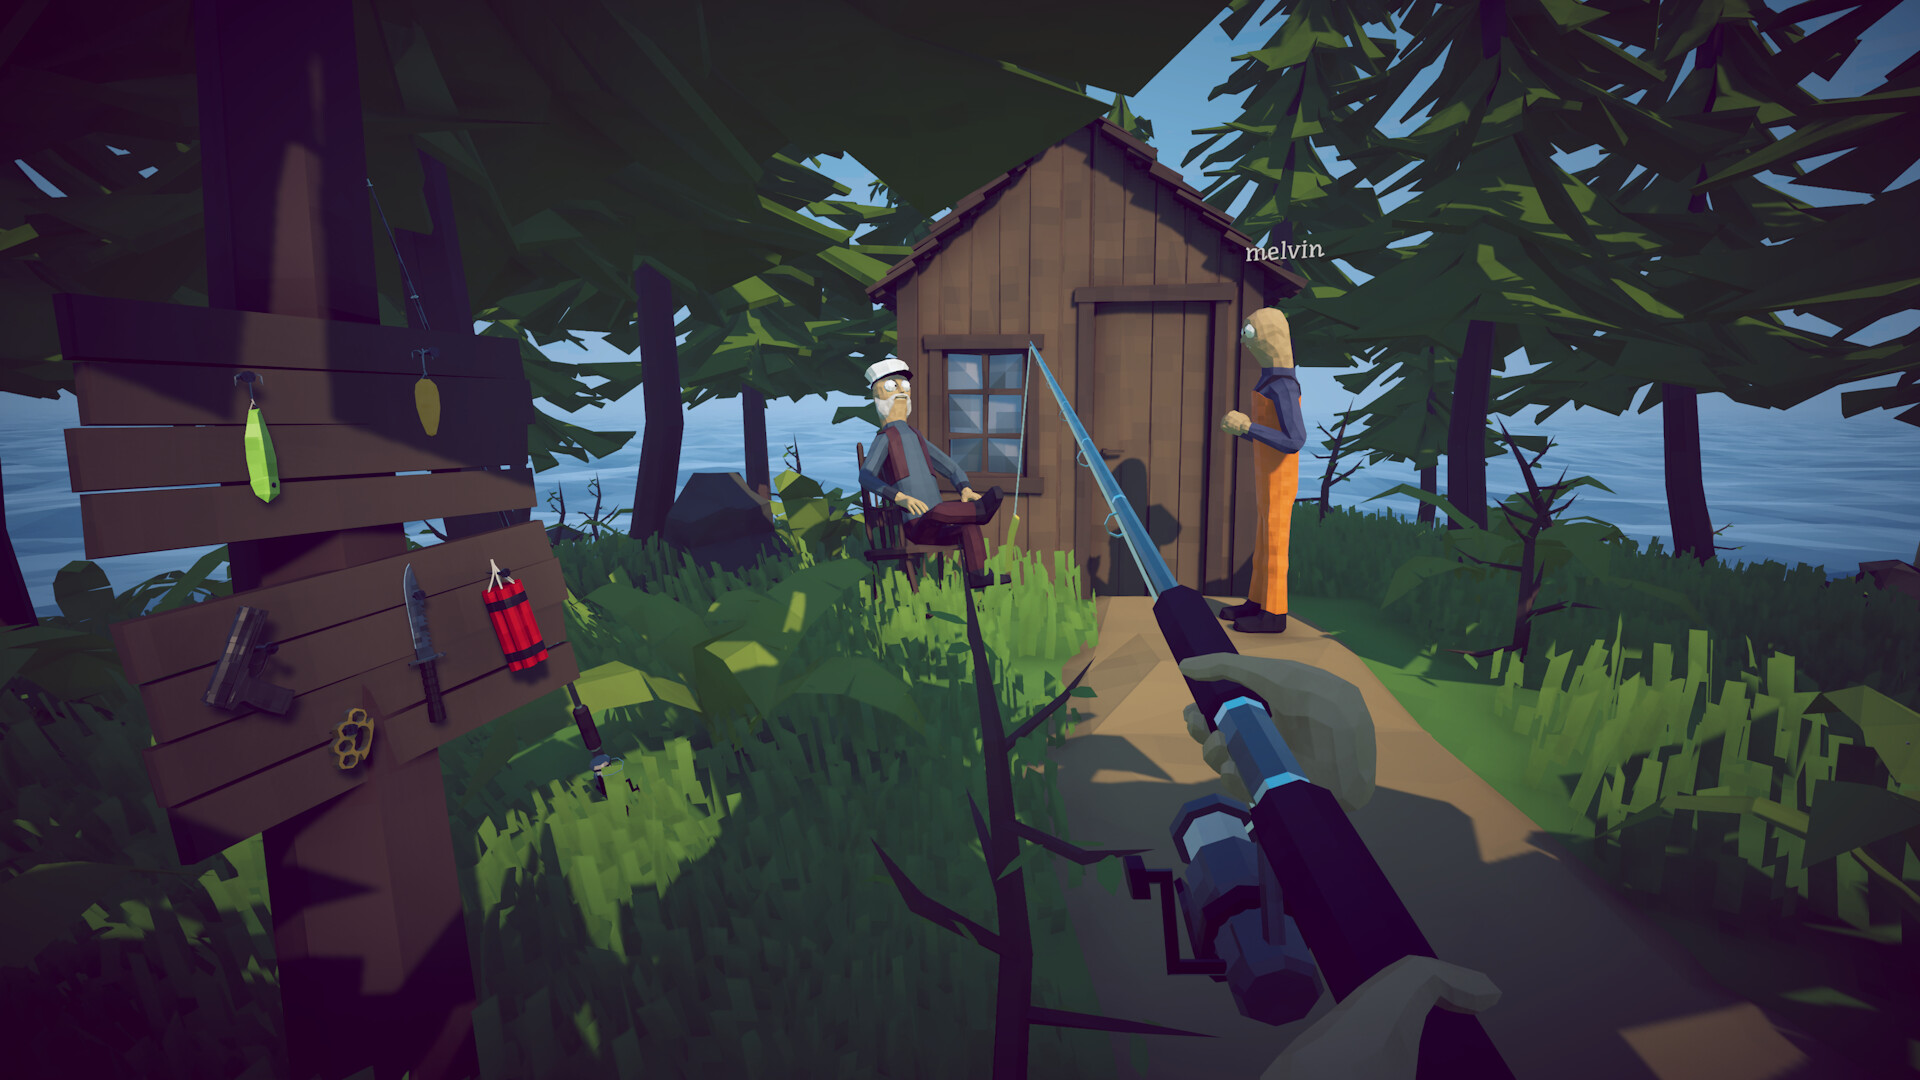
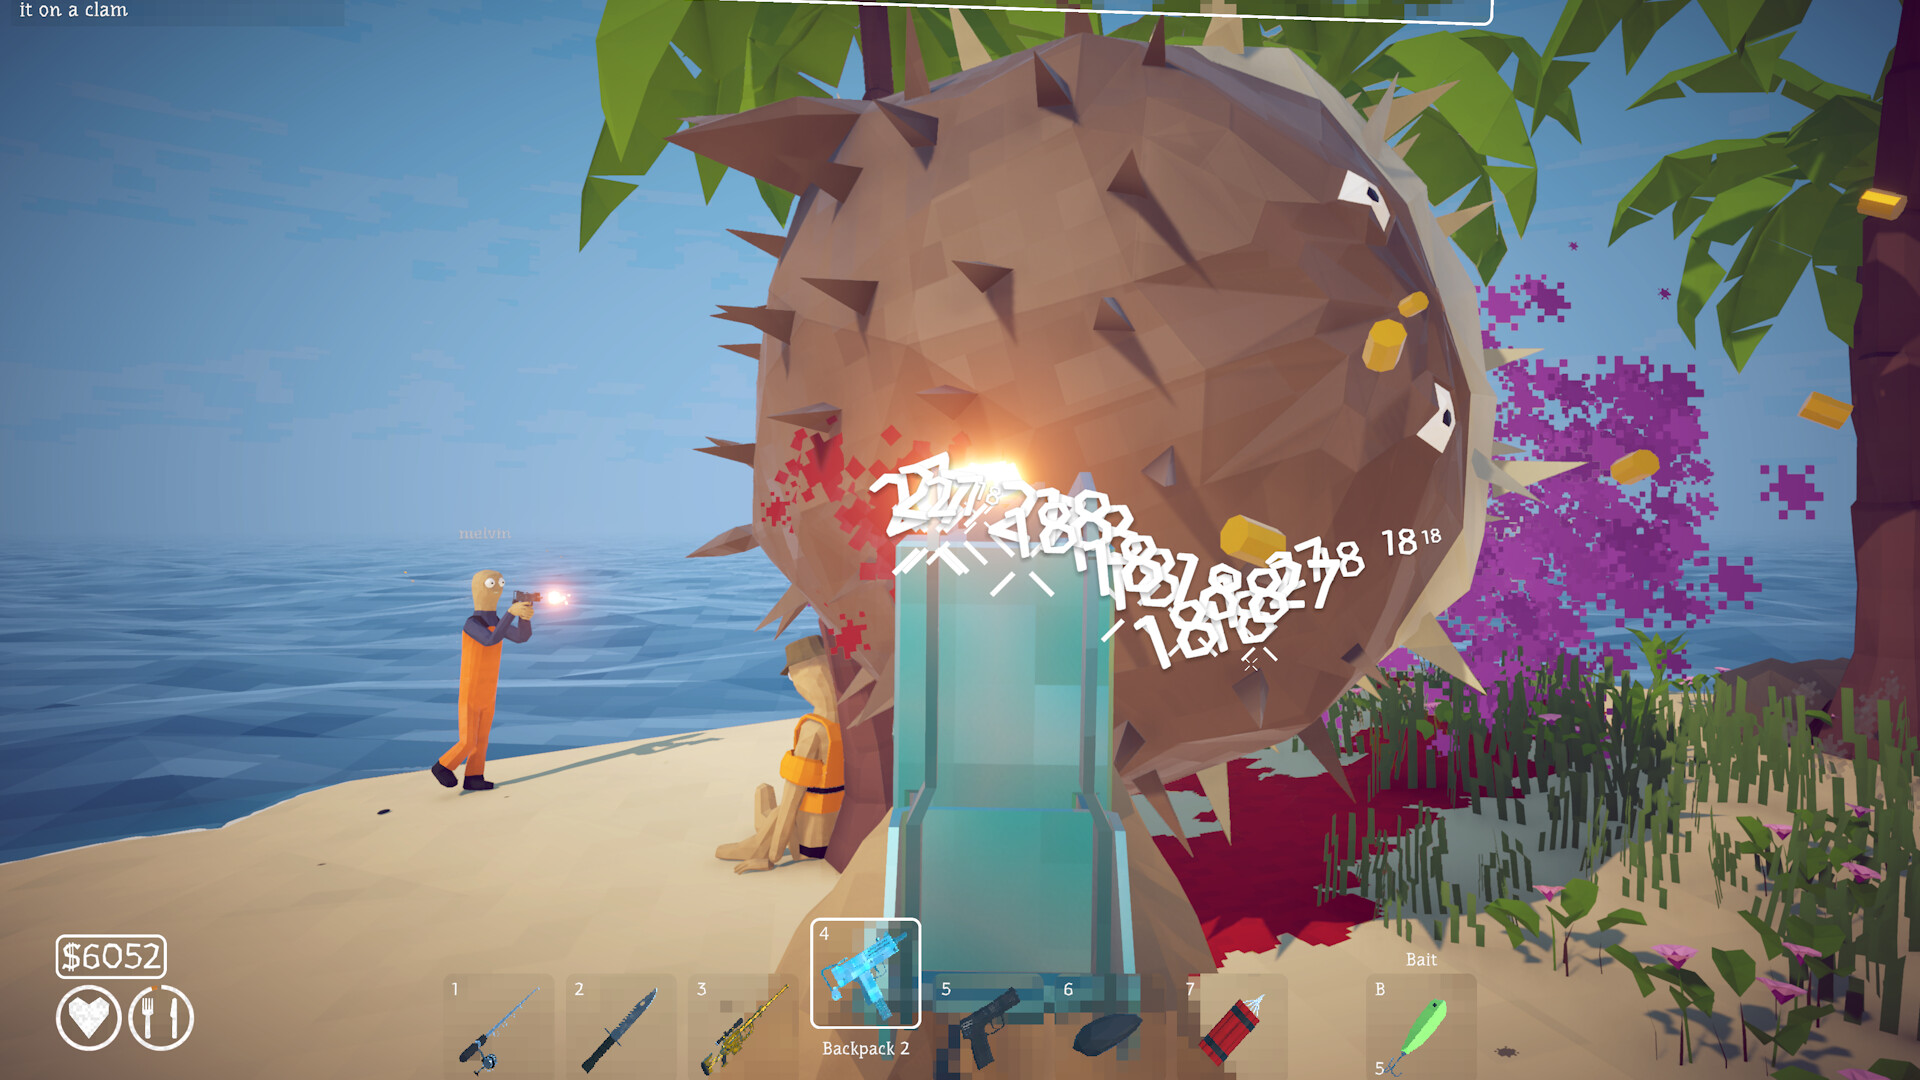
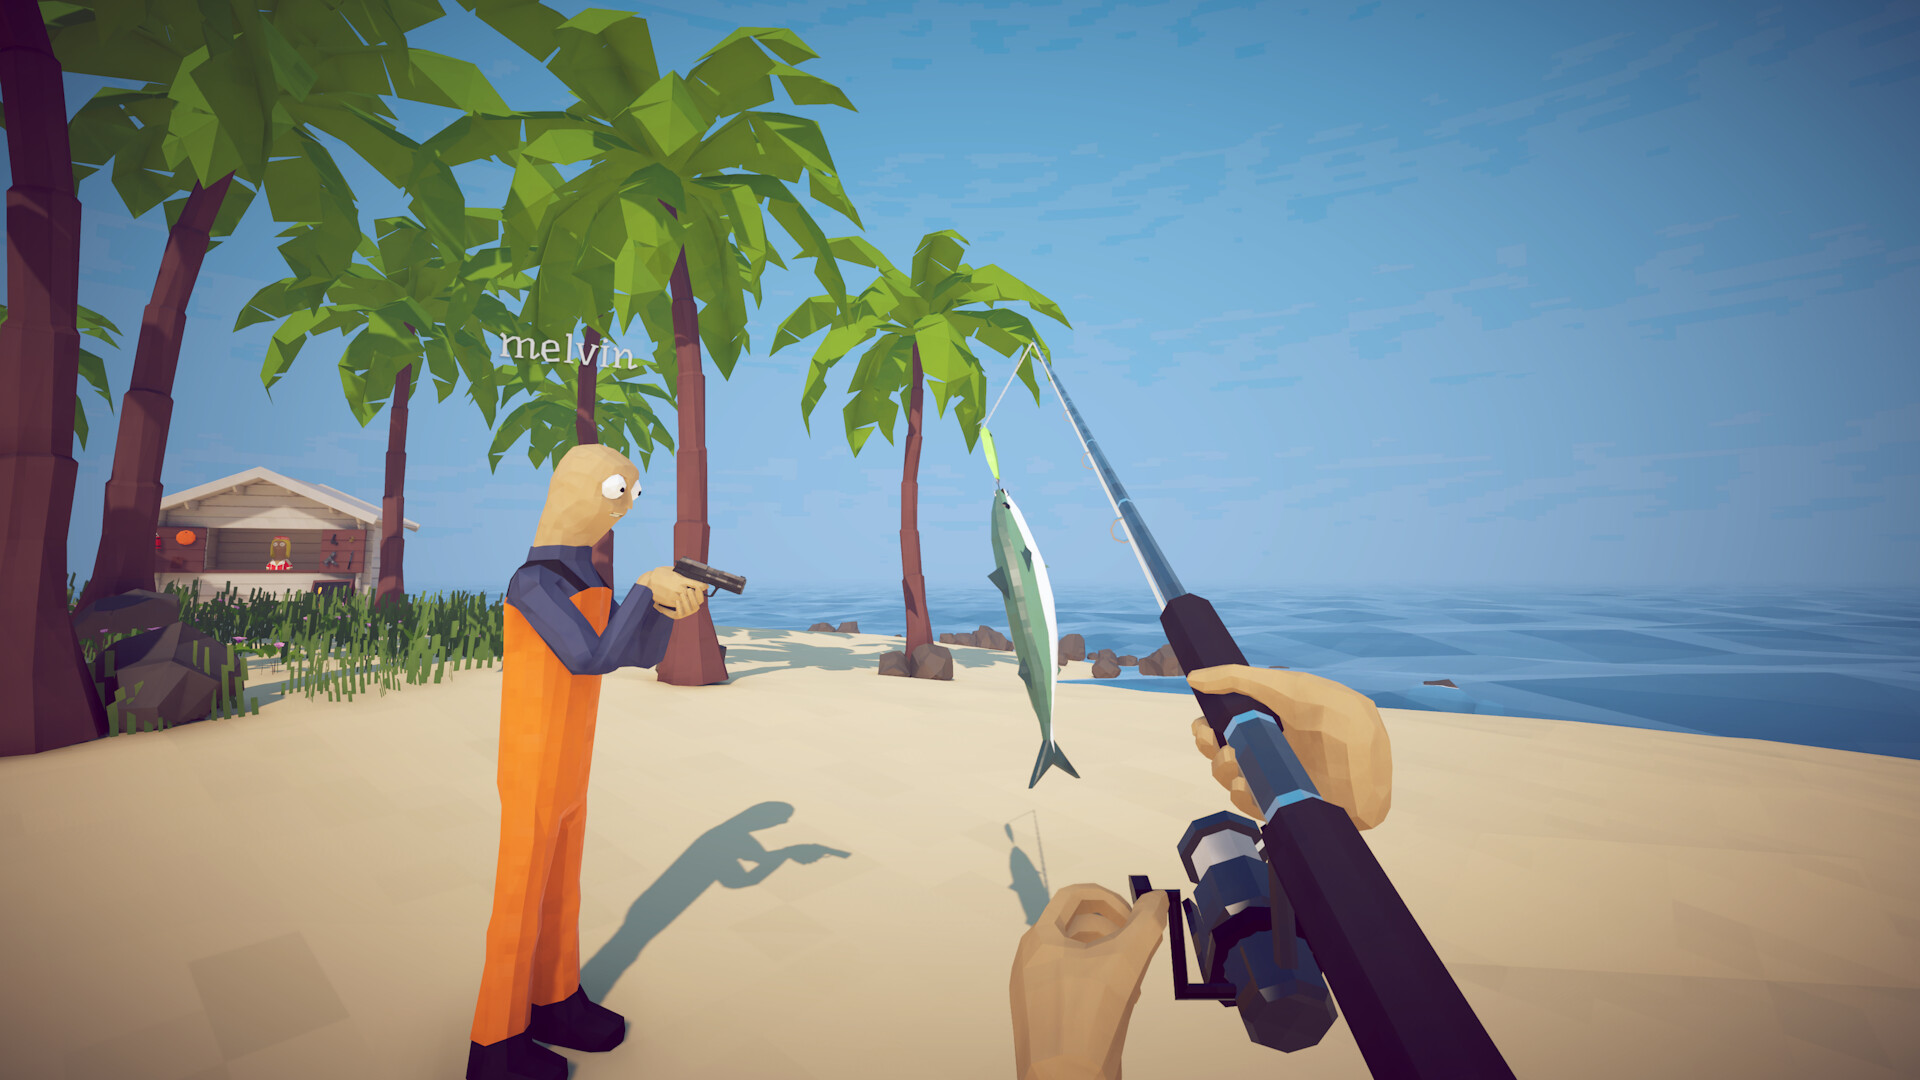
Game imagery: How to Fish by Dazed Games. Rights remain with the respective owners. Media and source notes.
Story contacts and their cargo
Use the role and island to find the right person. Several labels in this directory describe a service rather than a character’s proper name. Read the active dialogue before offering an item.
| Contact | Island | Bring or collect | Purpose |
|---|---|---|---|
| Lighthouse Keeper | Lighthouse | Beer, then Spider Crab shell | Can bait and Boat Keys |
| Lake-side lady | Forest | Three Leeches, then Giant Piranha drop | Boss bait and Desert route |
| Tourist | Desert | Eligible endangered catch, then Pufferfish fin | Carrot and Rocks route |
| Grillmaster | Desert | Blue Shark body | Optional grill access |
| Frightened islander | Rocks | Albatross head | Volcano route |
| Scientist / military objective | Volcano | Five fish; final trophy after both whales | Fish Bucket and ending route |
Treat shop visits as supply decisions
The Forest, Desert, Rocks and Volcano service pages help separate ordinary lures, optional boss lures and quest bait. Their recorded prices are planning baselines; check current purchase prompts before spending. A shop transaction does not substitute for a story hand-in.
Leave machine attempts until the route is secure
Rocks roulette and slots serve different optional objectives. Keep story bodies and trophies away from machine inputs, reserve ammunition and food, and decide how much surplus you can spend before making repeated attempts.
Find the contact from the object you have
Start with your present quest object, not a search for the nearest person. An Empty Beer Can belongs at the opening encounter setup, while a Spider Crab shell belongs back with the keeper. The same distinction repeats later: the Tourist’s Carrot starts Pufferfish, but the fin finishes that part of the route. Reading the object and the expected exchange together prevents a visit from turning into an unrelated sale.
When you have no special object, check the active request before gathering more supplies. Forest asks you to collect three ground Leeches; Volcano asks for five accepted fish. Those are collection stages with different requirements. A full inventory of ordinary catches is not necessarily the requested set. Speak first, identify the count or accepted item, then decide which part of the island to work on.
Keep early progression and useful side services separate
On Lighthouse, the keeper connects the Beer exchange, Spider Crab and Boat Keys. The Radar remains a separate purchase in the reviewed route. If the shell exchange is complete but navigation is confusing, check the navigation equipment instead of repeating the fight. Forest follows a different two-visit pattern: deliver Leeches, collect Leech Bait, defeat Giant Piranha and return its distinctive quest result.
Desert adds a useful optional branch. The Tourist’s endangered-catch exchange leads to the Carrot and the next story boss. Grillmaster instead needs Blue Shark and opens cooking. Both contacts can matter during one visit, but a completed shark delivery does not provide the Pufferfish fin. Keep the two required objects in separate places and finish the conversation matching the item you carried back.
Use the Rocks pages for three different jobs
The Rocks quest contact handles the Albatross head and the route to Volcano. The store-clerk page organizes lure and general supply spending. The weapon-seller page addresses the ranged setup useful for a flying target. These service labels help divide decisions; they are not a promise that every patch uses those exact character names or places every purchase on one particular shelf.
Before starting Tuna, use those three jobs as a checklist: the trigger is funded, the full encounter loadout is ready and the final trophy has a known destination. After Tuna, keep the body for Albatross rather than treating it as a sale. Roulette and slots belong to optional achievement or skin work. Neither machine can accept a substitute for the frightened islander’s story hand-in.
Understand why Volcano has several relevant contacts
The Scientist’s first role is the five-fish exchange for the Fish Bucket. The military wording identifies the final creature objective. Supply planning concerns weapons, healing and the Scientific lure tier. Following only one of those labels can leave the session half prepared: receiving bait does not refill ammunition, and buying an expensive weapon does not complete the requested fish order.
The ending also needs attention after combat. Keep the first Bowhead body for the mutated encounter, then protect the final quest trophy until the appropriate hand-in. The older ending account names the Scientist and RHIB keys. Follow your installed build’s actual item and dialogue labels while keeping the functional sequence clear: trophy, conversation, reward or transport, and departure.
Diagnose an unhelpful conversation
If a contact appears to offer nothing useful, identify which transition has not happened. You may be returning before the required encounter, carrying the wrong kind of catch, or overlooking a reward after a completed delivery. Check these narrow possibilities before assuming a whole island must be replayed. A shop service will not necessarily react to a quest object meant for another person.
Compare the visible objective with the physical object, not just its value or appearance. An ordinary Pike is different from The Old Pike; an expensive fish is not automatically a Tourist trade candidate. A successful sale proves only that the item had a buyer. It does not prove that an NPC request, collection entry or story objective was fulfilled by that transaction.
Give a co-op crew a clear next conversation
Before splitting up, agree who will read the request, who will obtain or protect the required object and who will make the delivery. One person can perform several jobs in a small crew. This is a coordination method rather than a requirement about party size. It keeps a teammate’s routine cooking or selling from consuming the object another player still needs.
At departure, state the next confirmed checkpoint aloud: keys received, coordinates available, bait collected or transport offered. Use the NPC links below to resolve a particular step rather than keeping every page open. The website’s checklists are planning aids stored in the browser; they do not read a game save or verify a conversation on behalf of the crew.
Guide images
View 5 related images