11 encounter guides
How to Fish game bosses
Follow the seven-encounter story chain in order, then clean up four optional catches. Every guide starts with the trigger, the reward and the mistake that can stall your run.
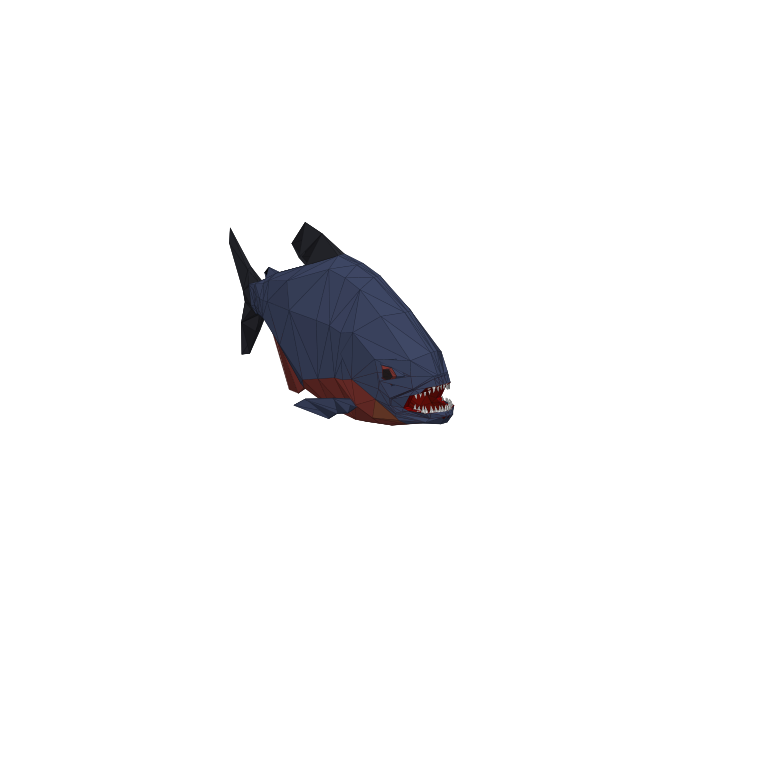
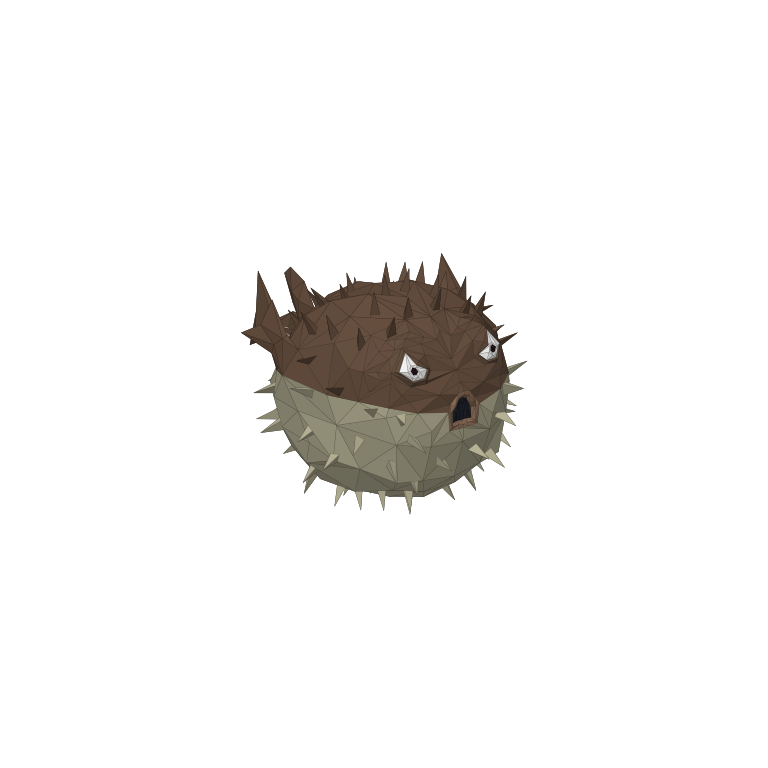
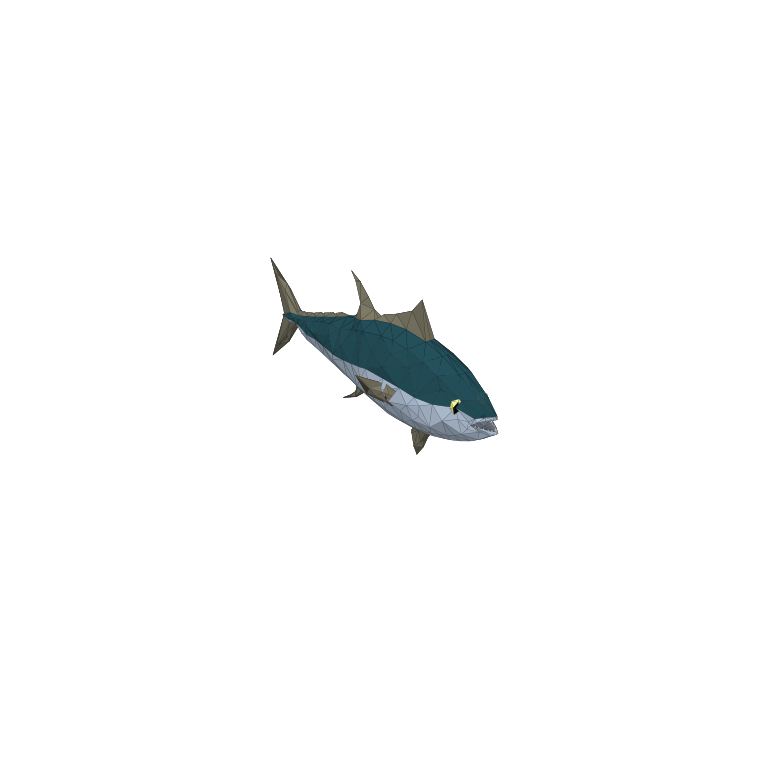
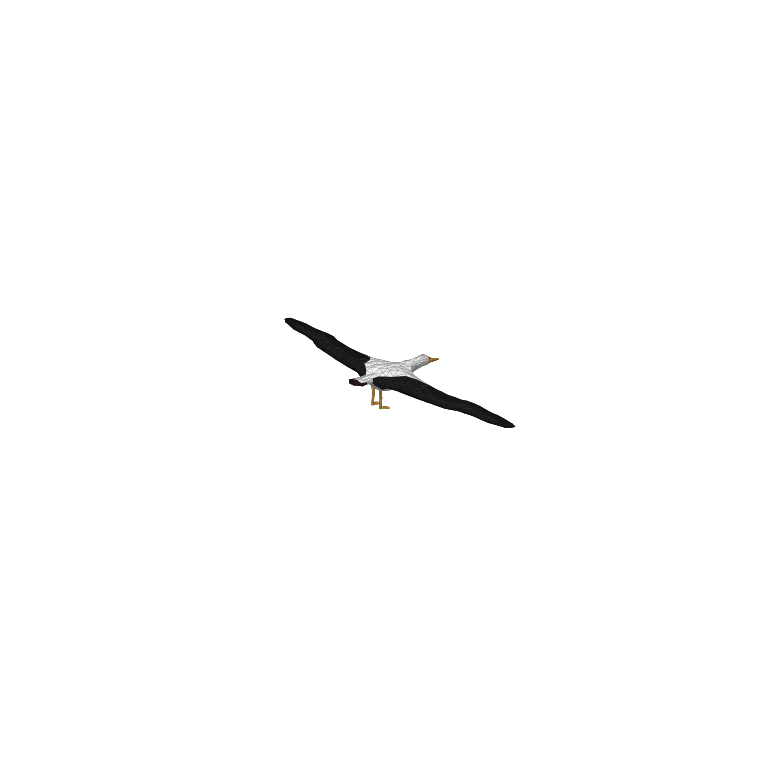
Spider Crab → Giant Piranha → Pufferfish → Tuna → Albatross → Bowhead Whale → Mutated Bowhead Whale. Tuna and the first whale are physical setup triggers, so never sell, cook or abandon their defeated bodies.
Required progression
Story route
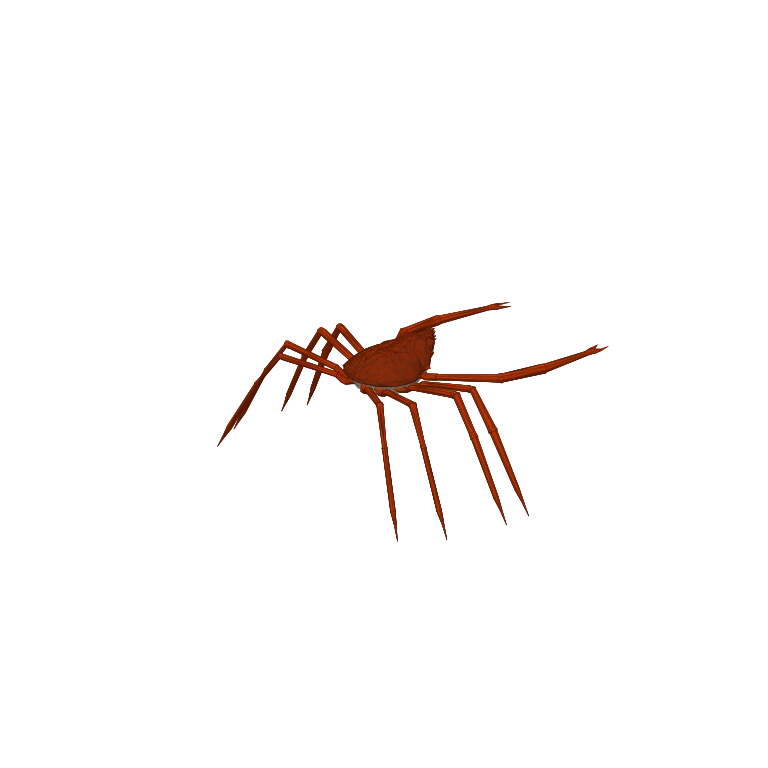
Spider Crab
The opening boss is a lesson in bait preparation, charge dodging and protecting a trophy after the fight.
- Trigger
- Empty Beer Can on the Crab Fishing Rod
- Route result
- Quest shell; exchange it for Boat Keys and the route toward Forest Island.
Giant Piranha
A mobile second-island boss whose real gate is completing the corrected three-Leech collection first.
- Trigger
- Leech Bait received for three Leeches
- Route result
- Giant Piranha trophy; hand it in for Desert Island coordinates.
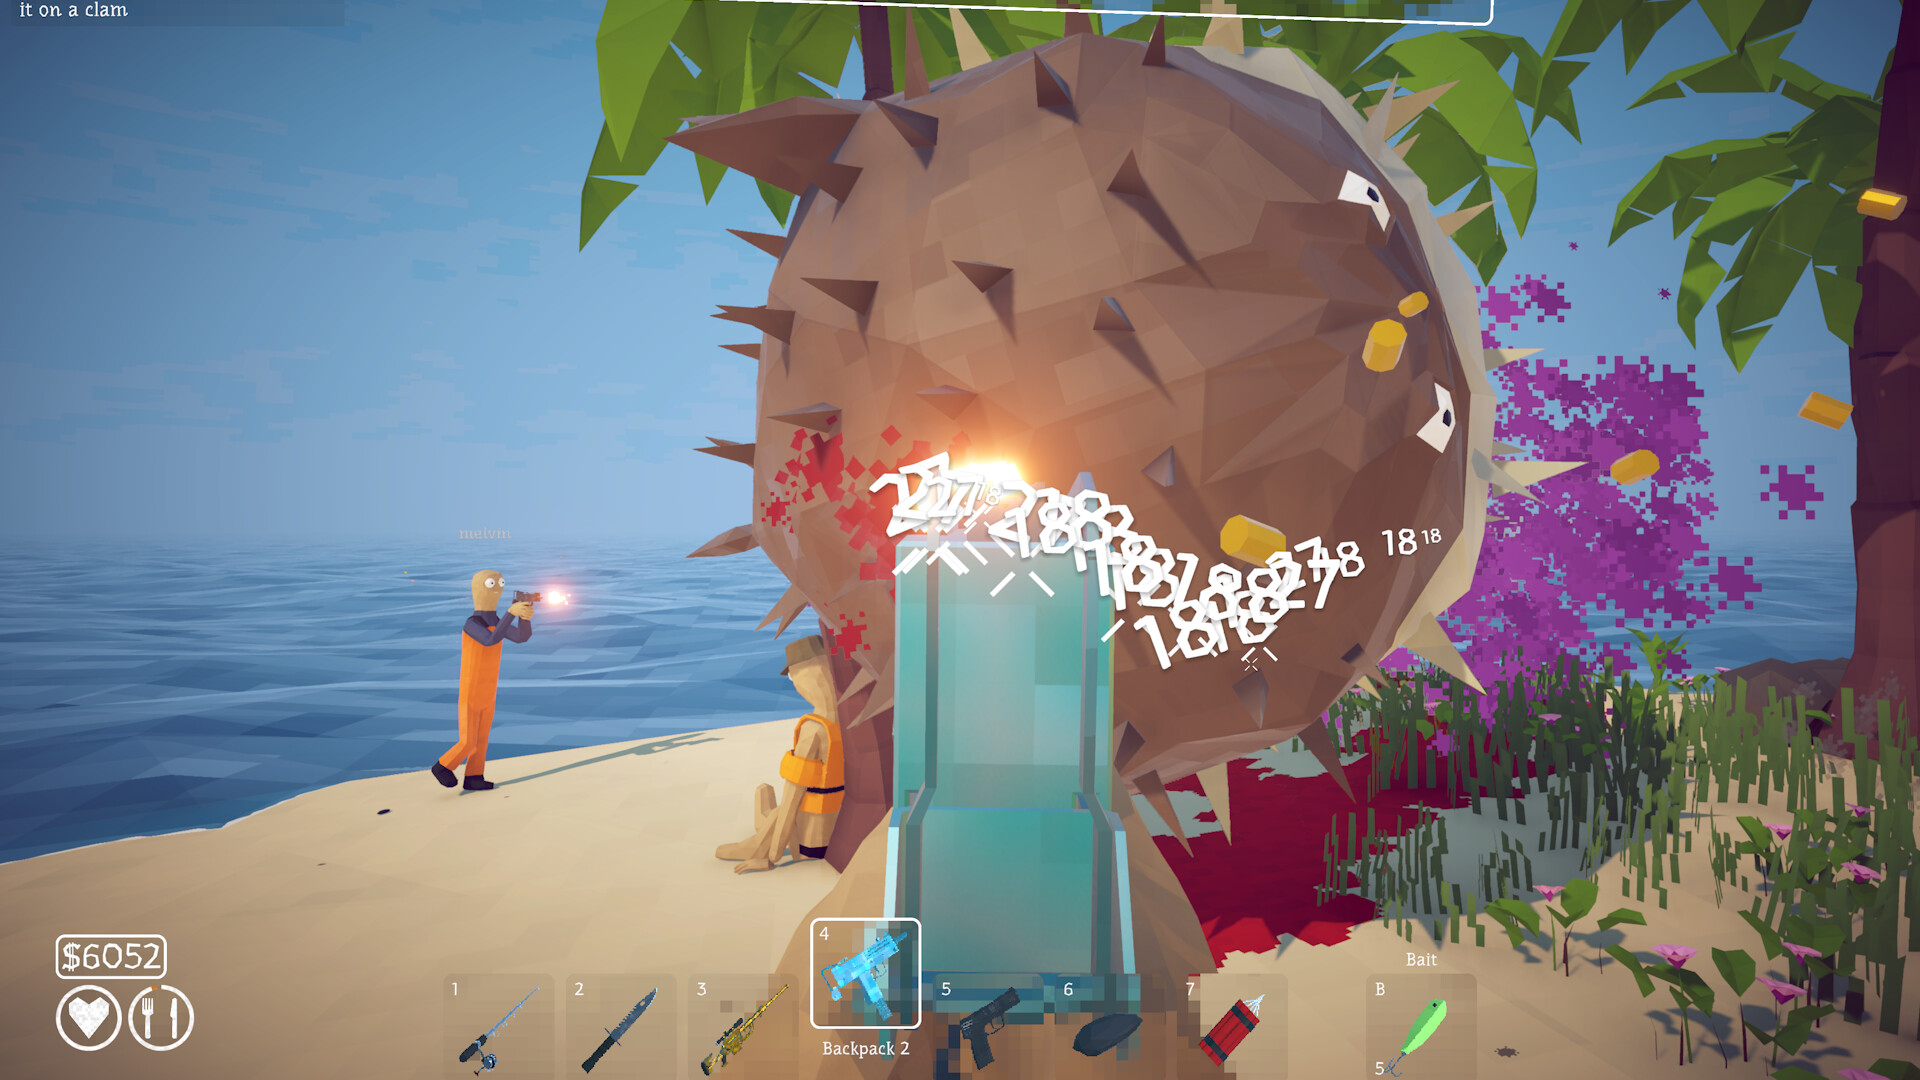
Pufferfish
The Desert route boss turns an endangered-species trade into a charging, poison-aware arena fight.
- Trigger
- Carrot obtained from the Tourist trade
- Route result
- Pufferfish fin; return it to reveal Rocks Island.
Tuna
Tuna is both a dangerous catch and a quest object; selling its valuable body stops the story chain.
- Trigger
- 1,200-coin Professional Boss Lure (dedicated story encounter)
- Route result
- The defeated Tuna body, which is the Albatross trigger.
Albatross
A flying story boss that rewards clean sightlines and disciplined aim more than close-range damage.
- Trigger
- Defeated Tuna placed on the ground
- Route result
- Albatross head; return it for Volcano Island coordinates.
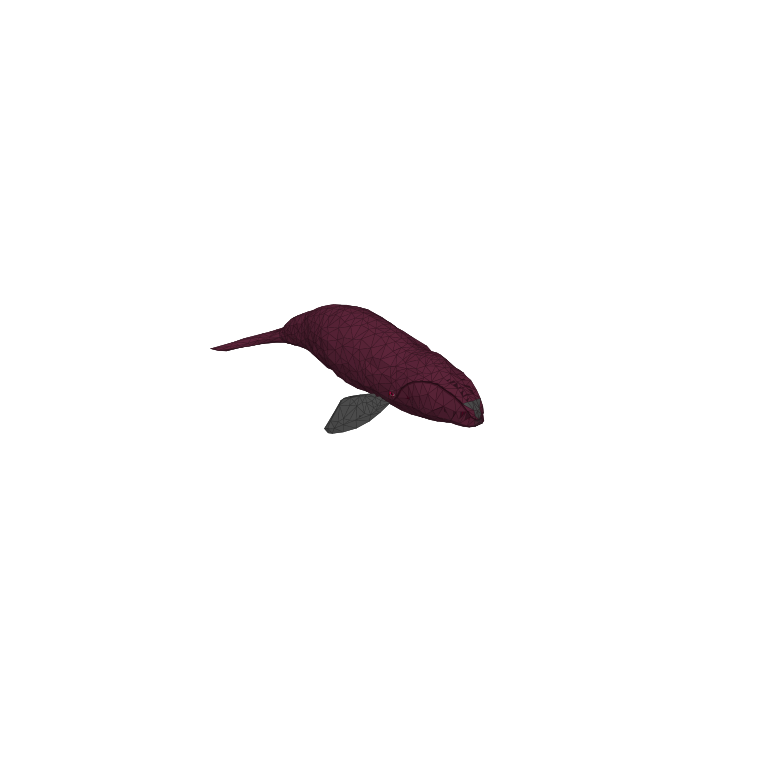
Bowhead Whale
The first whale is an expensive opening phase, not the end; its intact body is the key to the real finale.
- Trigger
- Fish Bucket / Whale Bait from the Scientist
- Route result
- Defeated Bowhead body; carry it into the final encounter trigger.
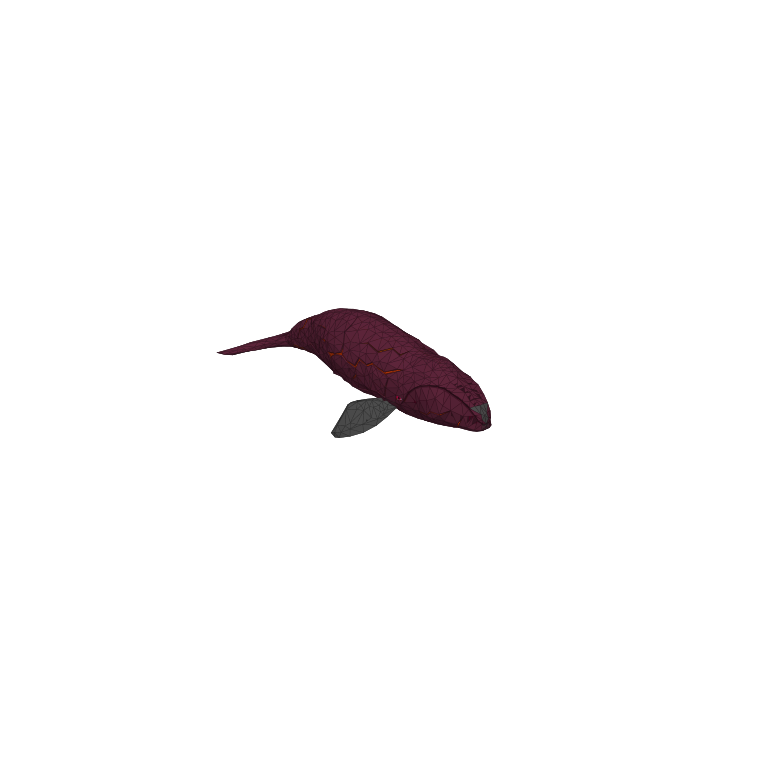
Mutated Bowhead Whale
The Magma/Lava Whale alias refers to this mutated final form, the last combat gate before the ending sequence.
- Trigger
- Defeated Bowhead Whale brought into the final trigger
- Route result
- Story ending, We are so back progress and the Scientist skin.
Collection and unlocks
Optional bosses
These four encounters do not advance the main ending, but they matter for Collector progress, cooking, coin routes and a complete Fishipedia.
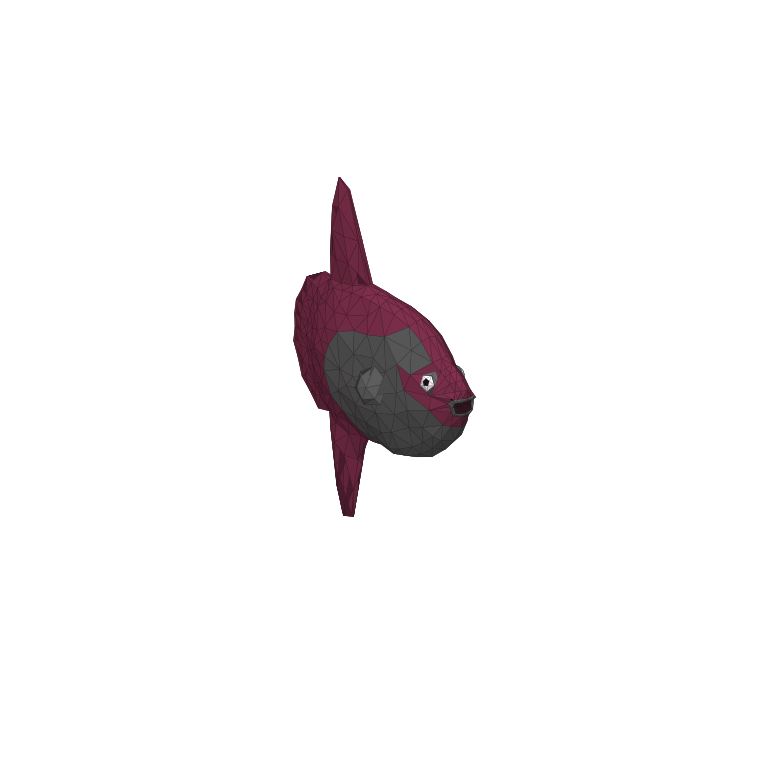
Sunfish
An approachable optional mini-boss best saved for collection and achievement cleanup.
- Trigger
- Beginner Boss Lure (also reported in the Beginner Lure pool)
- Why fight it
- Collector credit, a 50-coin base catch and a practical Competitive eating target.
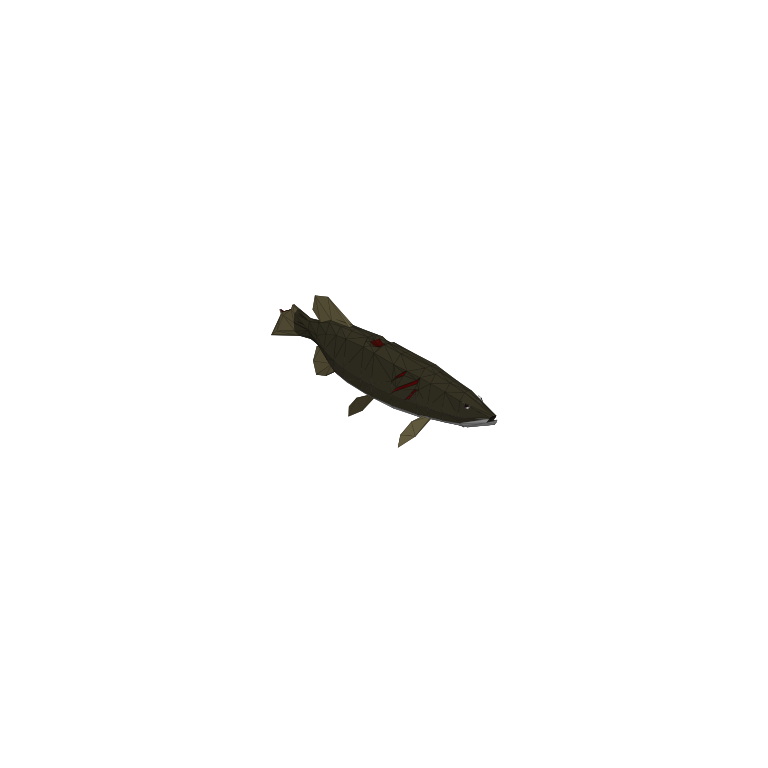
The Old Pike
The Old Pike, or Gammelgäddan, is the other easily missed Forest boss-lure entry.
- Trigger
- Beginner Boss Lure
- Why fight it
- Collector credit and an 80-coin raw base catch.
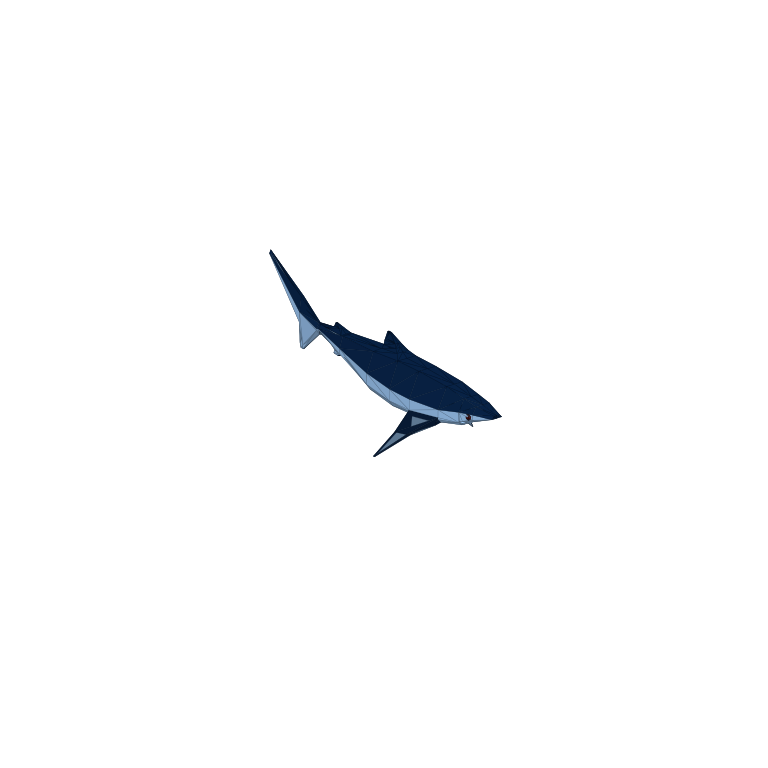
Blue Shark
This profitable Desert side boss is also the gateway to cooked healing and the 1.5× sale route.
- Trigger
- 280-coin Standard Boss Lure (dedicated encounter route)
- Why fight it
- Deliver the body to the Grillmaster to start the grill and unlock cooking.
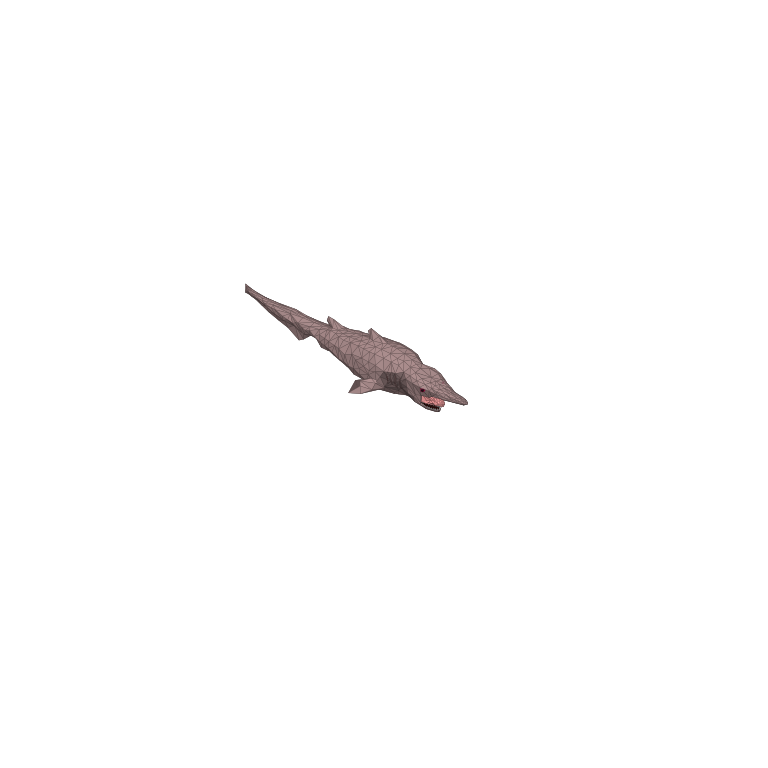
Goblin Shark
The costliest optional lure encounter is a late-game collection check, not part of the ending chain.
- Trigger
- $5,800 Scientific Boss Lure
- Why fight it
- Collector credit and a 6,200-coin raw base catch.
Before you trigger a boss
Protect single-use bait and quest bodies
Stock ammunition and healing first. In co-op, tell the crew which catch must stay intact; a valuable Tuna or whale can still be the only key to the next encounter.
Open full walkthrough →Patch-aware advice
Verify the build before repeating a failed route
These plans are checked against Patch 1.0.10. If a trigger appears broken, confirm the host and every guest share the same build before spending another boss lure.
Troubleshoot the run →