
- Island
- Rocks Island
- Visit for
- General supply and lure planning
Game version and evidence: Route coverage: the documented Patch 1.0.10 progression baseline. Follow the objective and item names shown in your game; these notes do not claim a new playtest of the current patch.
Game imagery: How to Fish by Dazed Games. Rights remain with the respective owners. Media and source notes.
Choose the lure for your immediate goal
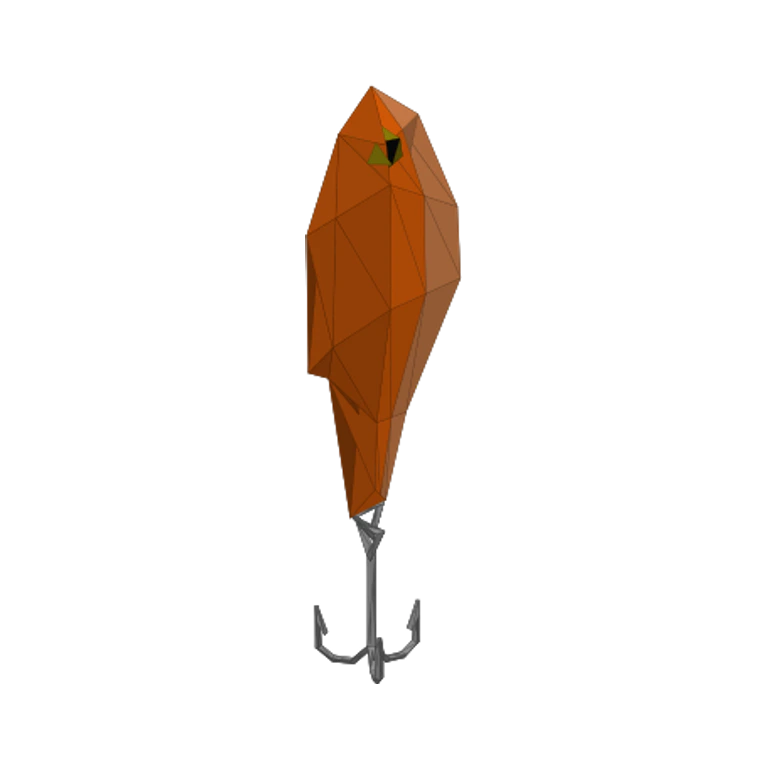
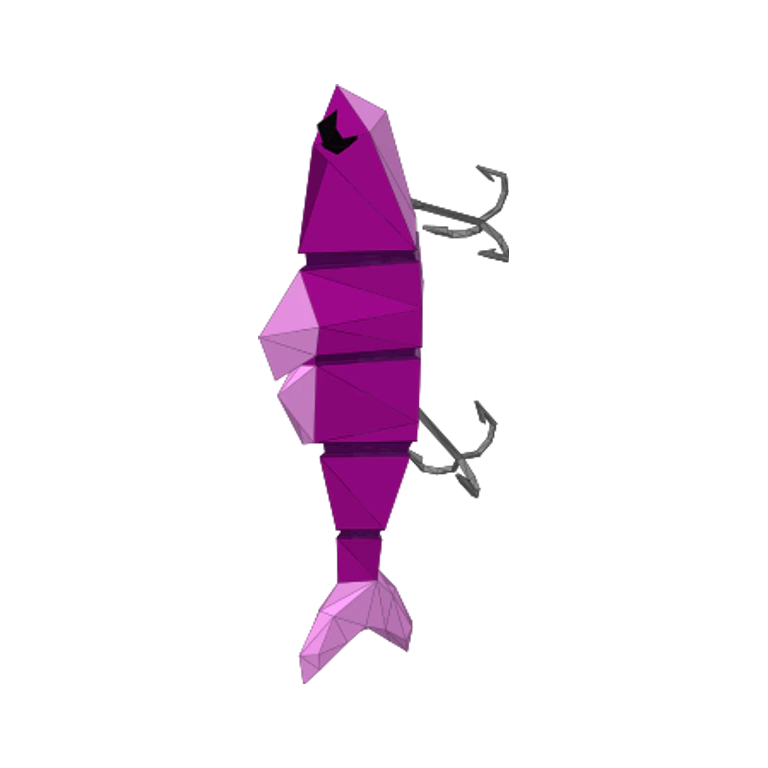
Professional Lure supports routine Rocks-tier fishing; its baseline price is $50. Professional Boss Lure starts the Tuna encounter and is recorded at $1,200. Compare both labels before committing your route budget.
Sort the load before a shopping stop
- Sell catches set aside for income.
- Keep food and ammunition ready for both story fights.
- Preserve defeated Tuna for Albatross instead of cashing it out.
- Reserve space for the Albatross head that unlocks Volcano.
Resupply between the fights if needed
Tuna and Albatross ask different things of your loadout. Keep the body safe while buying what you need for a flying target; do not trigger the bird simply because the first fight is over. The quest contact, rather than a routine sale, handles the final head delivery.
Build a shopping list around the next encounter
A useful Rocks list starts with the objective you intend to finish. For ordinary collection, the Professional Lure is the relevant reference. For the dedicated Tuna route, the Professional Boss Lure is the larger planned purchase. For Albatross, the important questions concern a usable ranged weapon and supplies. Buying whichever item has the most impressive name can leave one of those jobs uncovered.
Write down trigger spending, ammunition and recovery supplies before deciding what is surplus. Keep optional lure purchases below those essentials until the crew is ready for both story fights. This page organizes the service visit rather than claiming an exact shop inventory. Read the current item label and purchase prompt wherever your installed version offers the supplies.
Understand the gap between the two Professional purchases
The reviewed regular lure costs 50 coins, while the boss lure costs 1,200. The difference is 1,150 coins, and the boss-lure price equals 24 regular-lure purchases. That comparison describes spending choices, not a claim that twenty-four ordinary casts reproduce the dedicated encounter or that each purchase is consumed by one cast. Catch odds and lure persistence are not established by those prices.
For an illustrative 1,500-coin wallet, reserving 1,200 for the dedicated trigger leaves 300 before weapons, food or ammunition. Spending that remainder on six regular lures would leave nothing for those other needs. The numbers show why a large trigger reservation should come first; they do not prescribe six purchases or promise what any of them will catch.
Keep routine fishing useful without losing the route
The Professional reference pool contains Parrotfish, Voxelfish, Bass, Halibut, Eel, Tigerfish, Flying Fish, Sengarat, Red Snapper, Dripper, Tuna and Seahorse. That spread gives a collection trip several possible successes. Decide which entries are missing before buying another batch. A catch you already recorded may help fund supplies, while a new named species deserves a collection check before cleanup.
Tuna needs special care because a useful story body can look like attractive sale stock. If the crew is using that body to attract Albatross, its immediate sale is not available income in the route budget. Mark it as reserved cargo. Do not count the same object once as funding for equipment and again as the preserved trigger for the next fight.
Separate three cargo groups at the supply stop
Keep one group for the next hand-in or trigger, another for usable food and a third for sale. On Rocks, the first group changes during progression. Before Albatross, the critical object is defeated Tuna. After Albatross, the critical object is the head. That change is easy to miss if the crew keeps using the same sell-everything routine throughout the island.
Check the reserved group again before a player walks away with a haul. A verbal handoff such as “this Tuna is the next trigger” is more useful than expecting everyone to remember why one body has been left behind. You do not need an elaborate storage system, but the person carrying quest cargo should know its destination and keep it out of the shop transaction.
Make the second supply visit deliberate
Defeating Tuna does not obligate the crew to start Albatross immediately. Pause and check whether the earlier fight used more resources than expected. The second encounter introduces an airborne target, so verify that the ranged setup still has the supplies needed for the way you plan to use it. Protect Tuna while making that supply decision.
If the crew discovers a missing weapon purchase at this stage, compare it with the remaining budget rather than selling the trigger to afford it. Returning to ordinary fishing is a different decision from cashing out the reserved Tuna. The supply page and weapon page address preparation; the frightened islander’s conversation addresses completion after the bird is defeated.
Know when the Rocks shopping task is finished
For a campaign visit, stop shopping when the encounter supplies are ready, Tuna has a protected role and the head hand-in can be completed afterward. More optional purchases are not automatically more progress. Save an equipment comparison for the actual difficulty you have encountered rather than delaying a prepared run to buy every available improvement.
Before leaving for Volcano, confirm that the quest contact accepted the head and that the new route is available. Then review the boat’s food and equipment as travel preparation. A positive shop balance, a full collection checklist and a new destination are different achievements. This clerk visit is successful when it supports the one you intended to pursue.
Guide images
View 3 related images