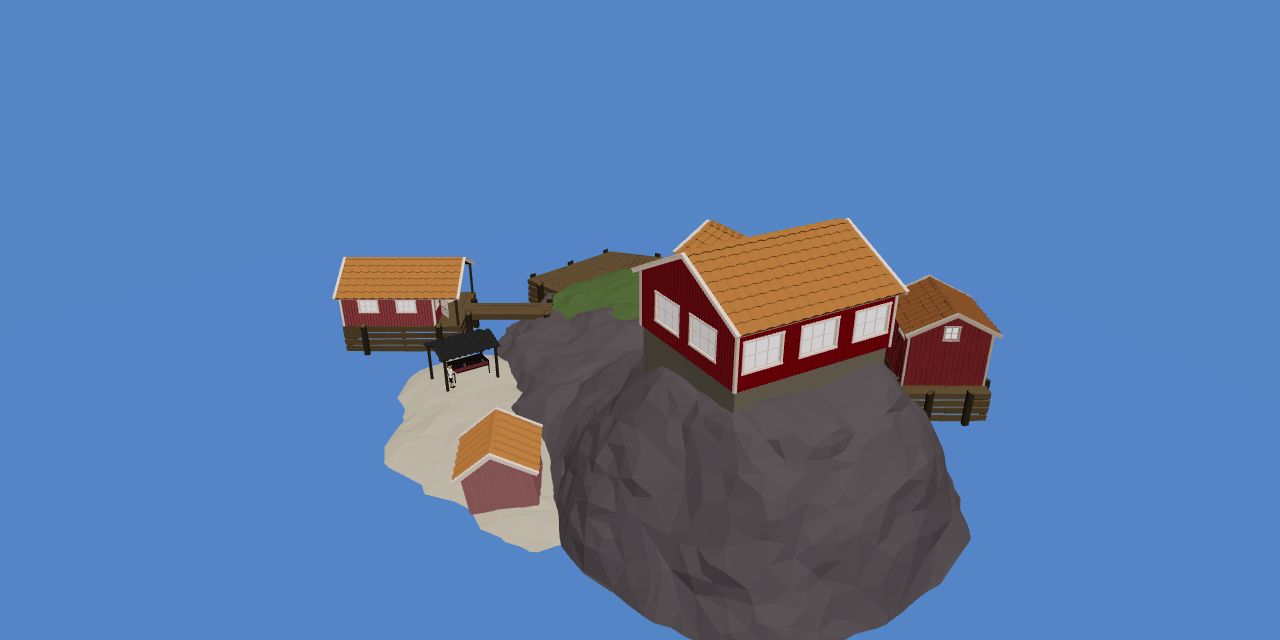

- Island
- Rocks Island
- Visit for
- Ranged equipment planning
Game version and evidence: Route coverage: the documented Patch 1.0.10 progression baseline. Follow the objective and item names shown in your game; these notes do not claim a new playtest of the current patch.
Game imagery: How to Fish by Dazed Games. Rights remain with the respective owners. Media and source notes.
Buy for visibility and reliable hits
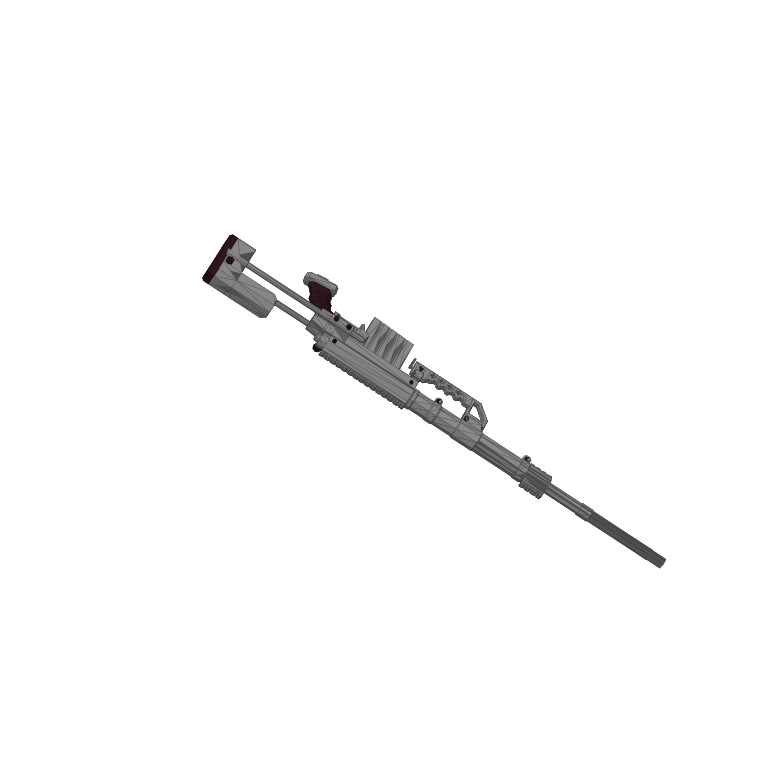
Albatross makes a useful check of your ranged setup. The Sniper Rifle is the precision option in the equipment baseline, while a familiar upgraded weapon may already be usable. Choose based on shots you can land reliably rather than the item’s position in the shop.
Check the setup before placing Tuna
- Inspect the current price and the weapon’s installed upgrades.
- Test aiming and reload controls away from the encounter trigger.
- Keep ammunition and food within reach.
- Leave enough currency for the Professional Boss Lure if Tuna is not yet defeated.
Avoid a false exact price
The current Sniper Rifle shop price is not established by the route baseline, so this page does not assign one. Check the purchase prompt and compare the full cost with your remaining story supplies before buying.
Prepare for Tuna and Albatross together
The Rocks story combines a landed Tuna encounter with a flying Albatross encounter. The second fight is the reason to review ranged equipment before using the first trigger. A weapon that feels comfortable against a nearby body may be less comfortable when a target moves through the air. Assess visibility, control familiarity and your ability to keep moving, rather than treating the two fights as identical.
The route’s weapon-planning label does not establish which character sells every part in every patch. Inspect the actual purchase point and check the displayed item. The useful purpose of this visit is to leave with a complete working setup. A newly purchased item without ammunition or a clear role does not complete that preparation.
Compare the documented damage without inventing speed
The Sniper Rifle reference is 200 base damage per shot, compared with 25 for the Pistol. Numerically, one full-value 200-damage hit equals eight full-value 25-damage hits before upgrades and other conditions. That is a comparison of the recorded shot values. It does not make the rifle eight times faster, eight times cheaper to use or a guaranteed one-shot answer to a particular boss.
To answer those other questions, you would need repeatable information about hit rates, ammunition use, firing intervals and recovery time. The shop purchase alone does not provide it. If a familiar upgraded weapon already lets you land reliable hits on Albatross, compare the actual problem with the rifle’s precision role before spending the remaining route budget.
Use a real offer in the purchase decision
No stable Sniper Rifle purchase price is established in the reviewed equipment table. Leave that entry open until you inspect the current offer. Copying an older weapon’s price or estimating from its damage would make the budget look more precise while giving you the wrong spending limit. Also check whether the comparison involves an upgraded weapon or an unmodified one.
Build the decision around the full amount the game asks you to spend. Add any ammunition and recovery supplies you plan to buy, and keep the Professional Boss Lure reservation if the dedicated Tuna setup remains ahead. A hypothetical rifle price is not useful collateral for a real purchase. When the budget is short, postponing an optional upgrade is clearer than assuming the next sale will cover it.
Solve the sightline before buying more damage
Choose an area where you can keep the airborne target in view and move away from trouble. Loose bodies, scenery and shop clutter can turn a sensible equipment choice into an awkward encounter. Check aiming and weapon controls before placing Tuna for the bird. That gives the crew time to correct a handling problem without simultaneously protecting a newly started fight.
After a missed opportunity, re-establish a useful view instead of forcing the next attack through an obstruction. This advice concerns the game’s combat setup, not real-world firearm handling. The page does not assert an Albatross cooldown, damage threshold or fixed number of shots. Its purpose is to make the equipment you actually have easier to use in the encounter it must support.
Keep bonus attempts separate from the first story clear
Distance and no-scope conditions belong to optional bonus or challenge work. They may be interesting after you understand the encounter, but they can compete with the simpler goal of securing the Albatross head. For a first campaign clear, choose a shot and position you can reproduce rather than insisting that every successful hit also satisfy a difficult extra condition.
A co-op crew can make the same distinction in its responsibilities. One player can focus on following the target while another protects the preparation area or the eventual quest result. Those roles are suggestions, not evidence of a required team size or multiplayer damage bonus. Everyone should know that a good damage result is still followed by a physical hand-in.
Finish the trip rather than the shopping checklist
Once the loadout is ready, return to the Tuna-to-Albatross sequence with the trigger body preserved. After the bird is defeated, collect the head and take it to the quest contact. Do not let the equipment discussion distract the crew from the item that opens Volcano. An expensive weapon and a defeated target cannot substitute for that conversation.
If the route is already complete, reassess the next purchase for Volcano rather than assuming the Rocks solution must be replaced immediately. Later equipment has its own costs and purposes. Keep the weapon you can use, review the next encounter’s preparation and reserve resources for both whale fights. The practical measure of this visit is a supported route, not ownership of every weapon.
Guide images
View 4 related images