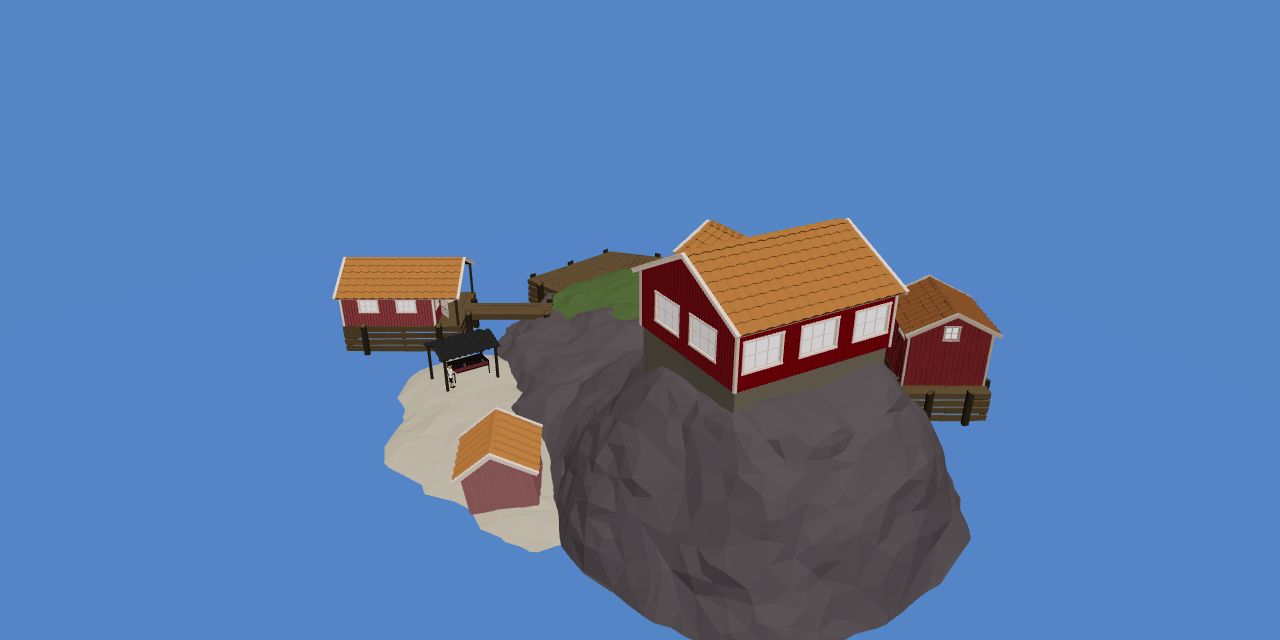

- Island
- Rocks Island
- Visit for
- Optional roulette and achievement attempts
Game version and evidence: Route coverage: the documented Patch 1.0.10 progression baseline. Follow the objective and item names shown in your game; these notes do not claim a new playtest of the current patch.
Game imagery: How to Fish by Dazed Games. Rights remain with the respective owners. Media and source notes.
Choose the objective before committing an item
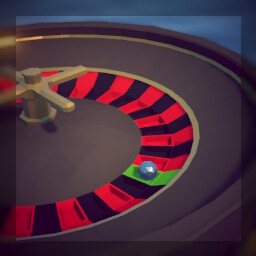
The All In achievement concerns winning a roulette bet on green. Roulette is optional during the Rocks story; it does not unlock Volcano or replace the Albatross hand-in. Decide what you are willing to spend before beginning a session.
Protect the route first
- Reserve the Professional Boss Lure budget if Tuna is still needed.
- Keep Tuna and the Albatross head out of all optional machine inputs.
- Set aside food, ammunition and travel supplies.
- Use replaceable surplus only after checking the machine’s prompt.
Read the result before planning another attempt
A losing streak does not establish that the next spin is due to win. This guide does not promise odds, a pity counter or a guaranteed recovery strategy. Check the actual reward and your remaining reserve after every attempt, and stop when you reach the budget you chose.
Treat the table as an optional game objective
This page concerns only the virtual roulette activity inside How to Fish. It does not direct players to a real-money service or recommend risking money outside the game. The useful documented objective is All In: win a roulette bet placed on green. The achievement record lists the Andrei skin as its reward. That tells you which game objective to check, not a method for making repeated attempts profitable.
Before interacting, decide whether you want the achievement, are investigating the virtual machine or are simply returning to finish the campaign. Only the first two goals need a roulette visit. The required Rocks route continues through Tuna, Albatross and the head delivery. You can complete those story steps without treating the machine as an income source.
Distinguish green, legendary skins and a large sale
All In concerns a green roulette result. GOLD GOLD GOLD instead concerns a legendary skin from the slot machine. Rich! Millionaire concerns selling one item valued at 100,000 coins or more. These are three different checks in the achievement list. A valuable item, a slot reward and a successful roulette result should not be merged into a single completion claim.
If All In is your missing entry, look at its own condition and confirm the result in the game or Steam afterward. Do not continue a roulette session merely because the slot objective is still missing. Likewise, reaching a high-looking number during an optional activity is not the same as completing a qualifying sale. Use the relevant tracker for the result you actually need.
Work out surplus before approaching the table
Make the story reservation while the full wallet and supplies are still visible. The dedicated Tuna trigger has a 1,200-coin reference cost, and both linked fights still need their supporting equipment and recovery supplies. In an illustrative 2,000-coin wallet, reserving that trigger leaves 800 before those additional needs. The 800 is not automatically a safe or useful machine budget.
After pricing essentials, choose a separate limit from whatever surplus remains. This is a resource-management boundary for a fictional activity, not a betting strategy. If the remaining amount is zero, the route plan has answered the question: leave the machine for a later cleanup visit. Do not count a hoped-for green result as funding already available for the next boss.
Keep story cargo outside the experiment
Read the machine’s current prompt before submitting an object or committing resources. The route reference does not provide a complete accepted-input table or a guaranteed conversion rule for every item. Treat a prompt you have not checked as a reason to pause, not permission to try the most valuable body you are carrying. An optional experiment should use something you have already decided is replaceable.
Tuna and the Albatross head are the important exclusions during the Rocks story. The first can still be the next encounter trigger; the second opens the Volcano route through its hand-in. Moving either into an optional machine would mix two incompatible plans for the same object. Complete the progression use before considering any surplus object for optional play.
Decide from the observed result, not the previous streak
After an attempt, check what the game actually awarded and what resources remain. A success should be followed by the achievement check, rather than another automatic attempt made while the crew is busy elsewhere. An unsuccessful attempt should be followed by the spending boundary you chose earlier. The useful decision is whether another attempt still belongs in the session’s plan.
Repeated misses do not establish that a green result is now due. The reference has no verified pity counter, fixed recovery schedule or winning sequence. Changing a plan because the previous attempt was disappointing does not make the next outcome more predictable. Keep the stopping rule independent of the most recent animation, and return to the campaign when the optional allowance is gone.
Coordinate a cleanup visit with the crew
When several players are handling catches, identify which objects are personal optional inputs and which are reserved for the whole route. Do not assume that a body left near the service area has been abandoned. Ask its carrier or check the current story step before moving it. This avoids turning one player’s achievement attempt into another player’s repeated boss preparation.
If you came to Rocks for completion work after the story, verify the missing achievement before spending and check it again when the relevant result occurs. Leave with a clear outcome: objective completed, optional allowance exhausted or attempt postponed. None of those outcomes requires inventing an earning rate. The operator page is most useful as a boundary between an optional virtual objective and the resources needed elsewhere.
Guide images
View 3 related images