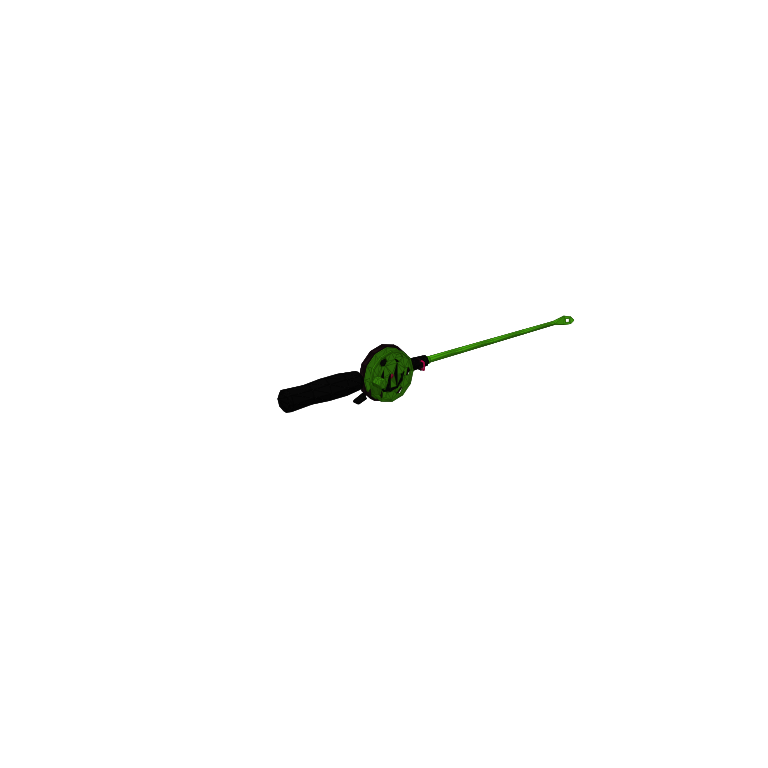
- Route stage
- Lighthouse
- Free pool
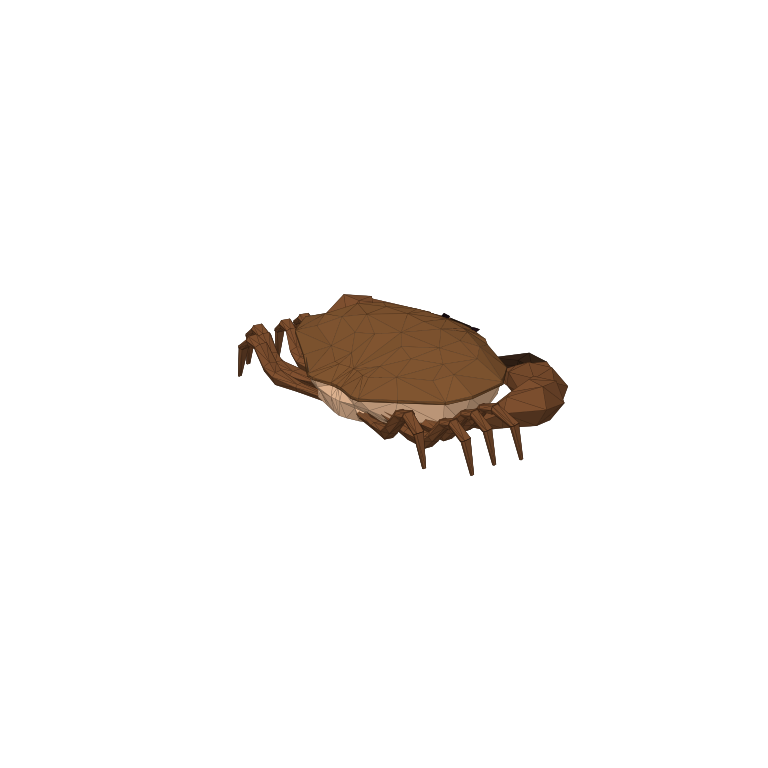
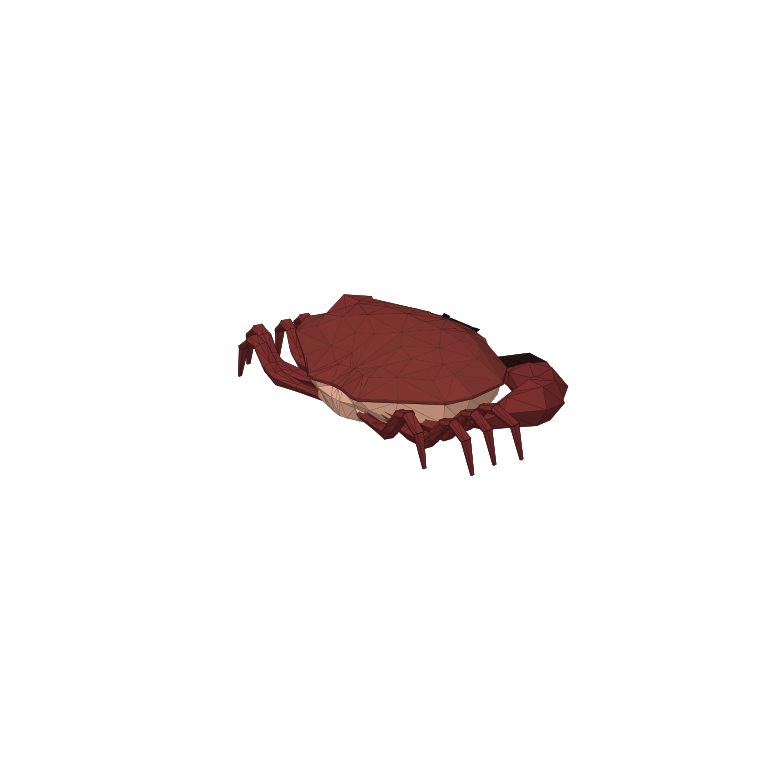
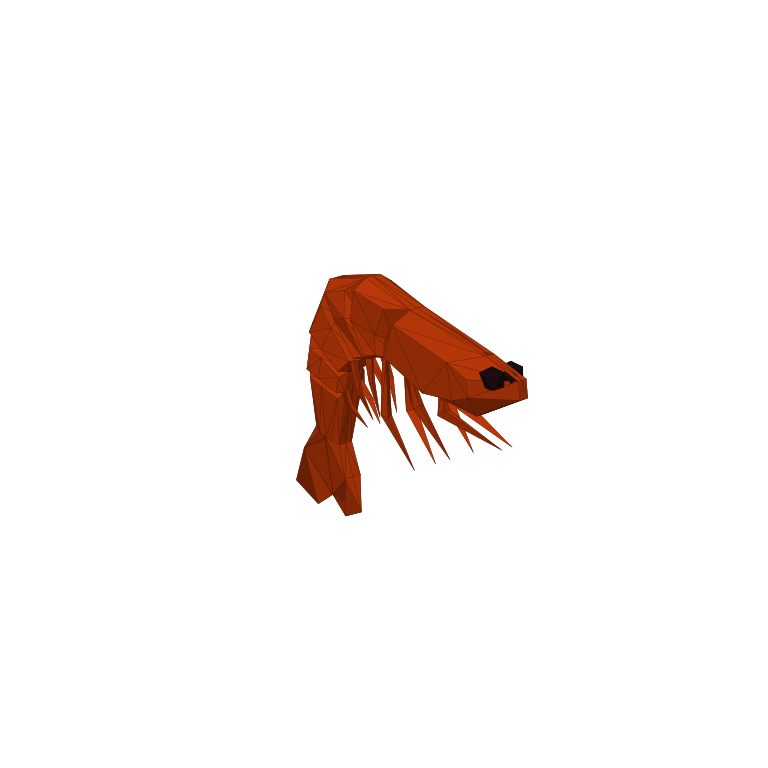
- Brown Crab / Shrimp
- Purchased bait
- Hot Dog
- Quest bait
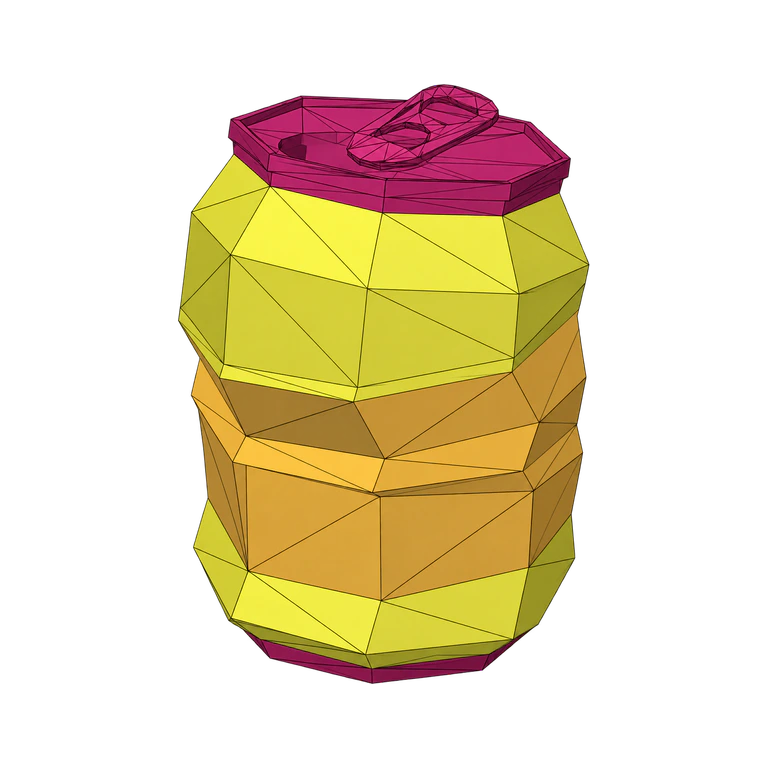
- Empty Beer Can
Game version and evidence: Base equipment prices, damage and catch pools: Patch 1.0.10 reference. These figures are not a new playtest of the latest release.
Game imagery: How to Fish by Dazed Games. Rights remain with the respective owners. Media and source notes.
One rod, three useful setups
The Crab Fishing Rod covers the opening shell-creature catches and the first story boss. Change the bait to change the task: rebuild a small budget without bait, target the Hot Dog pool for higher base values, or equip the keeper’s Empty Beer Can when ready for Spider Crab.
| Setup | Recorded catches | Purpose |
|---|---|---|
| No bait | Brown Crab, Shrimp | Starter money and combat practice |
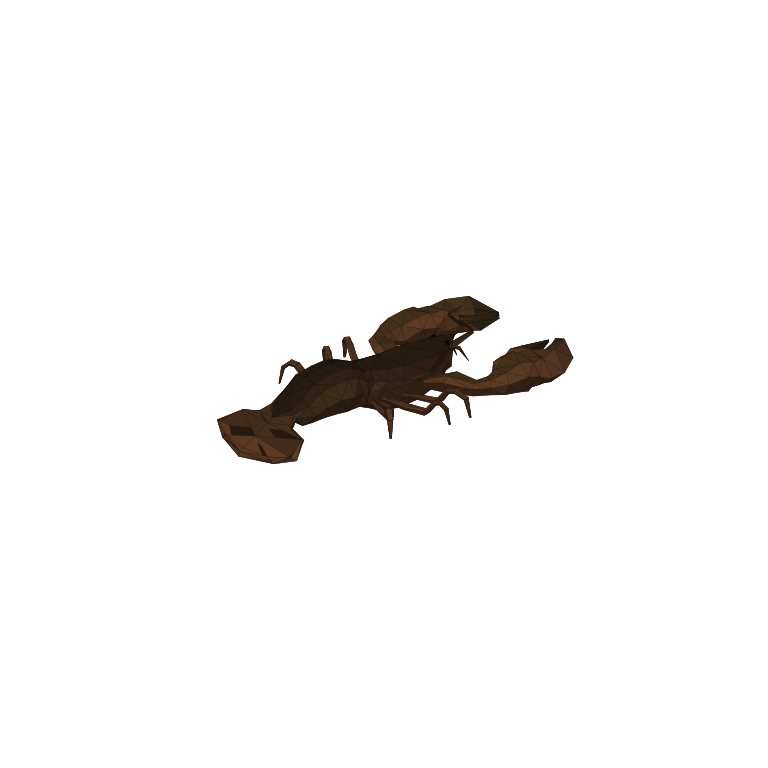
| Hot Dog ($1) | Rock Crab, Lobster | Higher-value routine shell catches |
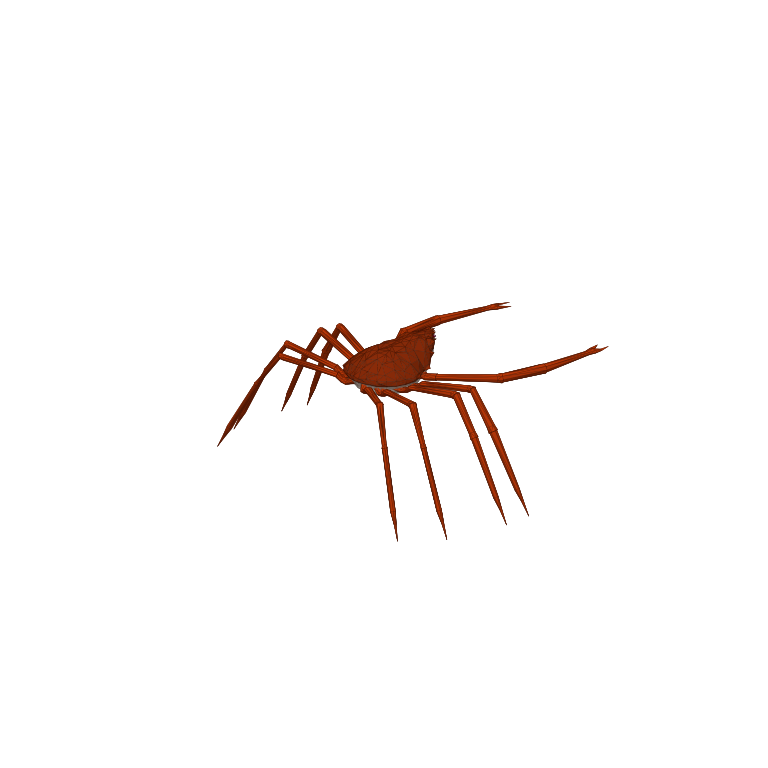
| Empty Beer Can | Spider Crab | Lighthouse story progression |
Build a repeatable starter routine
Choose a landing area with space to handle the catch, finish it with the equipment you can use reliably and sell only what has no immediate food or quest role. A small repeatable loop is enough to fund the early essentials; there is no need to finish the whole collection before leaving.
Brown Crab and Shrimp have recorded base values of $3 and $5. Hot Dog outcomes rise to $7 for Rock Crab and $9 for Lobster, before sale modifiers. Use the comparison to set a practical earning target rather than assuming each cast produces the best result.
Check the bait before the story cast
Give the Lighthouse Keeper a Beer, keep the returned Empty Beer Can and attach it for Spider Crab. Prepare combat supplies and inventory room first. After the fight, return the quest shell for the Boat Keys and obtain the $10 Radar before sailing.
The later Fishing Rod opens the regular fish and tiered-lure route from Forest onward. Keep the two rods distinct when returning for a missing creature; a familiar-looking bait setup on the wrong equipment will not serve the same reference pool.
Pick a collection or departure objective before changing bait
At the opening island, the same rod supports three distinct jobs. The default setup is a low-spending way to practise and collect Brown Crab or Shrimp. Hot Dog bait is the route to the ordinary Rock Crab and Lobster pair. The keeper’s Empty Beer Can serves Spider Crab and story progression. Changing between these setups should follow the result you need rather than the assumption that adding any bait improves every catch.
For a first departure, the full ordinary collection is optional to the immediate route plan. You need to complete the keeper exchanges, prepare the boss and obtain navigation equipment. For a later collection visit, the missing ordinary name may be the main objective instead. These two visits can use the same rod while making very different decisions about bait purchases and when to stop fishing.
Use the raw bases to plan a small cash target
The Radar’s ten-coin reference price makes a useful arithmetic target once the other departure requirements are handled. Two hypothetical unmodified Shrimp sales at five coins each total ten. Four Brown Crab at three each total twelve. These examples assume the completed catches are sold without other modifiers or costs; they do not specify how many casts will produce that set or guarantee the next result.
For the purchased pool, a Lobster base of nine minus one one-coin Hot Dog purchase leaves eight before other expenses in a simple one-purchase example. Rock Crab gives seven minus one, or six. Do not infer that the cheaper raw-value species is a bad catch or that buying bait guarantees a more profitable trip. Actual outcomes, lure spending, food use and supplies determine the completed cash ledger.
Organise the shore as a working area
Before casting, choose where the landed creature will be handled and where finished sale stock will wait. Keep a path to move around the creature and leave the rod recognisable among the equipment. This is especially useful while learning how the game treats carried objects: an unorganised pile makes it harder to distinguish bait, tools and a result that should be kept.
If two players share the opening tasks, agree which one is controlling the rod and which one is finishing or selling the catch. Avoid making a sale decision while someone else is reserving the same object for food or collection checks. The website does not inspect the game save, so a tick on a browser checklist is a reminder of your plan rather than evidence that an in-game task has completed.
Trace the story chain by the object in your possession
If you have Beer, the next interaction is the keeper exchange. If you have the Empty Beer Can, prepare the Crab Fishing Rod and the boss supplies. If Spider Crab is defeated, look for the shell and take it to the keeper. If you have Boat Keys but cannot navigate, check the separate Radar purchase. Each object points to a different next action, so repeating ordinary fishing cannot resolve every blocked step.
Protect the shell immediately after the fight instead of resuming the sale routine. In co-op, give the hand-in to one person so another player does not clear it with the ordinary catches. Finish the conversation and collect the reward before declaring the island complete. A boss defeat, an accepted shell delivery and holding the keys are related checkpoints, but they are not interchangeable.
Bring the right equipment back for a missing shell creature
Forest introduces the separate Fishing Rod and its ordinary fish pools. That later tool does not erase the Lighthouse pairing for Brown Crab, Shrimp, Rock Crab or Lobster in this reference. For a return trip, check both the missing creature and the rod before buying extra bait. A correctly named Hot Dog on an assumed later setup is not the recorded Lighthouse method.
Retain useful tools deliberately when moving supplies between shore and boat. The historical ground-item save limit is a reminder to keep important equipment identifiable, not a reason to abandon it in an unlimited pile. Once your intended entry or departure task is complete, stop the fishing loop and check the next route objective. The opening rod remains a targeted tool for its recorded pools rather than a universal replacement for later equipment.
Guide images
View 7 related images