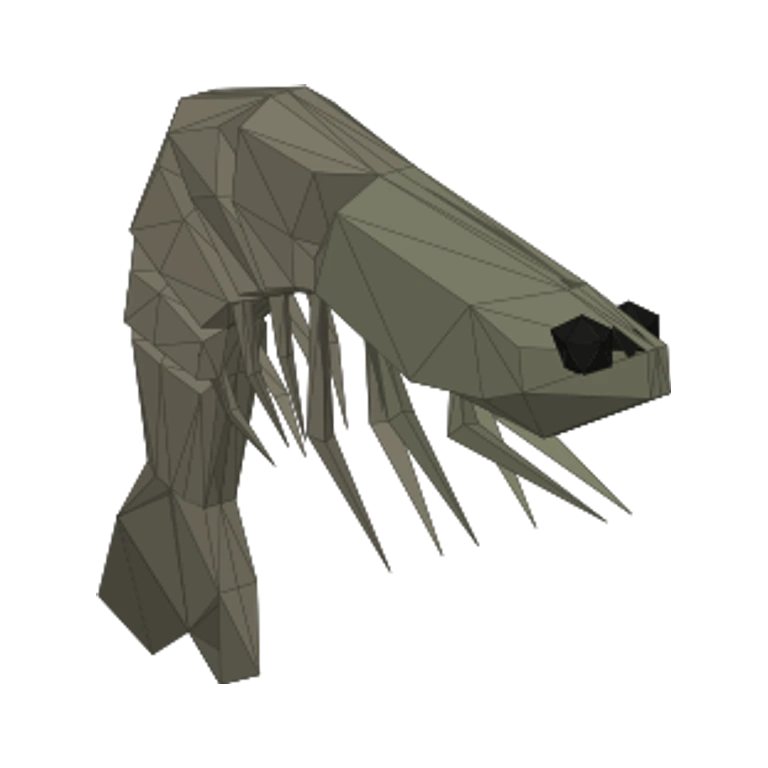
- Supply
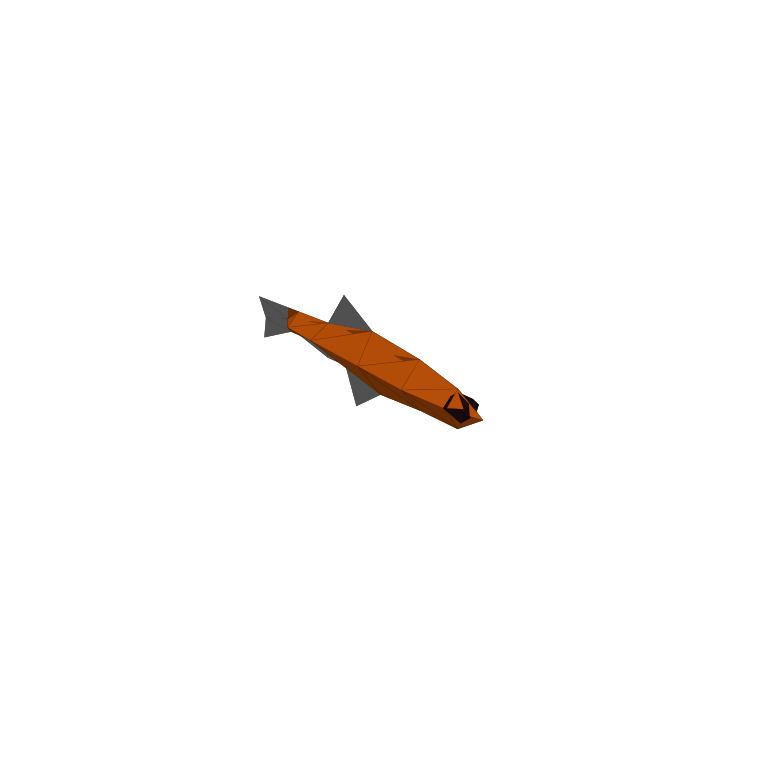
- Scientific Lure
- Route stage
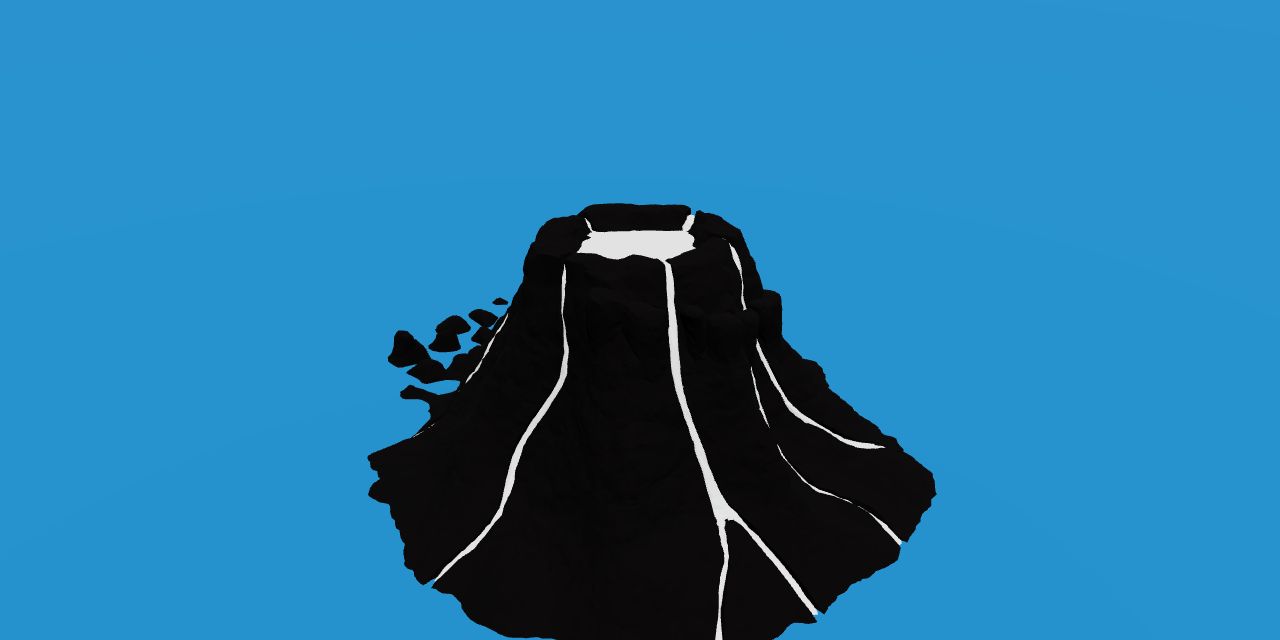
- Volcano Island
- Reference price
- $500
- Rod
- Fishing Rod
Game version and evidence: Base equipment prices, damage and catch pools: Patch 1.0.10 reference. These figures are not a new playtest of the latest release.
Game imagery: How to Fish by Dazed Games. Rights remain with the respective owners. Media and source notes.
When to choose the Scientific Lure
The Scientific Lure costs $500 and serves the regular Volcano pool. This is a substantial supply expense, so plan around the Scientist’s request and the final equipment budget together. Catching for the request and selling indiscriminately work against each other.
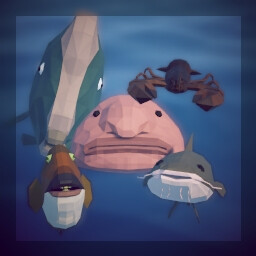
Recorded catch pool
Base values describe the creature before sale modifiers. This list identifies possible catches; it does not specify their probabilities.
| Creature | Base value | Encounter |
|---|---|---|
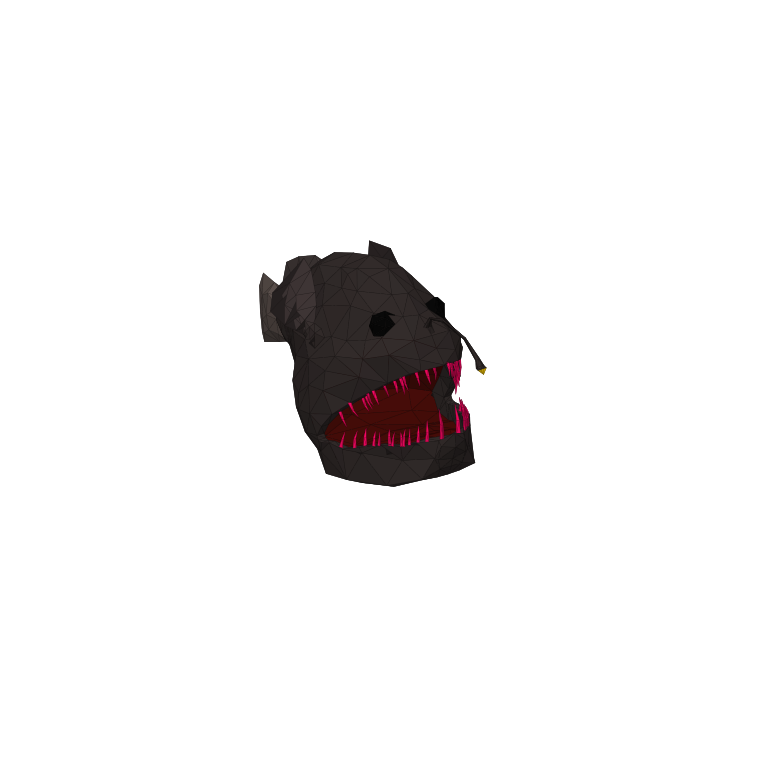
| Anglerfish | $1,500 | Regular catch |
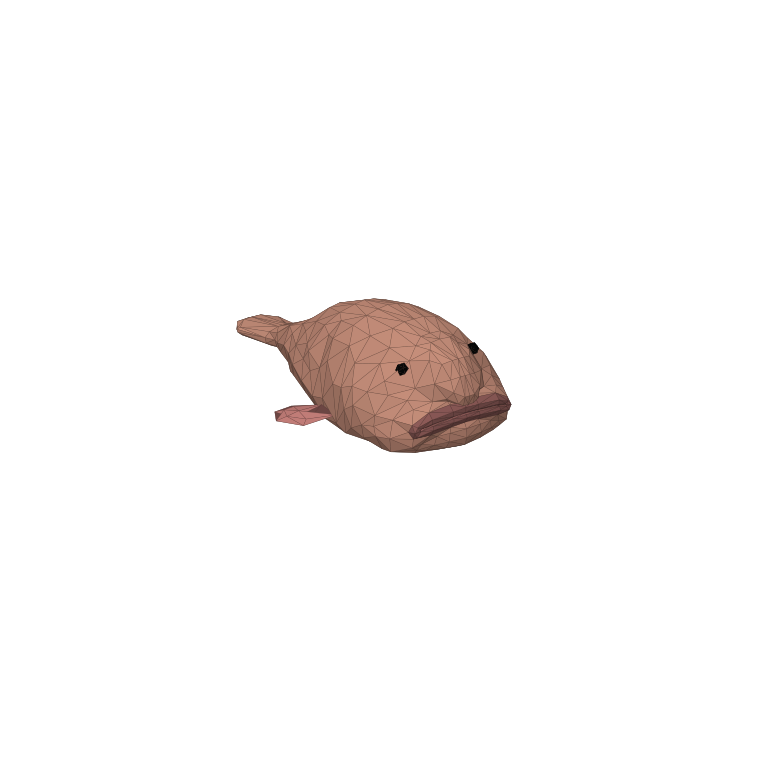
| Blobfish | $1,360 | Regular catch |
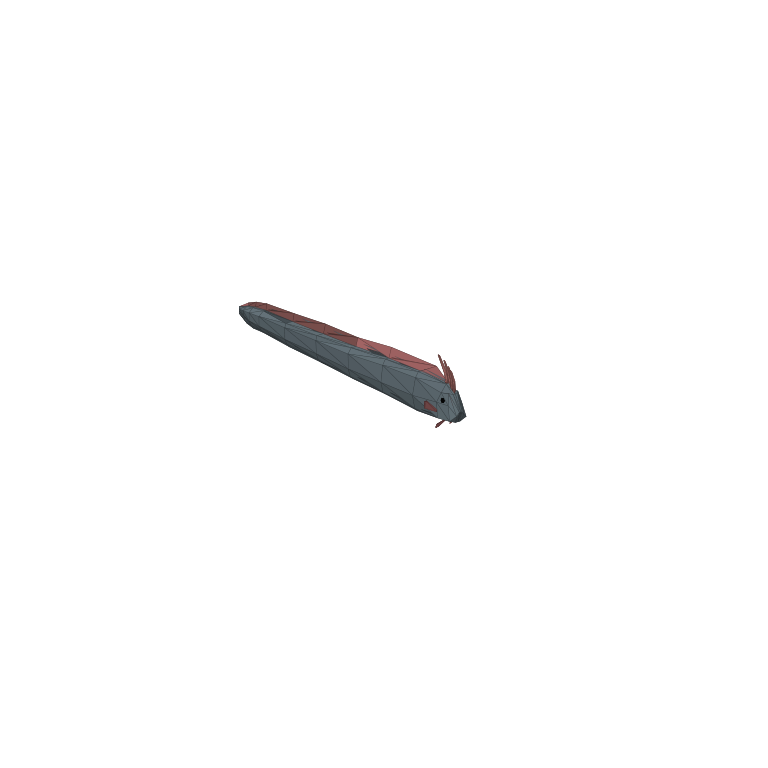
| Oarfish | $1,450 | Regular catch |
| Superdwarf Fish | $1,700 | Regular catch |
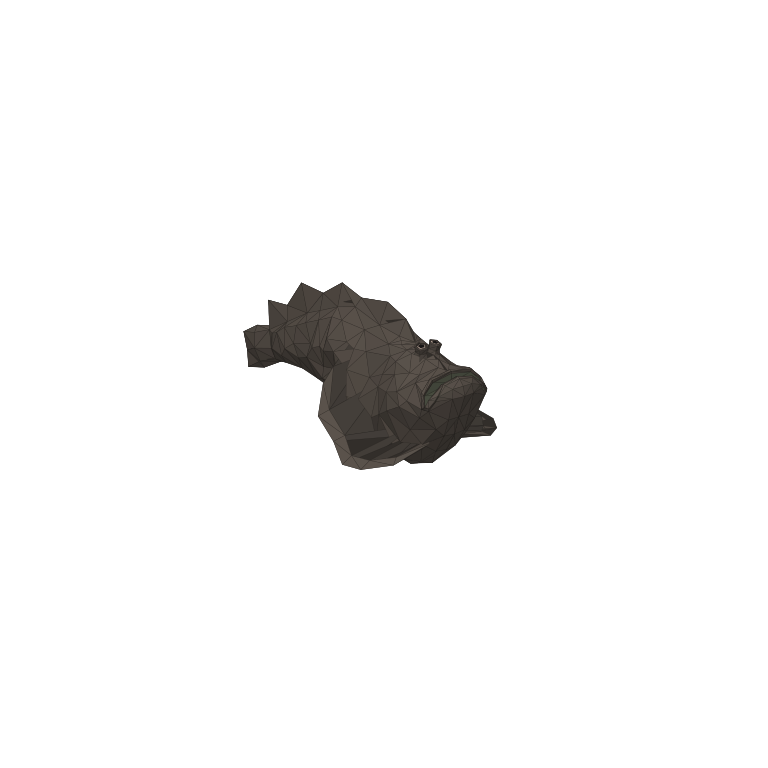
| Stonefish | $1,500 | Regular catch |
Plan the fishing trip
Read the Scientist’s requested fish before starting. Set those fish aside as they arrive, and use surplus catches for money or healing. The final route requires the five-fish hand-in for the Fish Bucket; purchasing a different lure does not bypass that exchange.
Reserve enough resources for both whale encounters before using the quest reward. An extra optional purchase is less useful than arriving at the ending sequence with ammunition, healing and the required trigger item still available.
Keep the next objective in view
Goblin Shark belongs to the separate $5,800 Scientific Boss Lure encounter. That is an optional collection expense, not the trigger for Bowhead Whale. Keep the two objectives in different parts of the budget.
The table covers the launch-era Scientific pool. The Islet Update added further bait and creatures, so use the newer Fishipedia guide when the missing entry is outside this list.
Check a known creature in Fishipedia
Patch 1.1.3 added a bait-name hint to Fishipedia after you have defeated a creature once. Use that hint when revisiting a known catch, especially if your installed version includes content beyond this reference pool.
Use the five ordinary values without inventing a drop table
The ordinary Scientific reference contains Blobfish at 1,360 coins, Oarfish at 1,450, Anglerfish and Stonefish at 1,500 each, and Superdwarf Fish at 1,700. This makes the recorded raw-value range 340 coins from lowest to highest. It does not make all five equally likely, and it does not prove that a more valuable fish takes longer to catch or defeat.
Anglerfish and Stonefish illustrate why price alone is a poor collection checklist: the identical 1,500 reference belongs to two different species. Check the name before selling. If the missing entry is a creature introduced after this historical set, the ordinary five-name table may not answer the question; consult the current in-game Fishipedia instead of inferring an additional catch from a similar appearance.
Check a four-figure catch against the 500-coin purchase
For a hypothetical completed unmodified sale after one lure purchase, Blobfish leaves 1,360 minus 500, or 860 coins before other expenses. Superdwarf Fish leaves 1,200 under the same assumptions. Oarfish leaves 950. These examples show the scale of the supply commitment but do not establish a return per cast, a consumption rule or profit per minute.
Charge actual purchases once in your session ledger, then subtract ammunition, food and replacement costs actually incurred. A fish kept for the Scientist is not a sale receipt. If the apparent profit assumes both selling and handing in the same five fish, the budget is counting resources that cannot serve both destinations at the same time.
Let the Scientist order control the first haul
Visit the Scientist and read the five-fish request before starting a long earning run. Keep accepted fish apart from the surplus and watch the hand-in progress. A purse full of coins does not replace the delivery, and a stack of bodies is not proof that the requested set was accepted. Complete the interaction and take the offered Fish Bucket when the order is fulfilled.
After the required catches are secured, reassess whether the next casts are for food, an equipment target or a missing collection entry. That deliberate change of purpose prevents required fish from being sold because the session has drifted into general farming. In a group, make the order visible to the person handling stock so a second player does not undo the separation.
Protect a reserve beyond the first whale
The final route links Bowhead Whale to its mutated follow-up. Use ordinary Scientific catches to build supplies for both rather than funding only the first trigger. The Fish Bucket comes from the Scientist, and the first defeated whale body becomes the next progression object. Neither should be valued as spare sale stock while the ending is unfinished.
The 20,000-coin Assault Rifle reference is a substantial equipment decision, while the 5,800-coin Scientific Boss Lure serves optional Goblin Shark collection. Compare those commitments with the supplies your crew actually needs. The optional lure is not a fee for the whale chain, and paying for it first can delay a story attempt that was otherwise nearly ready.
Choose the correct supply on a return to Volcano
If you want Anglerfish, Stonefish or another ordinary member of this list, check that the attachment is Scientific Lure without Boss in the name. A more expensive item is not an improvement for every target. Goblin Shark belongs to the separate boss pairing, and Bowhead Whale belongs to the Fish Bucket rather than either purchased Scientific lure.
On a cleanup visit, write down the species you still need and stop to confirm each new entry before clearing the haul. A single successful catch can answer a collection question even when it is not the largest sale. This keeps a late-game trip manageable and avoids turning a short return visit into another expensive attempt at unrelated optional content.
Guide images
View 10 related images