- Radar marker
- Pink
- Scientist’s order
- Five requested fish
- First whale
- Bowhead Whale
- Final encounter
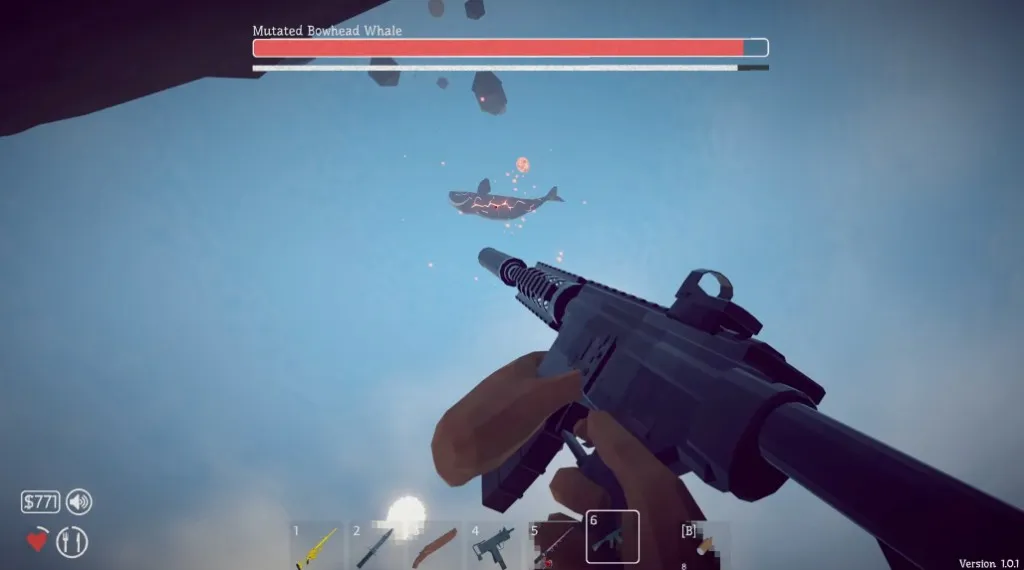
- Mutated Bowhead Whale
Game version and evidence: Known route coverage: Patch 1.0.10. These guides organise the site’s reviewed game facts; they do not claim a fresh playthrough of every later patch. Follow your current quest dialogue if a requirement differs.
Game imagery: How to Fish by Dazed Games. Rights remain with the respective owners. Media and source notes.
Check the requested order before fishing
Volcano is available after the Albatross head exchange. Speak with the island’s military and Scientist characters before committing to purchases. The Scientist asks for five fish; use the current dialogue to identify the order instead of assuming any five catches will work.
Keep those catches separate as you gather them. Scientific Lures support this late-stage fishing loop, but optional encounters are a different expense. Build a reserve of ammunition and healing before exchanging the completed order for the whale trigger.
The first whale is preparation for the finale
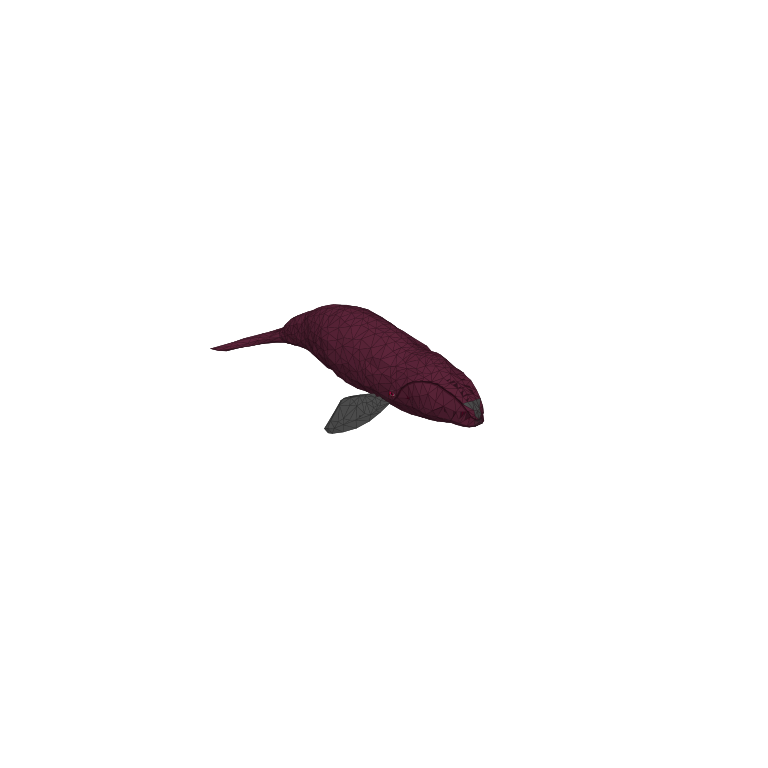
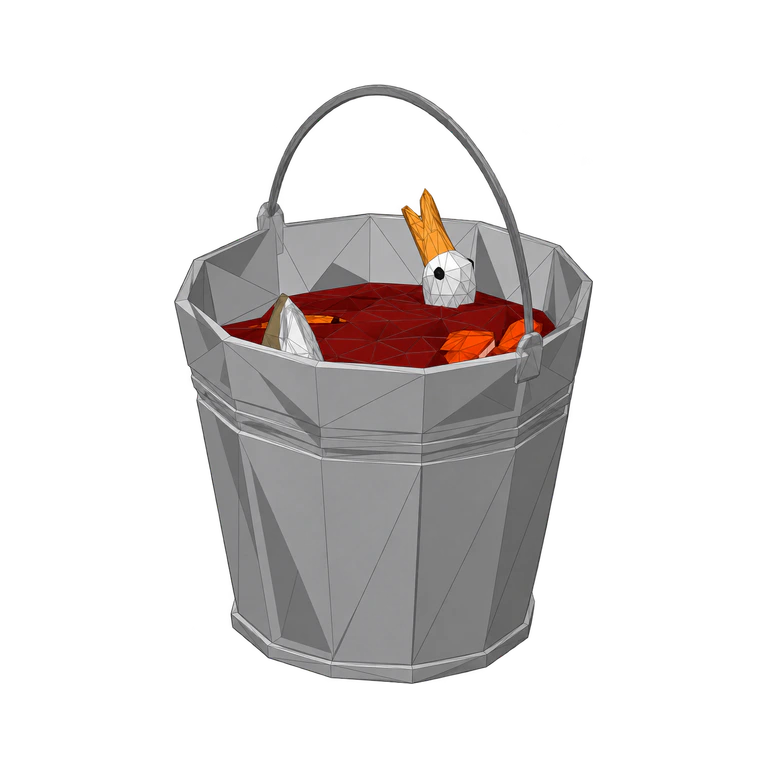
The Scientist’s reward is the Fish Bucket or Whale Bait used for Bowhead Whale. Treat it as a dedicated story trigger. Prepare a clear fighting space and supplies for more than a single health bar before starting.
After defeating Bowhead Whale, keep the body intact. It is needed for the mutated encounter and should not go through an ordinary sell-or-cook routine. Take a moment to heal and reload before carrying it into the final trigger area.
| Stage | Do not skip |
|---|---|
| Scientist order | Check and deliver the five requested fish |
| Bowhead Whale | Preserve the defeated body |
| Mutated encounter | Refill health and ammunition before the trigger |
| After the fight | Finish the ending transport sequence |
Stay for the completion sequence
The mutated fight is the final combat gate. Maintain room to recover and keep spare supplies accessible instead of spending your entire reserve on uninterrupted damage. In co-op, make sure the crew knows when the final trigger is about to be used.
Continue through the ending transport after the boss is defeated. The reviewed route places story completion there, so do not stop at the final kill. Goblin Shark and Scientific Boss Lure collection work can be tracked separately from this finish-game objective.
Make the Scientist’s order the first sorting rule
Volcano’s ordinary catches can serve the Scientist’s request, recovery food, collection or sale income. Read the active order before assigning them to any of those uses. The documented objective is five requested fish; it is not evidence that five arbitrary creatures will be accepted in every version. Keep the requested set apart and confirm the response to each hand-in rather than treating a large mixed pile as a completed order.
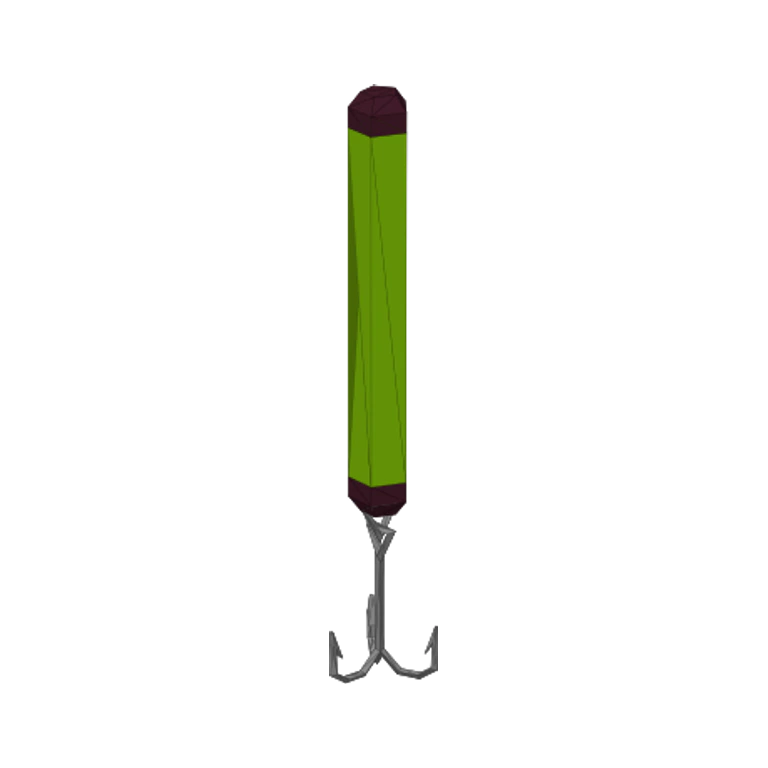
The Scientific Lure reference cost is 500 coins. Three purchases at that price total 1,500 coins before combat expenses, but that is only an arithmetic example. It does not promise three landings, specify lure consumption or prove that the order will be filled. Track what you actually bought and retain the required fish when they appear. An unsold quest fish does not belong in the cash receipts used to fund the final loadout.
Distinguish regular fishing from the Goblin Shark option
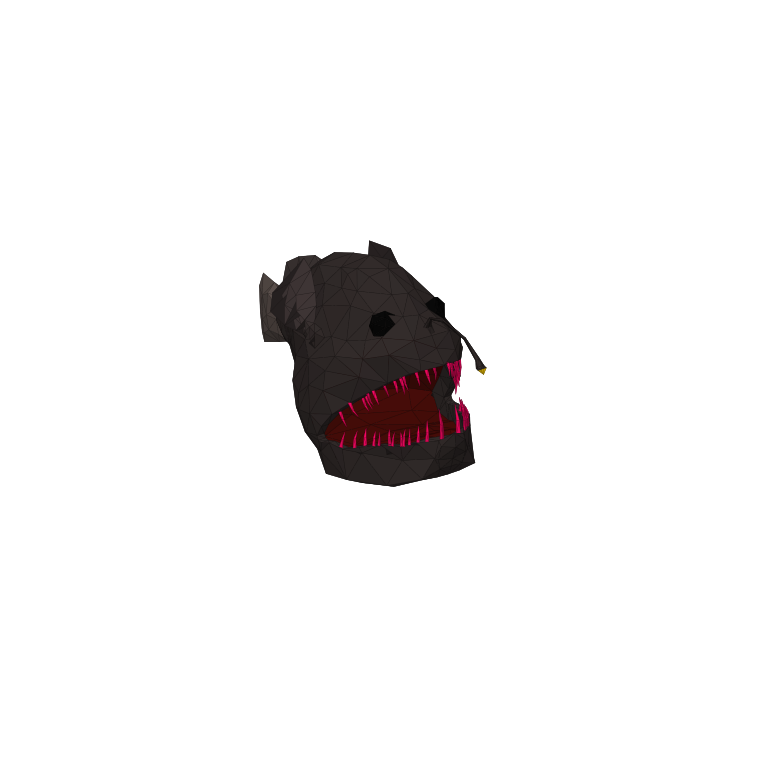
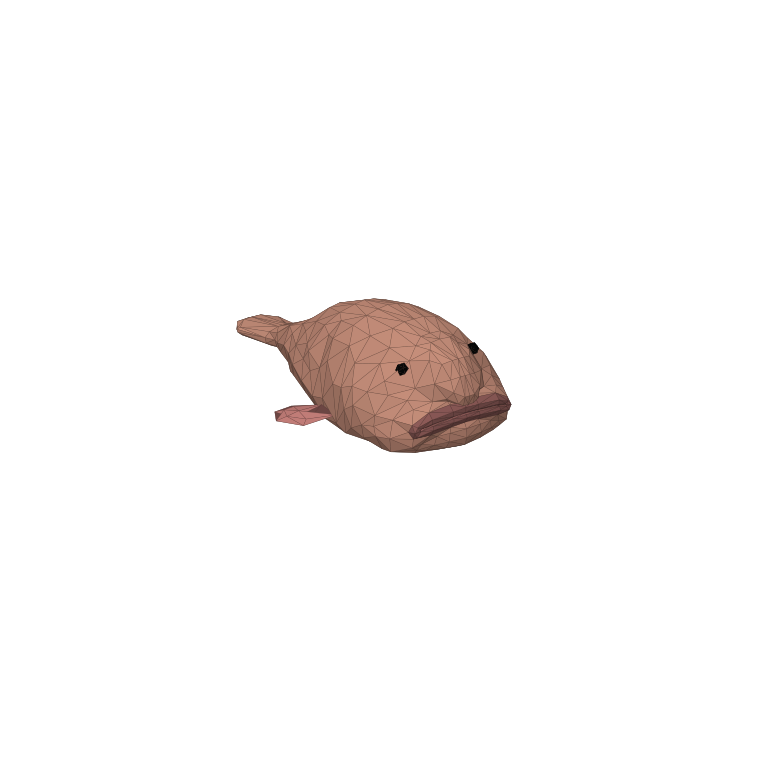
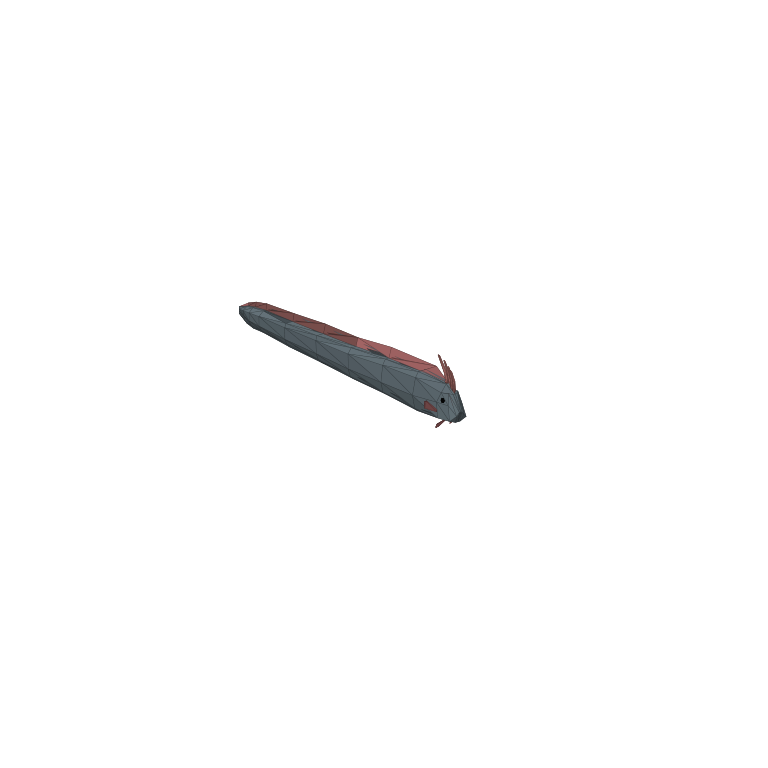
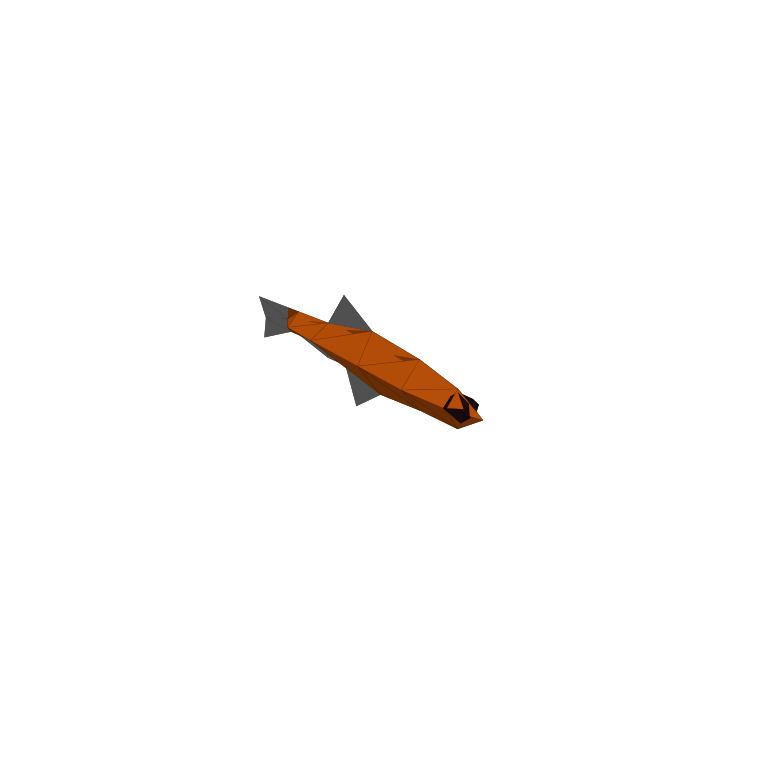
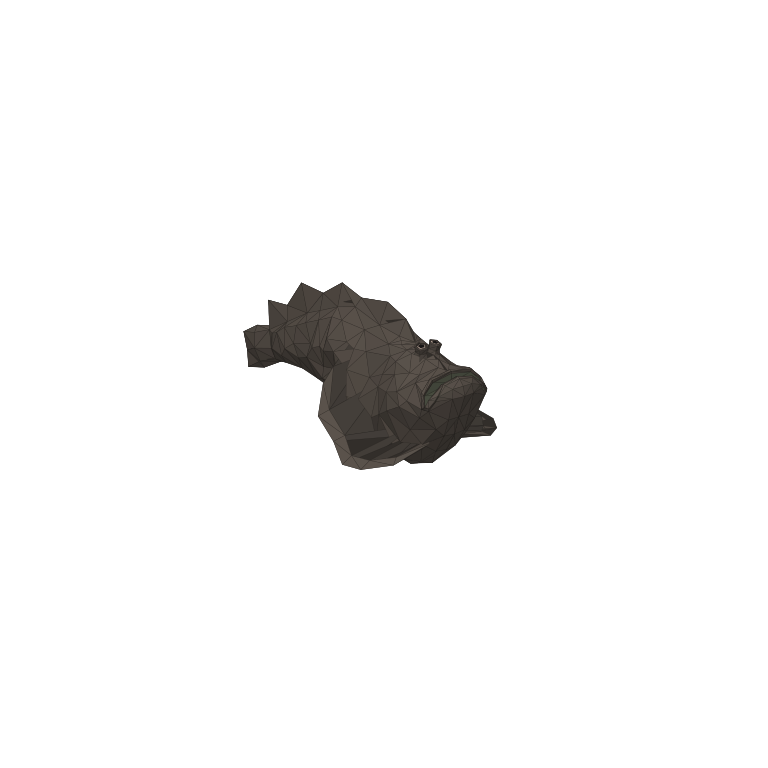
The recorded regular Scientific group includes Blobfish, Oarfish, Anglerfish, Stonefish and Superdwarf Fish. Their raw bases range from Blobfish at 1,360 coins to Superdwarf Fish at 1,700. These are eligible catch references and value comparisons, not a ranking by hourly return. The pool does not include every creature introduced by later updates, so use the current Fishipedia when the missing entry falls outside that historical group.
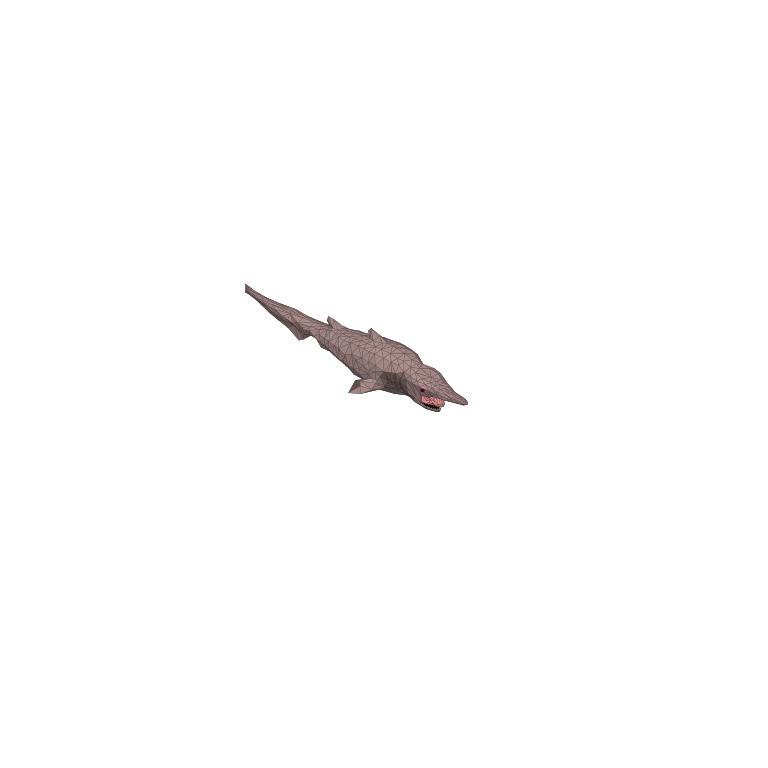
The 5,800-coin Scientific Boss Lure belongs to Goblin Shark. It can matter for a collection route, but it does not award the Fish Bucket or bypass the Scientist’s order. If the immediate goal is finishing the story, reserve the money needed for the whale sequence before spending on that optional encounter. A more expensive lure is not a substitute for the particular quest reward required next.
Stock for the second whale before starting the first
The Fish Bucket, also described as Whale Bait, starts Bowhead Whale. Its body is then needed for the mutated encounter. Prepare the late-stage equipment and recovery supplies with both stages in mind. A loadout that can barely finish the first fight may leave a defeated whale and no comfortable way to begin the finale. Retaining a recovery reserve is a planning choice; the reference does not give one universal number of shots or meals.
Choose room to fight and a place where the large body can be kept visible afterward. When the first whale is defeated, stop the normal sale or cooking routine around that object. Heal, reload and tell the crew before moving into the final trigger. In a group, make one person responsible for the body while others prepare, so the transition does not happen simply because somebody is tidying the area.
Check combat credit and the ending separately
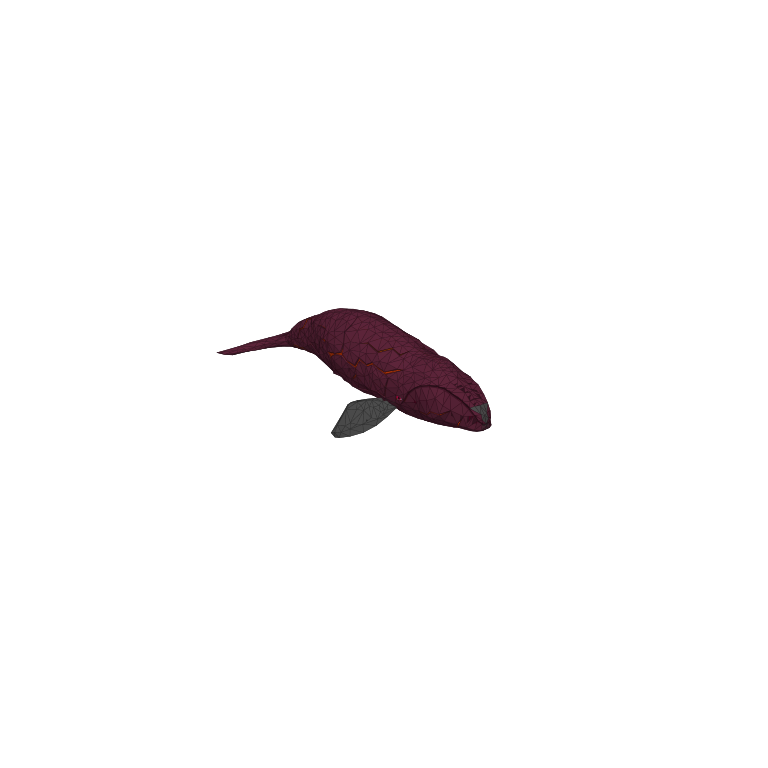
Deadliest catch is the related military objective, while We are so back records the completed ending. They answer different questions. After Mutated Bowhead Whale, retain the distinctive result and finish the remaining interaction and transport sequence. A disappeared health bar is a combat checkpoint; it should not be used as proof that the departure or completion trigger has already happened.
An older recorded ending route describes a trophy exchanged with the Scientist for transport access. The existing quest guide explicitly marks the old recording as outdated, so follow the displayed item name and conversation in your build. Use the sequence—recover the result, finish the relevant hand-in, take the offered transport—without insisting on an old object label when the current objective differs.
Recover the stage that failed, then plan completion work
A missing Fish Bucket is a reason to inspect the order, exchange and uncollected reward. A missing first whale body is a different problem from a final trophy waiting for its conversation. Before spending on more tackle, identify which physical object or interaction is actually absent. This guide does not establish that every lost trigger can be replaced in the same way, so inspect the current NPC and encounter state before repeating the entire island.
Once the ending is complete, review Collector, the separate Drip collection and any deliberate challenge goals in their own checklists. Foot Snail is a ground-pickup entry here, so ordinary Scientific fishing alone does not cover every known Volcano creature. Optional Goblin Shark is another separate collection visit. A special finishing condition such as Handyman requires its own preparation and should not be assumed complete merely because the final creature was defeated.
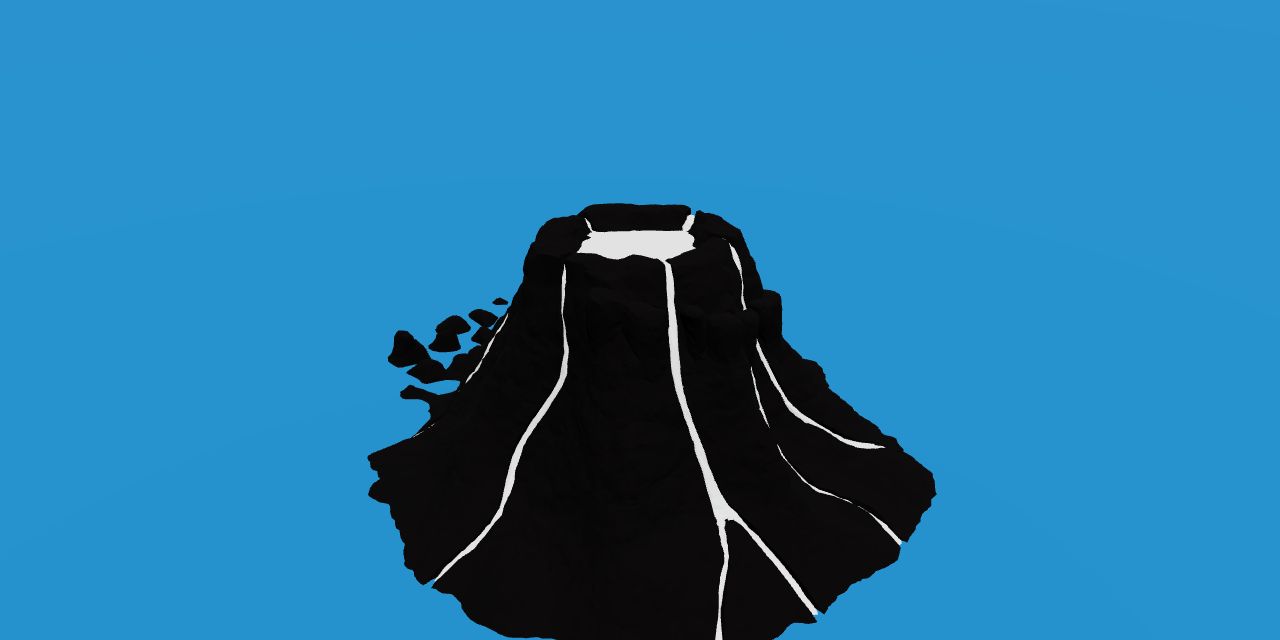
Explore the island in 3D
Rotate the original island model, zoom in on the terrain, or open the viewer in its own tab.
Load the 3D island viewer
Guide images
View 21 related images