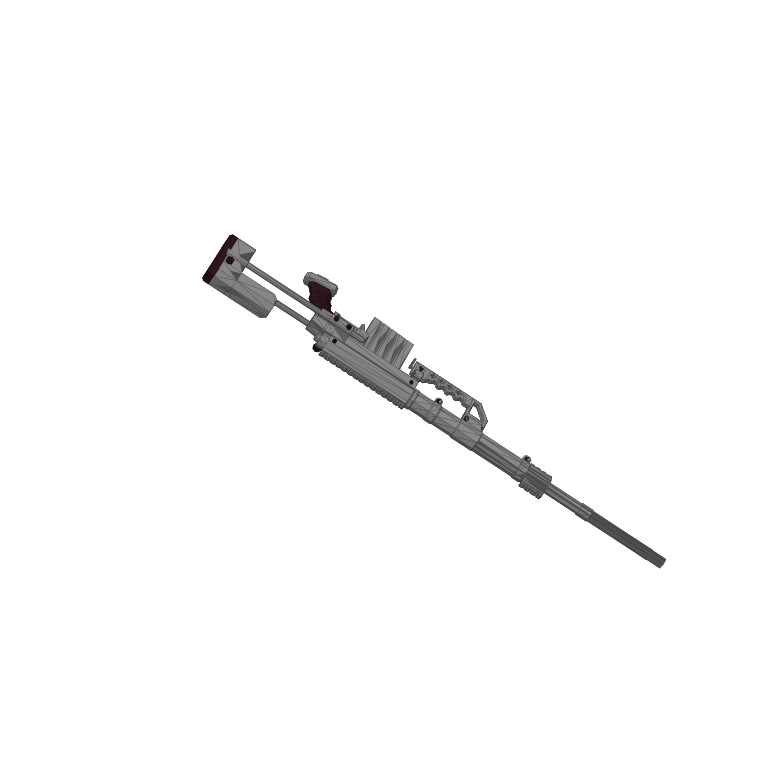
In-game item only. This page discusses equipment in Dazed Games’ How to Fish.
- Category
- Ranged
- Route stage
- Rocks Island
- Reference price
- Check the current shop
- Damage reference
- 200 per shot, before upgrades
Game version and evidence: Base equipment prices, damage and catch pools: Patch 1.0.10 reference. These figures are not a new playtest of the latest release.
Game imagery: How to Fish by Dazed Games. Rights remain with the respective owners. Media and source notes.
Where the Sniper Rifle fits
The Sniper Rifle is the Rocks-stage precision option, with a recorded base damage of 200 per shot. A clear sightline matters more than simply owning the largest damage number. Its main planning advantage is handling targets that are difficult to reach safely at close range, including Albatross.
Prepare the purchase and the encounter
The catalog does not contain a stable purchase price, so check the shop before allocating the rest of the Rocks budget. Keep the $1,200 Professional Boss Lure requirement visible while deciding on equipment.
Prepare for the bird before starting the Tuna chain. Once Tuna is defeated, its body is the Albatross trigger; this is an awkward time to discover that the crew has no comfortable way to engage a flying target.
Make the weapon work for the trip
Pick a position with a clear field of view and enough space to move when the encounter changes. Re-establish the sightline after a miss rather than forcing the next shot through scenery or loose objects.
Distance and no-scope bonus attempts are optional earning or challenge goals. Separate those attempts from the first successful story kill so a difficult shot condition does not distract from securing the trophy.
Compare the complete setup
The 200 figure is per shot before upgrades. It does not establish damage per second, ammunition efficiency or a guaranteed number of hits to finish a particular boss.
If close targets are the problem, another weapon may be easier to use consistently. Purchase the rifle for the encounter and sightline you need, not solely because its single-hit reference is higher.
Budget for the complete Rocks route
Use the current in-game shop price as the start of the calculation. Add ammunition and recovery supplies, then reserve the 1,200-coin Professional Boss Lure reference cost if you are using that route to Tuna. The shop price is deliberately unknown in this guide. An empty price field is not a free weapon, and it should not be replaced with the price of another ranged item.
Separate purchases you need for the next story objective from optional upgrades. Buying the rifle may help with the airborne Albatross encounter, but it does not provide the Tuna body or complete the later head hand-in. If the purchase empties the crew’s remaining budget, compare keeping the present equipment and building a reserve first. The useful question is whether the complete trip is ready, including the supplies needed after the first fight.
Understand what the 200-damage reference can show
The recorded 200 is a base value for one shot before upgrades. For an illustrative damage requirement of 1,000, dividing by 200 gives five full-value hits in a simplified model. The 1,000 figure is an example input, not the documented health of Albatross or any other creature. Actual results also depend on the game build, upgrades, successful hits and any mechanics that the historical table does not describe.
A single-hit figure cannot establish damage per second. To compare two weapons for your own encounter, you would also need repeatable measurements of firing intervals, reload time, misses, ammunition use and time spent repositioning. Until those observations exist, a numerical efficiency ranking would be misleading. Prefer the equipment you can use consistently while keeping a clear path to move, then record the result before making another purchase.
Keep the Tuna-to-Albatross chain intact
Prepare the ranged setup before using the defeated Tuna as the next trigger. Clear loose sale stock from the working area and identify where the crew will move if the bird changes direction. One player can track the target while another protects the progression item, but this division is a planning choice rather than a requirement for a particular party size.
After the bird encounter, the important object is the Albatross head for the frightened islander. Do not include it in a general sale or cooking cleanup. Check the NPC response and the next route unlock before deciding the island is complete. A good weapon result and a completed story hand-in are different checkpoints; the latter is what keeps the campaign moving towards Volcano.
Troubleshoot before repeating an expensive attempt
If a shot does not achieve the expected result, first check the selected equipment, ammunition and line of sight. Reposition around scenery rather than assuming an unverified damage modifier. If the target is close and difficult to track, use a setup suited to that situation instead of forcing every encounter through the rifle. This page does not supply real-world weapon advice or claim that any physical firearm behaves like the game item.
For an equipment correction, record the installed patch, upgrade state, displayed shop offer and encounter used for the comparison. A screenshot of the item description can establish a current displayed value; a combat performance claim needs an account of the method as well. Send the page URL and evidence to the editorial contact. Do not treat the November text revision as proof that all Rocks encounters have been replayed in the latest build.
Guide images
View 5 related images