- Supply
- Professional Boss Lure
- Route stage
- Rocks Island
- Reference price
- $1,200
- Rod
- Fishing Rod
Game version and evidence: Base equipment prices, damage and catch pools: Patch 1.0.10 reference. These figures are not a new playtest of the latest release.
Game imagery: How to Fish by Dazed Games. Rights remain with the respective owners. Media and source notes.
When to choose the Professional Boss Lure
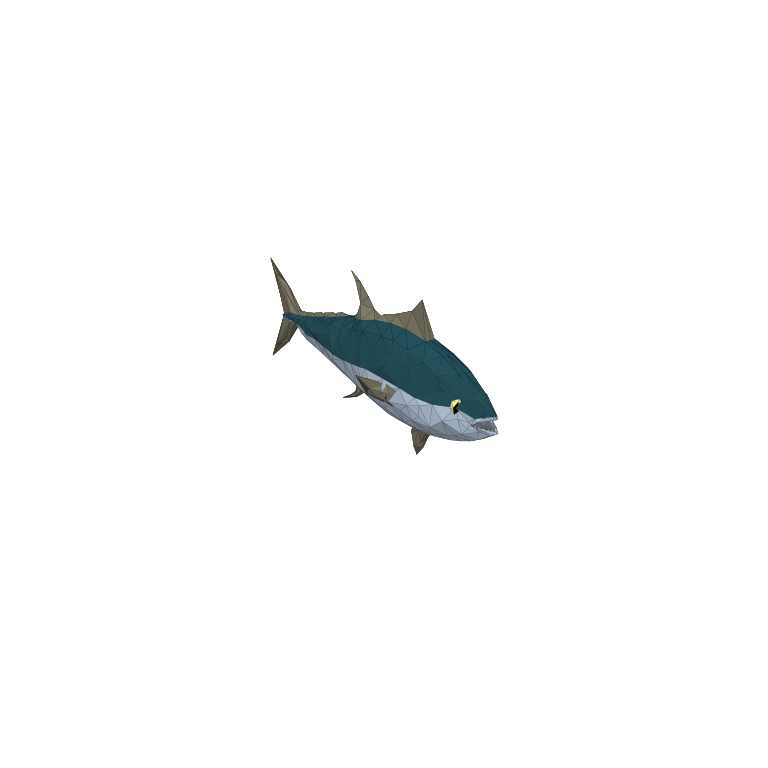
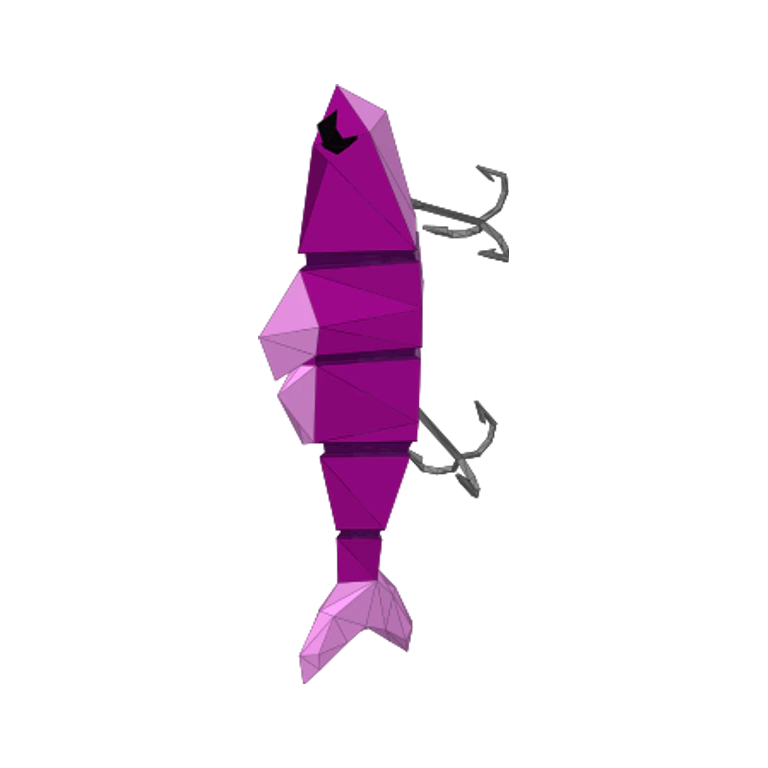
The $1,200 Professional Boss Lure is the first paid step in the Rocks story chain: catch Tuna, defeat it, then use its body to attract Albatross. The Tuna is therefore both an encounter and an item you must protect after the fight.
Recorded catch pool
Base values describe the creature before sale modifiers. This list identifies possible catches; it does not specify their probabilities.
| Creature | Base value | Encounter |
|---|---|---|
| Tuna | $2,000 | Boss encounter |
Plan the fishing trip
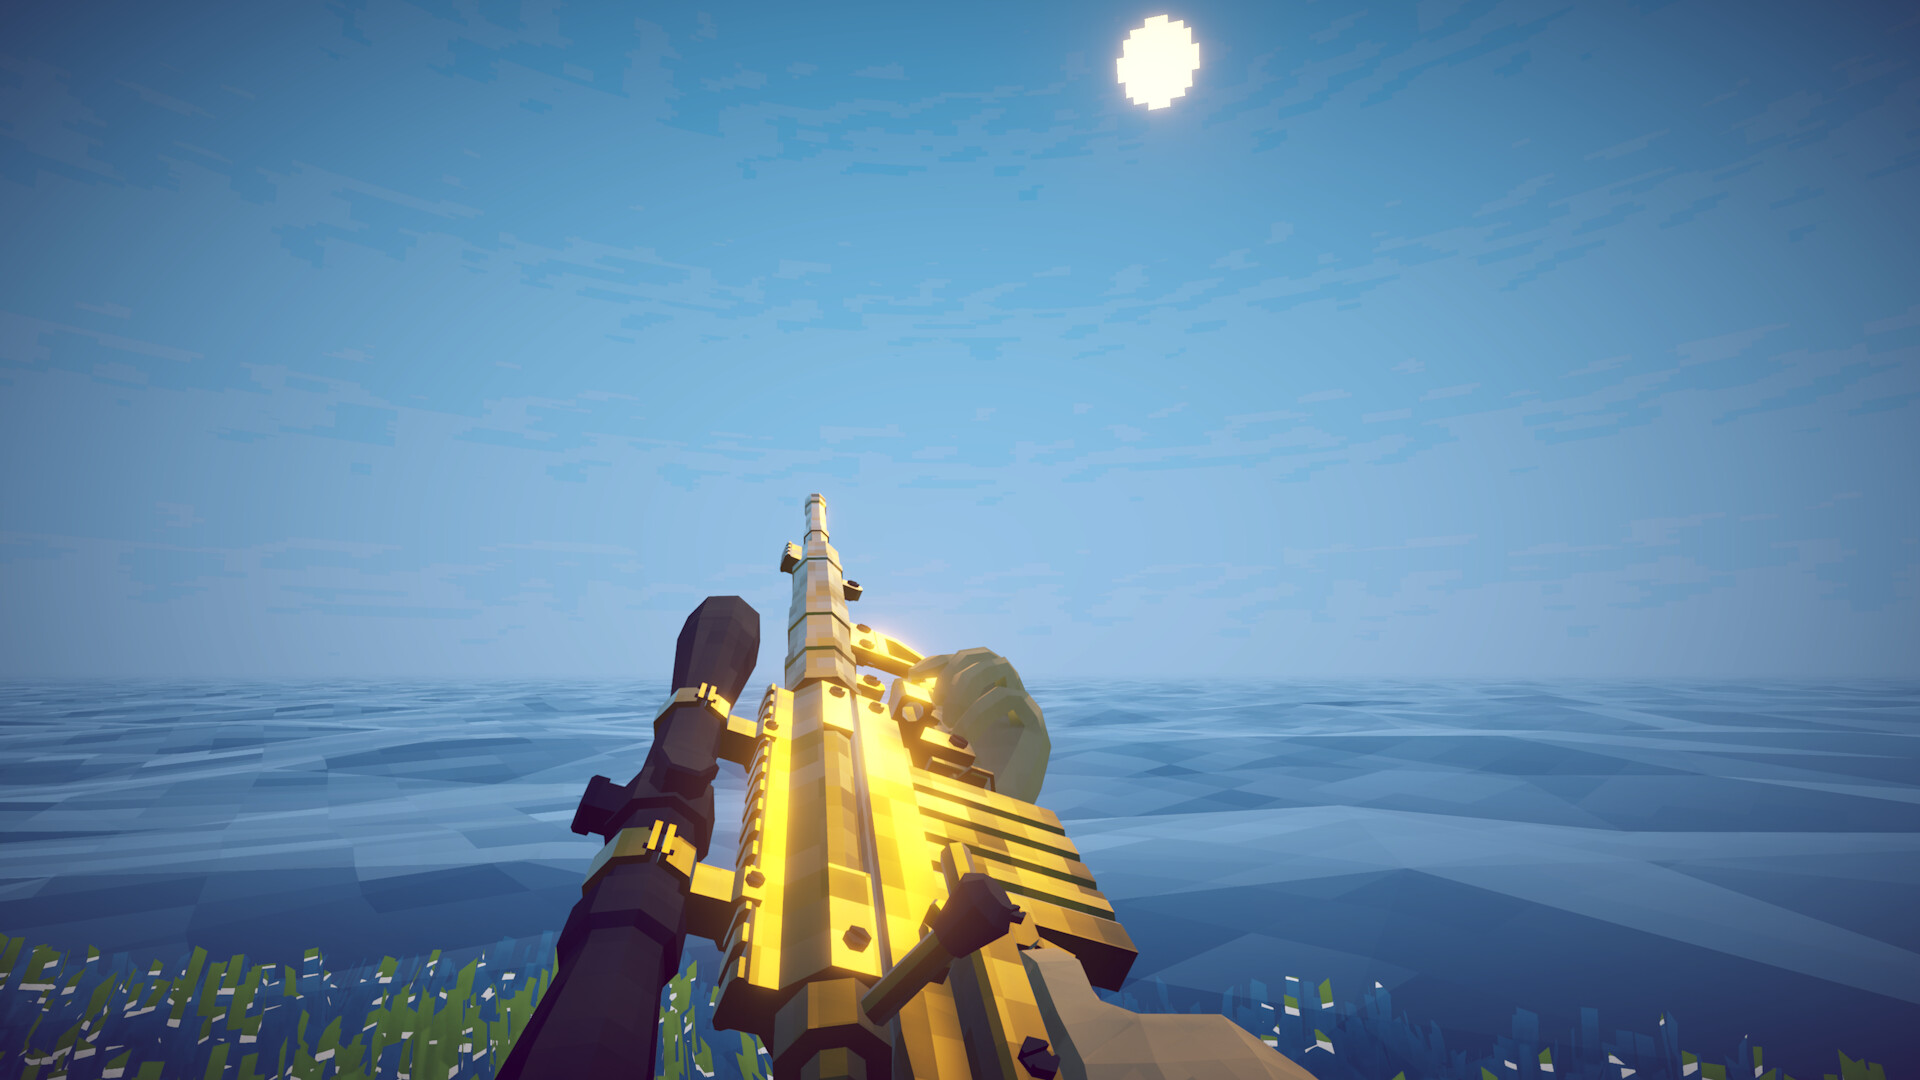
Finish the important weapon purchases before spending the lure budget. A ranged weapon that can handle an airborne target will be useful for the second fight, so prepare for Albatross before starting Tuna.
Once Tuna is defeated, separate the body from anything intended for sale or cooking. Put it on open ground for the Albatross trigger when the crew is ready. Keeping it as a route object prevents the income routine from interrupting progression.
Keep the next objective in view
The lure does not directly produce Albatross. There are two distinct transitions: the lure leads to Tuna, and the defeated Tuna body leads to the bird. If the sequence seems stuck after the catch, check which physical object the next step needs.
After Albatross falls, the required hand-in changes to its head. Return that trophy to the frightened islander to reveal the Volcano route; the original lure has already served its purpose.
Check a known creature in Fishipedia
Patch 1.1.3 added a bait-name hint to Fishipedia after you have defeated a creature once. Use that hint when revisiting a known catch, especially if your installed version includes content beyond this reference pool.
Cost the two-fight route before spending 1,200
List four jobs before the purchase: obtain Tuna, finish it, handle the airborne Albatross encounter and deliver the final head. Equipment sufficient for the first fish may leave the second job awkward. Prepare the ranged setup, ammunition and food with the whole chain in view. A lure bought at the end of an exhausted shopping budget does not make the remainder of that chain ready.
Use the prices actually displayed by your current shops for the equipment lines. The historical guide records the lure cost but does not provide every stable weapon price. Keep the 1,200-coin requirement as a distinct line rather than treating it as part of a generic fishing allowance. This makes the point at which the trip becomes affordable easier to judge.
Choose between a sale and the story trigger
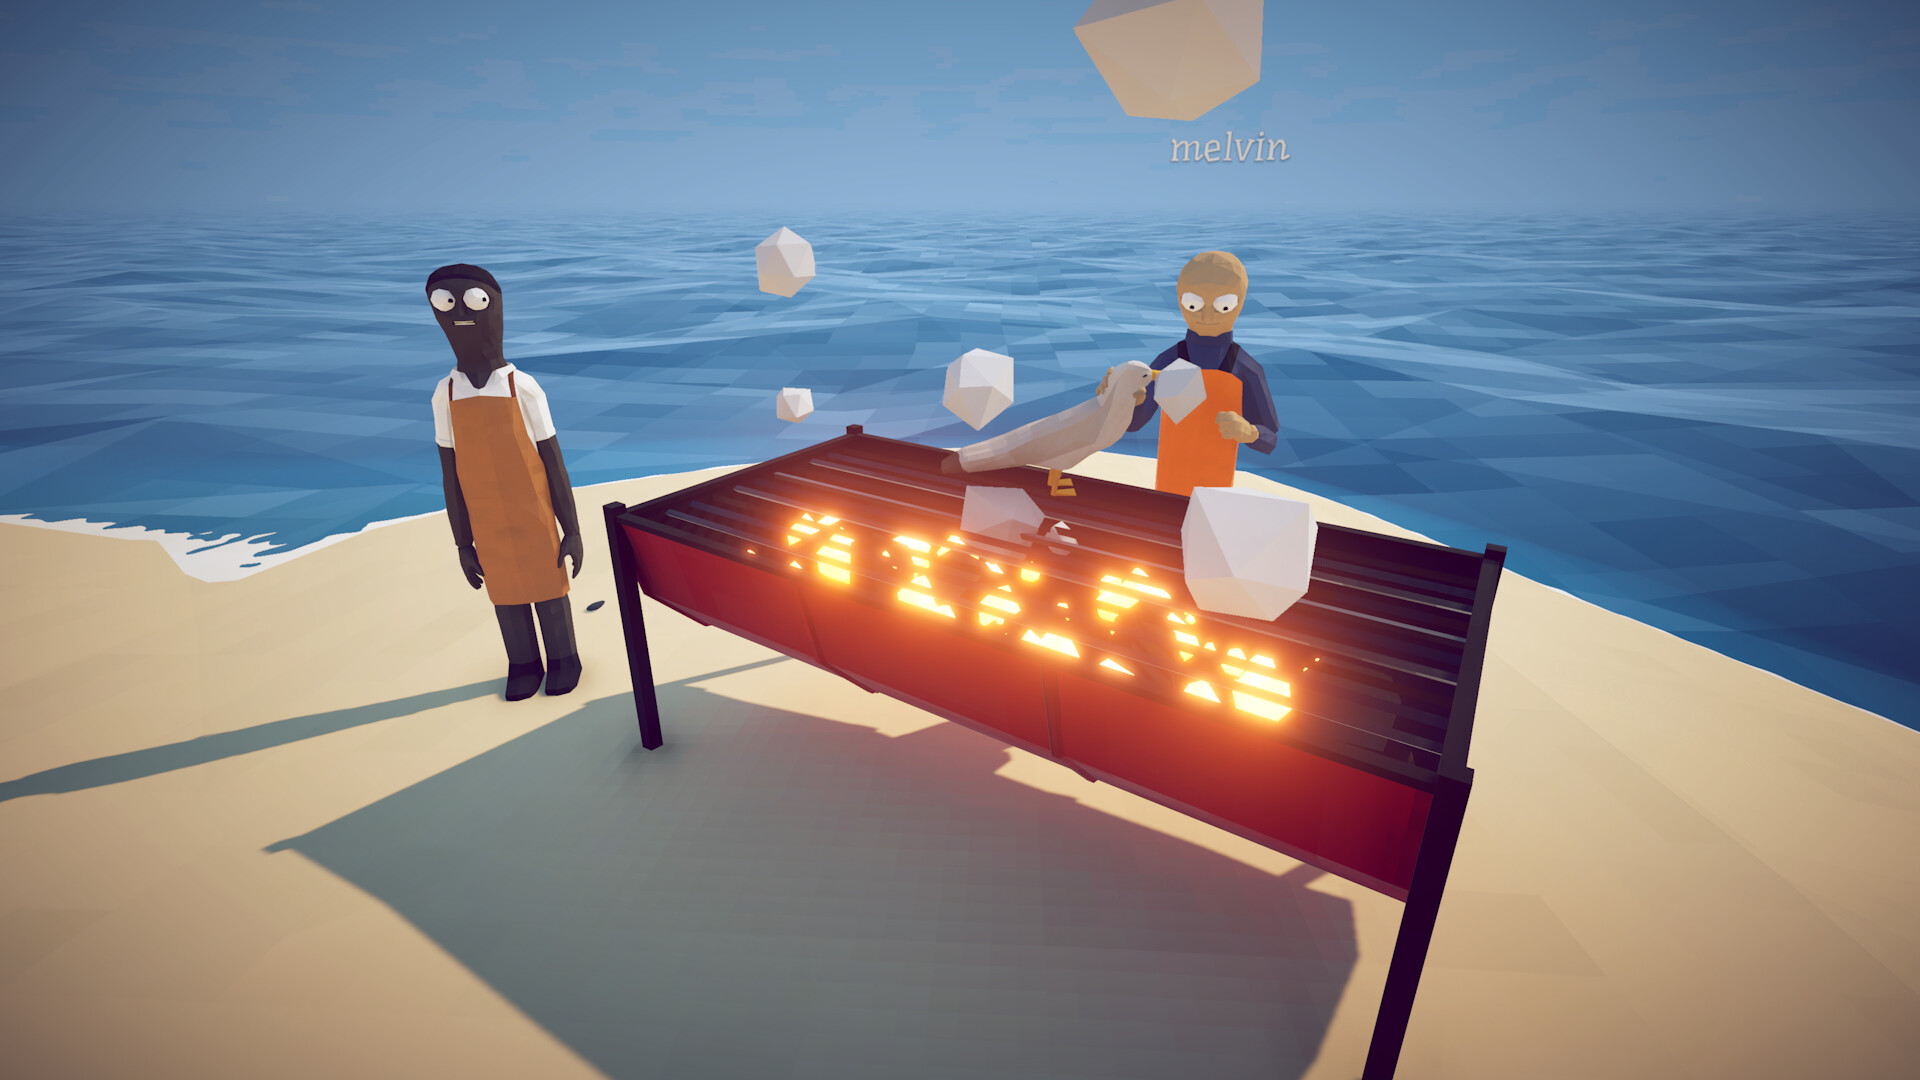
Tuna has a recorded 2,000-coin raw base. An illustrative unmodified sale after one 1,200-coin lure purchase leaves 800 before combat expenses. That calculation is relevant only if you actually sell the fish. On the unfinished story route, the body is needed for Albatross, so that 2,000 cannot also be available to buy the next supplies.
The temptation is strongest when the first fight used more resources than expected. Pause and restock from other available funds rather than automatically selling the one object required for the follow-up. A short income detour using regular catches can preserve the route, whereas cashing out the trigger turns the supply problem into a new acquisition problem as well.
Know exactly when the lure has done its job
The boss lure leads to Tuna on the Fishing Rod. The defeated Tuna then becomes a physical ground trigger for Albatross. Those are different kinds of action. If the bird has not appeared after the fish is defeated, check whether the body has been retained and placed as required; attaching another lure is not the same step.
Choose the staging ground before moving the body there. You want room to see the incoming target, room to reposition and a place to recover the final head. Avoid turning a shop corner or a mixed pile of sale bodies into the encounter site. These are practical handling considerations, not a claimed exact coordinate or a new rule about how far the trigger must be carried.
Give the two progression objects different handoffs
A useful co-op plan names one person responsible for Tuna until the bird trigger is complete and another responsible for collecting the Albatross head after combat. The same person can do both in a smaller crew. What matters is that everybody knows which object is reserved at each stage, especially when someone is clearing ordinary stock or preparing food.
After Albatross, the Tuna lure is no longer the immediate problem. Retrieve the head and return to the frightened islander. Check the response and the Volcano route before leaving Rocks. A successful first fight, a successful second fight and an accepted hand-in are three separate checkpoints; one should not be silently used as evidence that the others happened.
Recover at the broken link rather than restarting blindly
If Tuna has not been obtained, verify the Fishing Rod and the Professional Boss Lure attachment. If Tuna is defeated but no bird follows, locate the retained body and inspect the ground-trigger step. If Albatross is defeated but Volcano remains unavailable, follow the head delivery. These observations identify different missing actions and should lead to different repairs.
The regular Professional pool also records Tuna, but the available table does not compare its encounter frequency with this dedicated setup. Do not turn that overlap into a guaranteed cheaper replacement plan. Once the route is complete, future Tuna attempts can be evaluated as collection or sale work; until then, protecting the body is more important than its attractive raw price.
Guide images
View 9 related images