- Island
- Volcano Island
- Finish check
- Fish Bucket used; defeated Bowhead body preserved
Game version and evidence: Route coverage: the documented Patch 1.0.10 progression baseline. Follow the objective and item names shown in your game; these notes do not claim a new playtest of the current patch.
Game imagery: How to Fish by Dazed Games. Rights remain with the respective owners. Media and source notes.
Complete the request shown by the Scientist
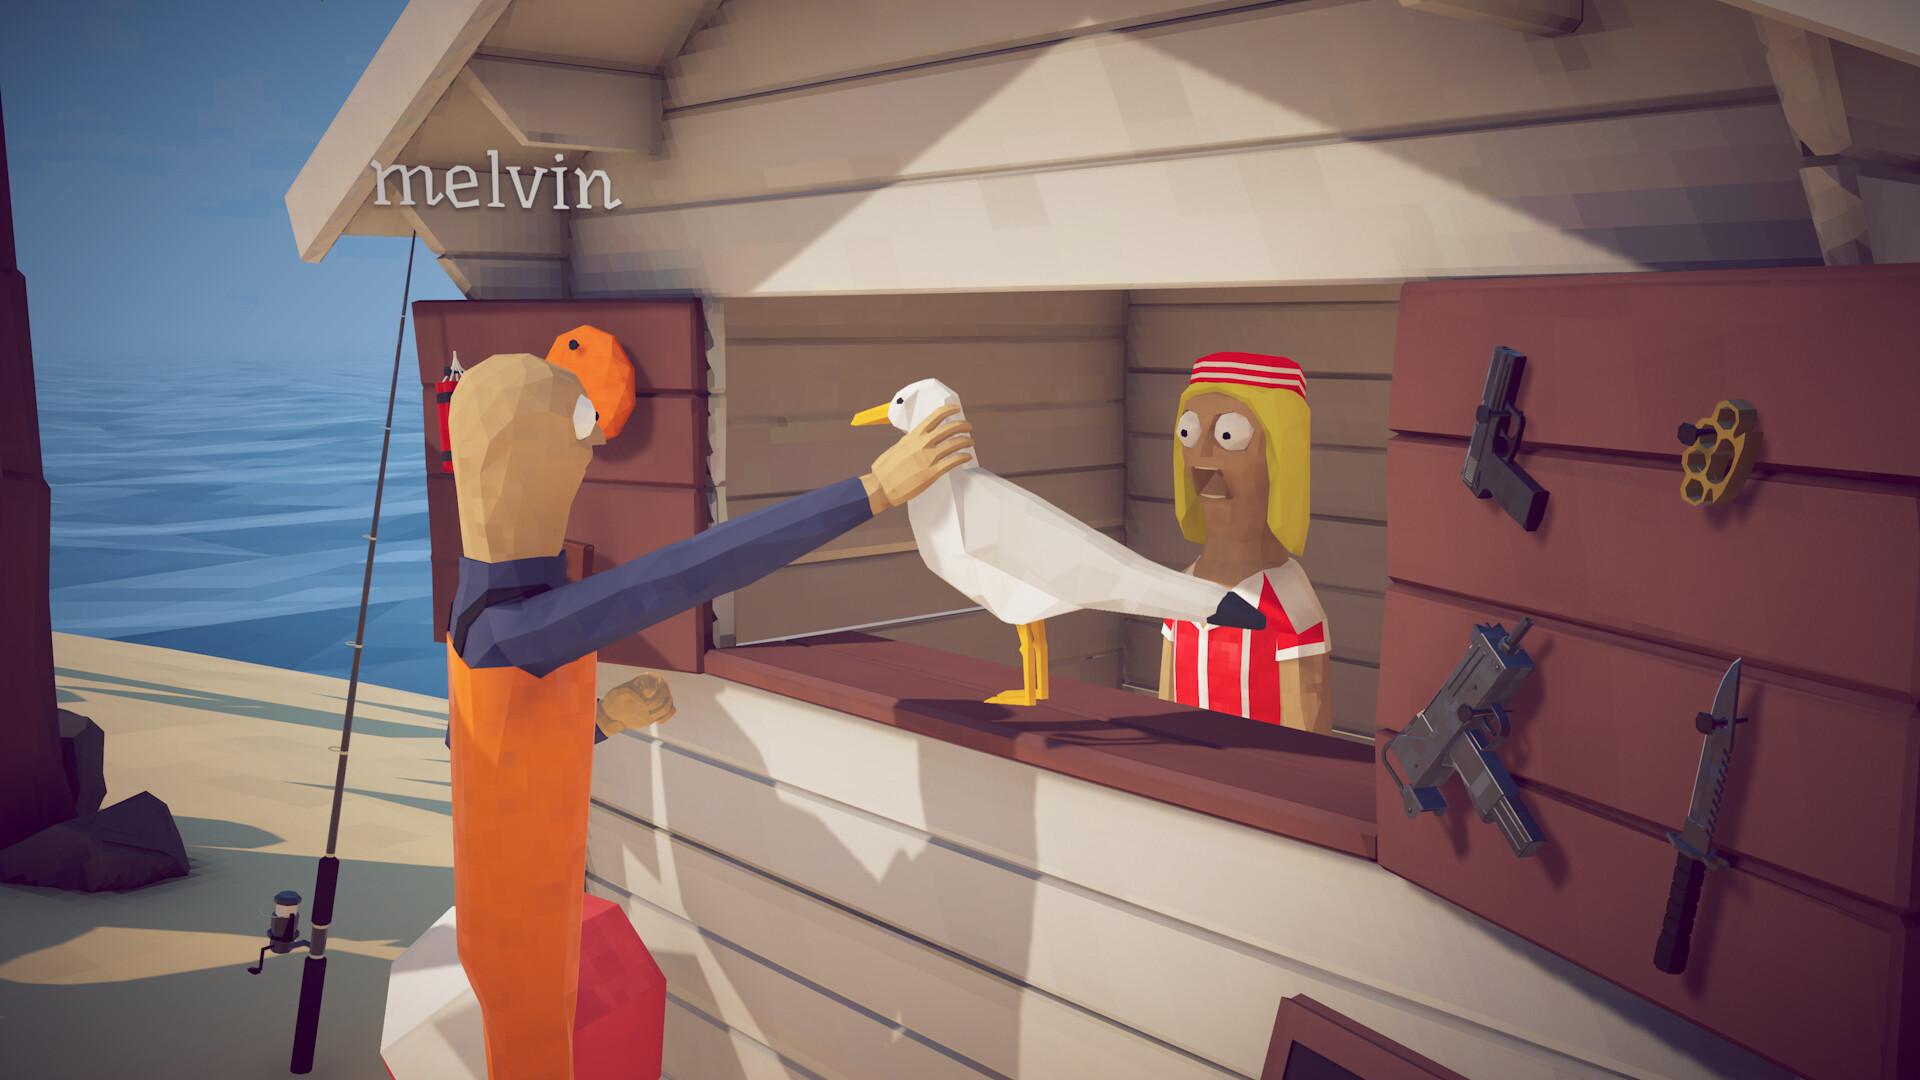
Speak to the Scientist on Volcano and check the five-fish objective before gathering the order. Keep accepted catches separate from the food and fish you intend to sell, and watch the hand-in counter as you deliver them.
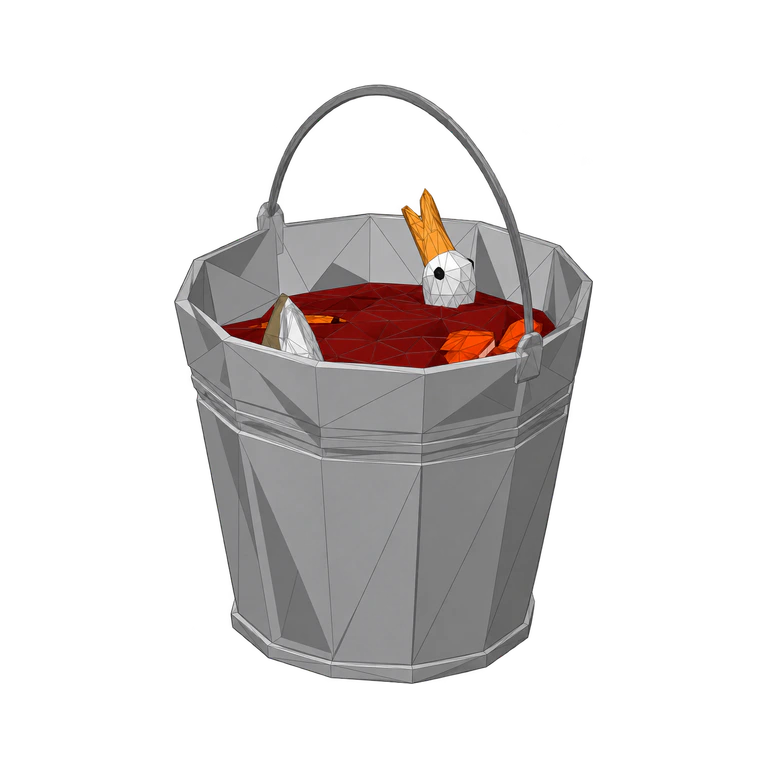
Scientific Lures support local fishing and income, but the reward for this request is the Fish Bucket, also described as Whale Bait. Take the offered item after the exchange; filling a counter and picking up its reward are different actions.
Plan past the first whale
- Fill the Scientist’s five-fish order using the active in-game requirements.
- Collect and reserve the Fish Bucket.
- Buy ammunition, prepare food and clear space for the large body.
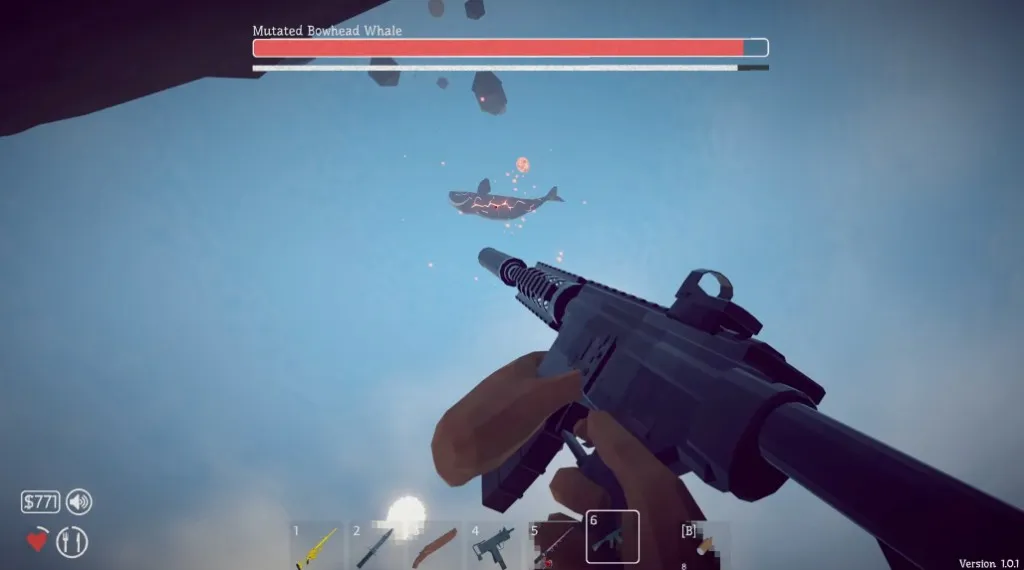
- Use the bucket to summon Bowhead Whale and defeat it.
- Keep the defeated whale intact for the final encounter.
The first whale is a trigger, not the ending
Do not sell or cook Bowhead Whale after the fight. Move into the mutated-whale portion only after resupplying; cashing out the first body removes the object needed for that progression attempt.
The Scientific Boss Lure is a separate Goblin Shark purchase. It does not replace the Scientist’s request or produce the Fish Bucket.
Read the order before deciding what to keep
Speak to the Scientist before making a long Scientific Lure trip. The historical route records a five-fish request, but the current dialogue determines which catches the exchange accepts. Do not turn the number five into a claim that any five objects will work. Check each candidate against the request and keep accepted fish separate from the stock intended for food or sale.
As deliveries are made, inspect the counter or conversation response available in the game. A catch collected elsewhere or remembered from an earlier visit is not the same as a completed hand-in. This distinction becomes important when several players are moving bodies between the shore, shops and cooking area. Agree which objects belong to the order before ordinary cleanup starts.
Budget for the request and the fights afterward
The regular Scientific Lure is recorded at 500 coins. Reserving three purchases would set aside 1,500 before other supplies, but it would not promise a completed order. The figure is a spending example, not a measured number of casts or a statement about lure consumption. Use the actual results and purchase behavior of your build when deciding whether more supply spending is worthwhile.
A surplus Oarfish has a recorded base of 1,450 coins, Blobfish 1,360 and Superdwarf Fish 1,700. Those values can help account for completed unmodified sales, but a fish reserved for the Scientist is not cash income in the same plan. Retain enough resources for the two whale encounters after the request. Using every receipt to continue fishing can leave the earned trigger ready while the fighting budget is empty.
Collect the actual reward before changing tasks
When the order is accepted, collect the Fish Bucket or Whale Bait offered by the exchange. Completing the requested quantity and physically taking the reward are separate actions. If Bowhead cannot be triggered, inspect which one actually happened. The regular Scientific Lure and the Scientific Boss Lure are not substitutes for the awarded bucket, even though they belong to the same island stage.
Give the bucket a clear place while the party prepares equipment. Its value here is access to the story sequence, not its resemblance to an ordinary supply container. In co-op, a named trigger carrier can hold it while others organise ammunition and food. Begin only when everybody understands that the next encounter produces another required object rather than a simple end-of-trip sale.
Prepare an area where the body can be recovered
Bowhead is the first of two related encounters, so choose the working area with the aftermath in mind. Keep a path for repositioning and a place to locate the large defeated body. Equipment, food and clutter should not make the next trigger difficult to identify. Follow the encounter guide’s documented movement advice rather than assuming that the final island can be handled by standing still and trading damage.
This quest page does not establish a boss health total, exact attack interval or minimum ammunition count. Plan using your equipment and demonstrated ability to finish comparable attempts. If the setup is not ready, use the preparation pause rather than the trigger itself to discover the gap. An optional high-score condition is less valuable than keeping enough health and resources to continue into the second encounter.
Reserve Bowhead for the final trigger
After the first whale falls, keep its body intact and identify the next action in the mutated-whale route. Selling or cooking that particular result removes the object the progression plan needs. The party should heal and reload while the body remains protected, rather than having one player clear the sale pile before another explains its story purpose.
Goblin Shark is separate optional collection work with a recorded 5,800-coin Scientific Boss Lure price. That purchase does not produce the Fish Bucket and does not replace either whale. Continue to Deadliest Catch and the ending route when the Bowhead body is ready. The useful completion checkpoint for this guide is a preserved next trigger, not a profitable sale of the first large catch or a tick on a browser-only checklist.
Guide images
View 9 related images