In-game item only. This page discusses equipment in Dazed Games’ How to Fish.
- Category
- Ranged
- Route stage
- Forest Island
- Reference price
- $150
- Damage reference
- 3 per pellet, before upgrades
Game version and evidence: Base equipment prices, damage and catch pools: Patch 1.0.10 reference. These figures are not a new playtest of the latest release.
Game imagery: How to Fish by Dazed Games. Rights remain with the respective owners. Media and source notes.
Where the Shotgun fits
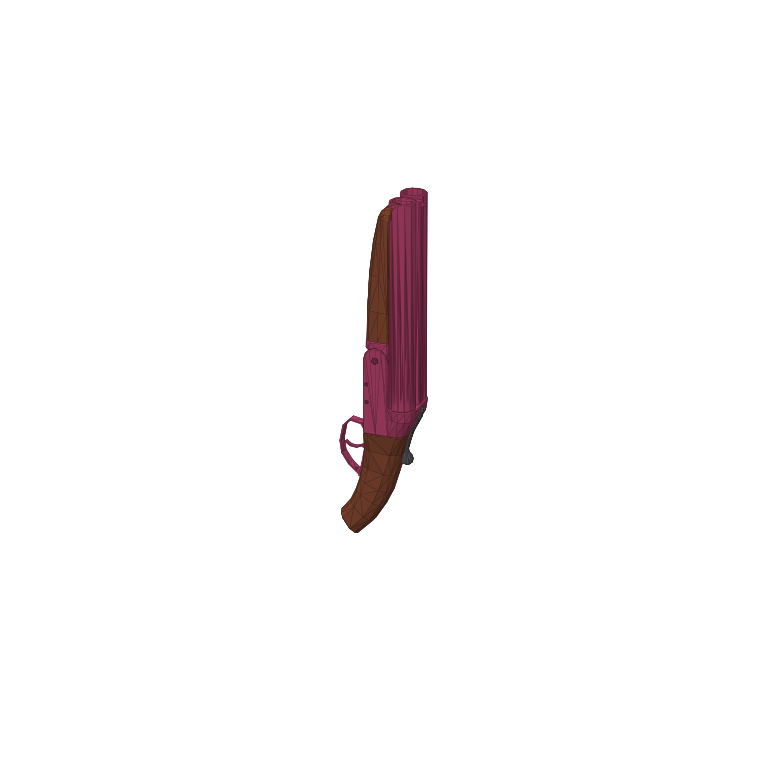
The Shotgun costs $150 on the Forest route. Its recorded damage is 3 per pellet, so the displayed number is not the total damage of a full blast. Its useful role is a close-range burst against a target large enough for more of the spread to connect.
Prepare the purchase and the encounter
Plan a place to fight before bringing the creature onto land or the boat. You need enough room to avoid being pinned while still working at a distance where the spread can connect.
Do not spend the whole Forest budget just to reach this purchase. The three-Leech quest and a workable supply reserve still determine whether the crew can complete Giant Piranha and move on.
Make the weapon work for the trip
Aim at a part of the target you can see clearly and judge the result by connected hits. Firing across an unnecessarily long gap can waste much of the spread even when the aim point looks correct.
Close range is a weapon tradeoff, not a reason to stand inside every attack. Let the creature commit, make room to reposition and use an opening that does not remove your escape route.
Compare the complete setup
For a cautious first firearm, the $50 Pistol leaves more of the budget available and has a simple 25-damage-per-shot reference. For a large target that repeatedly crowds the working area, the Shotgun offers a different pattern of damage.
Do not calculate shotgun performance by multiplying an assumed pellet count: this catalog does not record that count or a guaranteed number of connecting pellets.
Make the extra hundred coins earn its place
The recorded Shotgun purchase is 100 coins above the Pistol: 150 compared with 50. That difference is meaningful during the Forest stage, where a three-coin ordinary lure and a 40-coin optional boss lure compete with equipment for the same money. Pay the premium for a damage pattern you can use, not because a later or more expensive purchase must be universally better.
An illustrative 200-coin budget leaves 50 after the Shotgun. Adding one Beginner Boss Lure reduces the reserve to ten before other supplies. Buying the Pistol and that same lure instead would leave 110. These are alternative baskets, not a claim that either is sufficient to defeat a particular boss. The right basket depends on which encounter you are preparing and which equipment you already own.
Keep per-pellet damage separate from a full blast
The reference assigns three damage to one connecting pellet. If an illustrative shot connected with six pellets at that value, the arithmetic would be 18 damage. If ten connected, it would be 30. Neither six nor ten is documented here as the weapon’s pellet count. They are example inputs demonstrating why a total depends on the number of hits that actually connect.
A useful in-game comparison therefore starts with the target and the distance you can control. A broad target may provide more opportunities for a spread to connect than a small catch seen across an awkward gap. The available data does not supply a falloff curve, a spread diagram or reload timings. Do not turn a convenient arithmetic example into a tested damage-per-second ranking.
Choose room to fight before choosing the cast
Close-range burst damage is useful only if the working area lets you approach and leave. Before a difficult catch, look for obstacles that can interrupt movement: the boat edge, scenery and piles of unsold bodies. Clear the intended path while the area is quiet. That preparation gives you room to react without treating every shot as a reason to remain next to an active creature.
If a creature closes the gap faster than you expected, take that as a positioning problem to solve before another expensive attempt. A bigger supply pile does not create space. Use the relevant boss guide to identify the supported tactic and keep the weapon’s role separate from the encounter’s actual trigger. No timing window or guaranteed stun effect is implied by calling the Shotgun a close-range option.
Choose the Forest objective that justifies the purchase
Dinnertime is the progression route: collect three ground Leeches, exchange them, defeat Giant Piranha and return its distinctive result. Sunfish and The Old Pike belong to optional collection work, even though they share the island stage. If the immediate goal is Desert access, do not let a new weapon encourage a detour through every optional lure purchase before the required hand-in.
If collection is the goal, note the specific missing name before starting. Ordinary Pike is not The Old Pike, and ordinary Piranha is not Giant Piranha. The Shotgun does not change these distinctions. Keep the selected lure and its possible outcomes visible in your plan so a successful fight can be matched to the entry you intended to complete.
Separate a good weapon result from a profitable trip
A successful close-range finish can still use enough recovery supplies to reduce the trip’s cash contribution. Add the actual sale receipts and subtract the supplies purchased, while leaving food or quest bodies outside cash income. Avoid giving every catch its most optimistic possible multiplier when comparing equipment. Use the result you achieved rather than the bonus combination you hoped to earn.
Before leaving Forest, check that the crew retained the Shotgun and the quest result in separate places. Arrange any cooking elsewhere around replaceable catches rather than a story object or equipment pile. If a later patch changes a displayed value, compare the same upgrade state before replacing this historical reference. The immediate practical test is whether the complete setup supports the next route step reliably.
Guide images
View 7 related images