- Island
- Lighthouse
- Finish check
- Spider Crab shell accepted; Boat Keys collected
Game version and evidence: Route coverage: the documented Patch 1.0.10 progression baseline. Follow the objective and item names shown in your game; these notes do not claim a new playtest of the current patch.
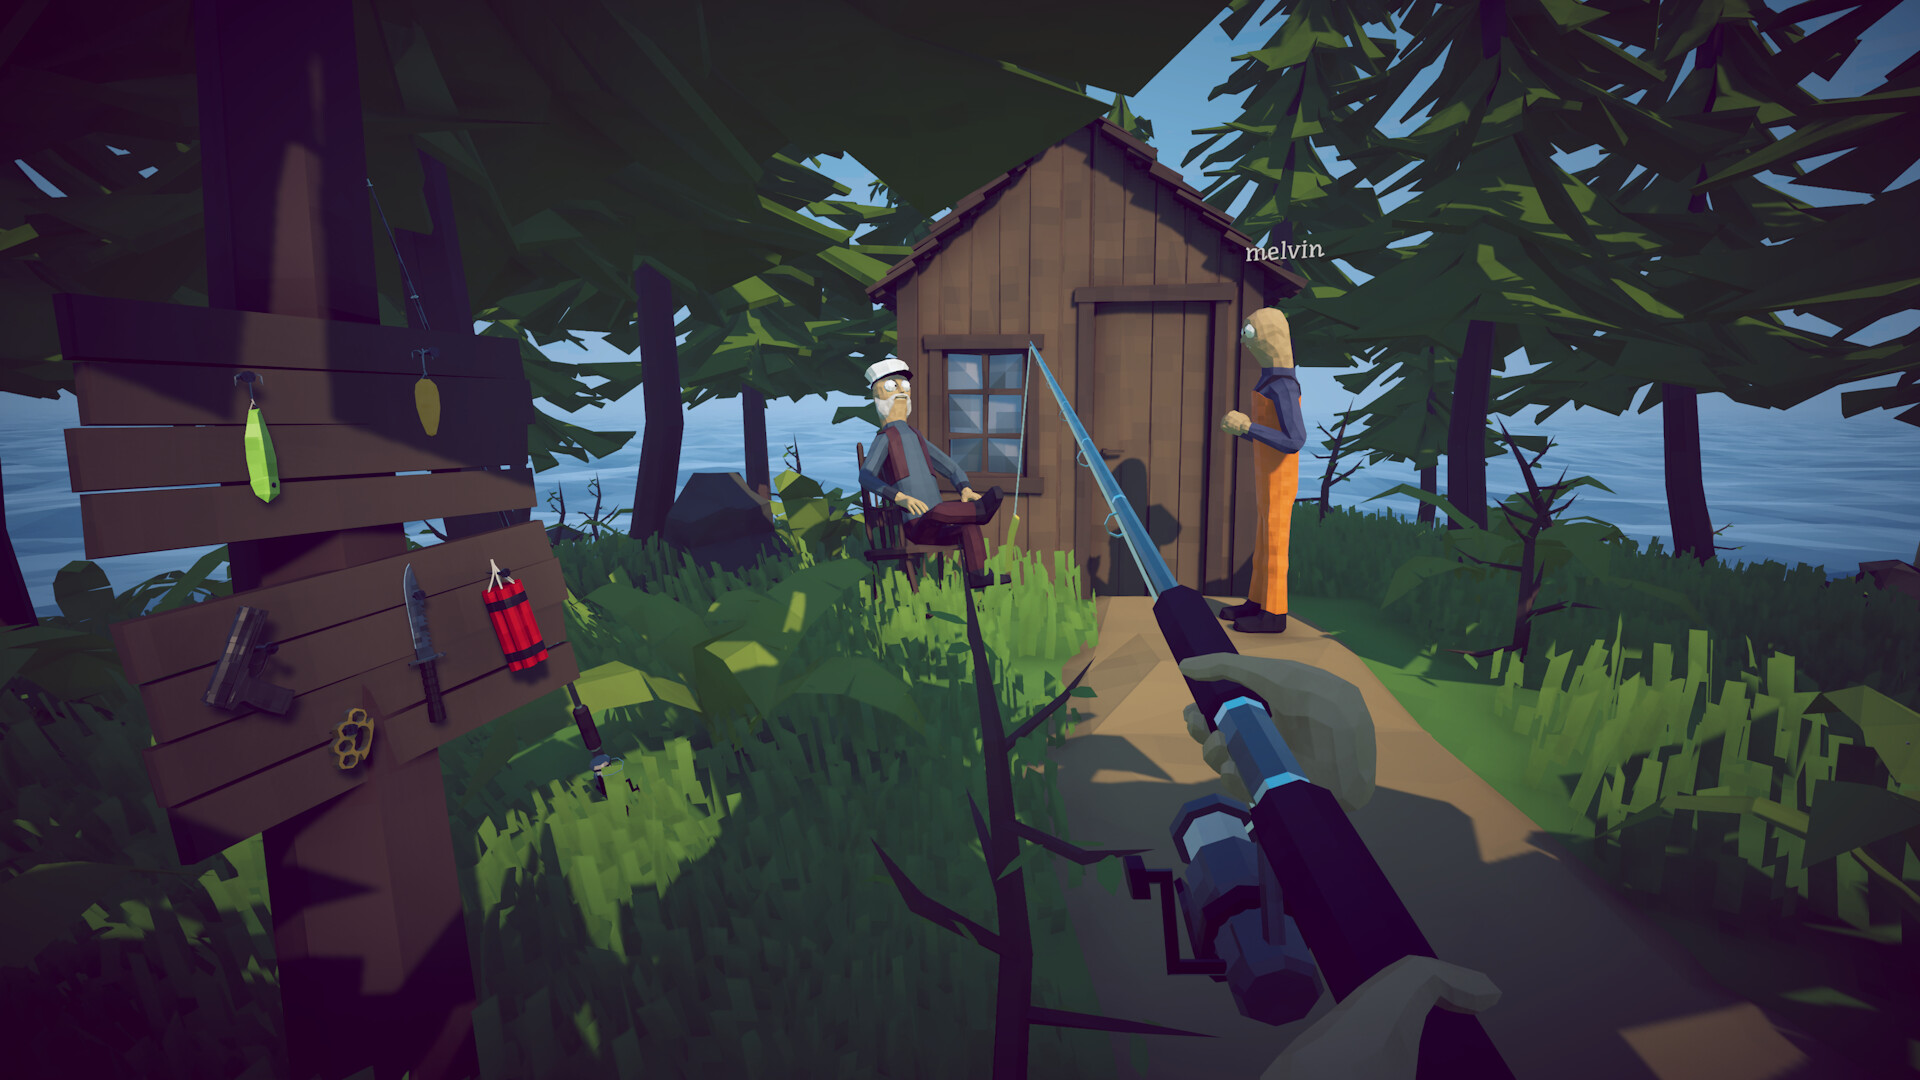
Game imagery: How to Fish by Dazed Games. Rights remain with the respective owners. Media and source notes.
Arrange the exchange before the fight
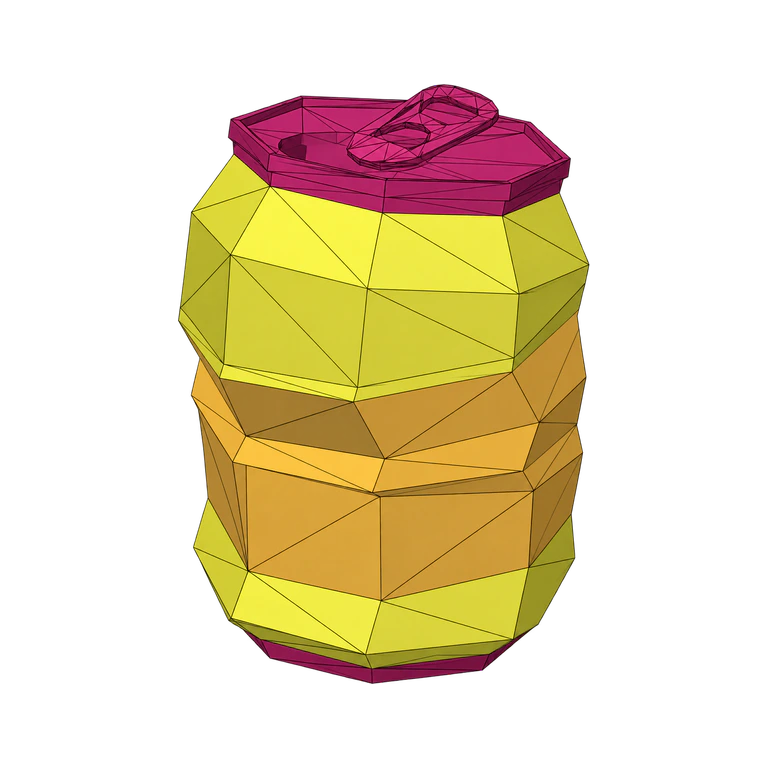
Visit the Lighthouse Keeper with a Beer. The item you need afterward is the Empty Beer Can: keep it for the Crab Fishing Rod instead of treating it as a spent consumable.
Leave room to carry the boss result and make sure your weapon is ready before attaching the can. Spending everything on optional equipment can leave the travel portion unfinished.
Move from bait to boat access
- Give the Beer to the keeper and collect the returned can.
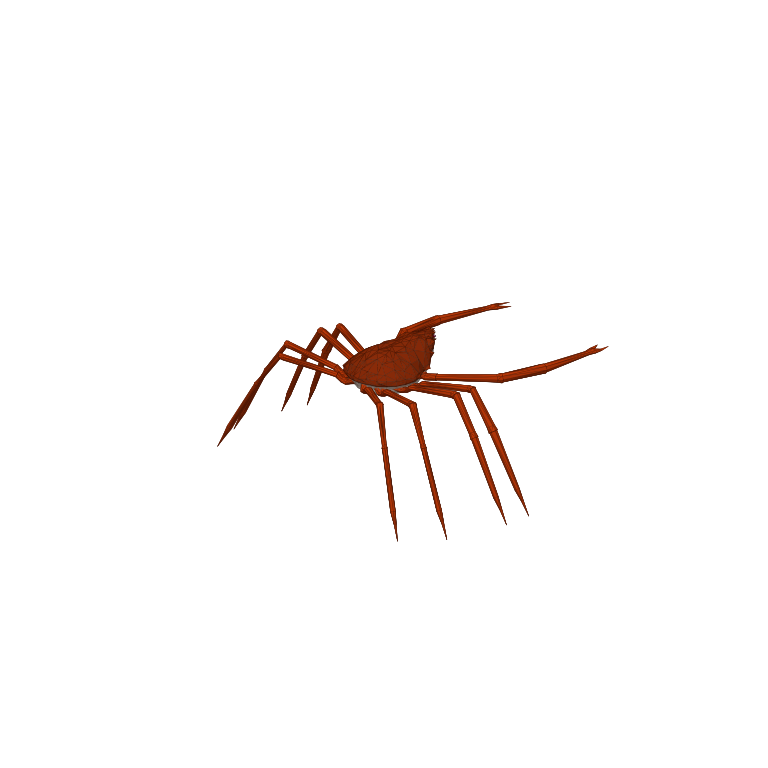
- Use the Empty Beer Can with the Crab Fishing Rod to start Spider Crab.
- Defeat the crab and pick up its distinctive shell.
- Bring that shell back to the keeper and take the Boat Keys.
- Obtain the Radar separately; the route baseline lists it at $10.
If the boat route is still unavailable
A defeated boss and a completed hand-in are separate states. Check that you carried the shell back, completed the conversation and collected the offered keys. Ordinary catch remains are not a substitute for the named quest item.
Once the exchange is complete, check your navigation equipment before sailing toward Forest. A missing Radar is a supply problem; repeating the boss does not buy one.
Identify which keeper exchange is unfinished
This quest has two useful conversations with the same contact. Before Spider Crab, the requested Beer leads to the Empty Beer Can. After Spider Crab, the shell leads to the Boat Keys. Arriving with the wrong object for the current conversation is therefore a different problem from failing the fight. Check the item and the exchange stage before collecting more ordinary catches or spending the remaining coins.
The returned can is the link between those conversations. Once you have it, preparing the correct rod and a dependable way to handle the catch are the next jobs. Once the shell is in hand, buying more bait is no longer the immediate solution. Take the shell to the keeper, finish the exchange and collect the keys offered by that interaction.
Keep the first budget tied to departure
The opening catches let you learn object handling and earn small amounts before committing to Spider Crab. Brown Crab and Shrimp belong to the default Crab Fishing Rod pool, with recorded bases of three and five coins. Rock Crab and Lobster use Hot Dog bait and have bases of seven and nine. These comparisons concern completed catches; they do not promise which one will appear next.
Set aside the separate ten-coin Radar expense rather than treating all money left after the fight as optional spending. For example, a balance of 25 coins would leave 15 after reserving ten for navigation, before any further purchases. That is a planning illustration, not the quest’s fixed total cost. Beer, equipment and supplies should be accounted for from the prices actually shown in your game.
Prepare the can and a clear working area
Check the rod label before attaching the Empty Beer Can. This is the Crab Fishing Rod encounter, not the ordinary Fishing Rod setup used by later fish pools. Keep the can out of loose sale stock while organising equipment. A neatly prepared weapon does not help if the crew has accidentally disposed of the special trigger before reaching the water.
Choose a place where you can move across the crab’s approach and recover its shell afterward. Clear unnecessary objects from that route and have recovery supplies accessible. The first successful story fight is a more useful goal than adding difficult bonus conditions. Once the creature commits to a rush, preserve your escape path and use the documented recovery opportunity instead of standing still to force extra damage.
Separate a lost shell from a missing Radar
If Spider Crab is defeated and the quest still seems unfinished, inspect the fight area and the cargo carried to the keeper. The distinctive shell is the relevant result. Ordinary Brown Crab remains or a similarly named creature do not stand in for it. In a group, check whether someone moved the shell during cleanup before assuming that the whole encounter must be repeated.
If the shell exchange is complete and the Boat Keys are present, move to the navigation check. The Radar is obtained separately; another shell delivery does not purchase it. If an interaction differs from this older route, follow the active in-game prompt and record the discrepancy. Do not delete a save or discard the keys merely because a website checkbox is still unticked.
Finish the opening with a Forest plan
Before sailing, collect the equipment and food you mean to take, confirm the keys and Radar, and identify the Forest route. Leave no required tool behind in the boss working area. The useful stopping point for this quest is a prepared boat departure, rather than the moment Spider Crab loses its health bar or a personal checklist records a completed fight.
Forest introduces a different task: three ground Leeches exchanged for Leech Bait. The keeper’s can does not replace that next island’s trigger. Read Dinnertime when deciding what to do after arrival, and keep optional Lighthouse collection separate from the travel unlock. Returning later for a missing ordinary creature is a collection visit, not evidence that the first story quest was left incomplete.
Guide images
View 3 related images