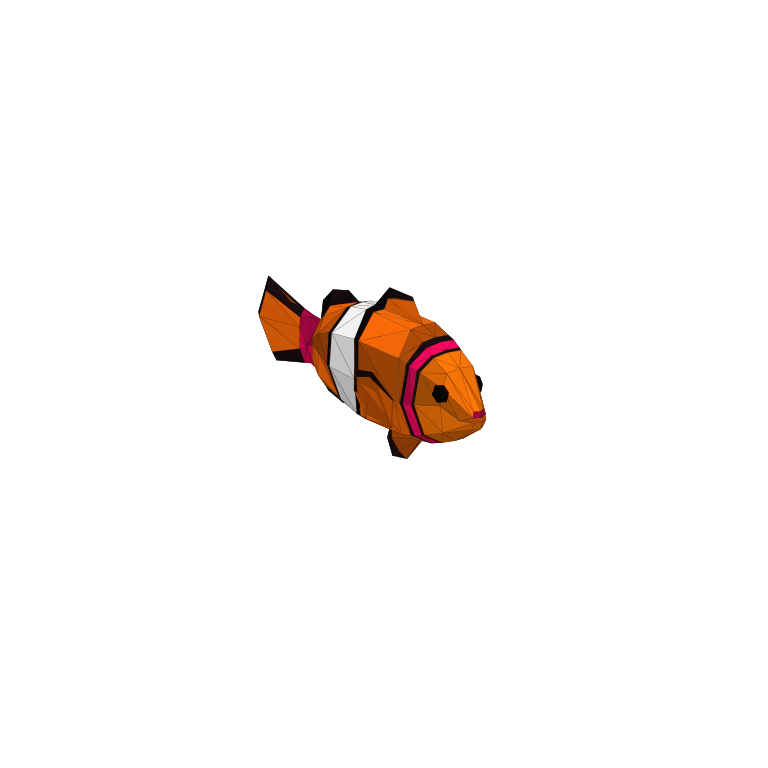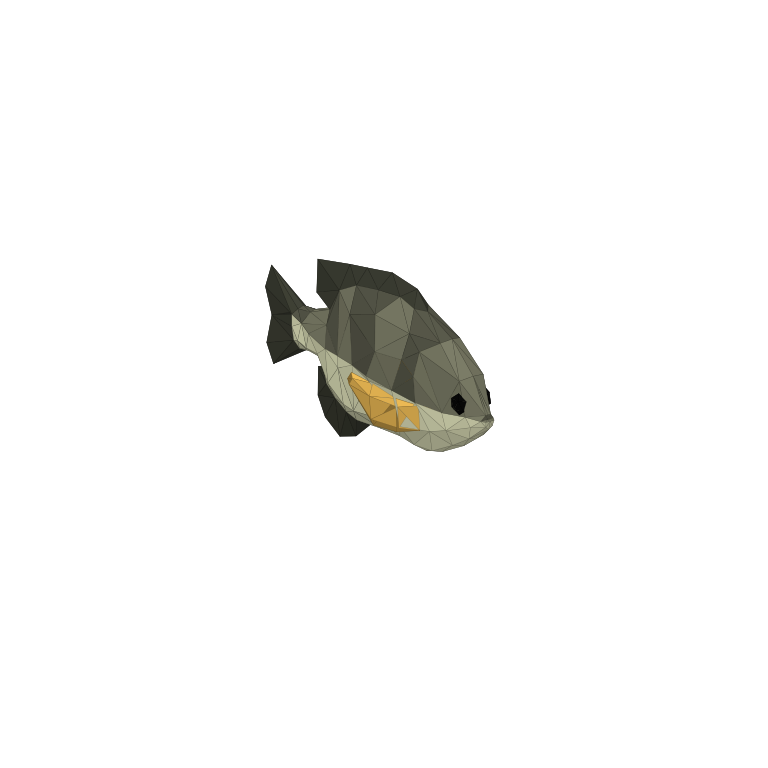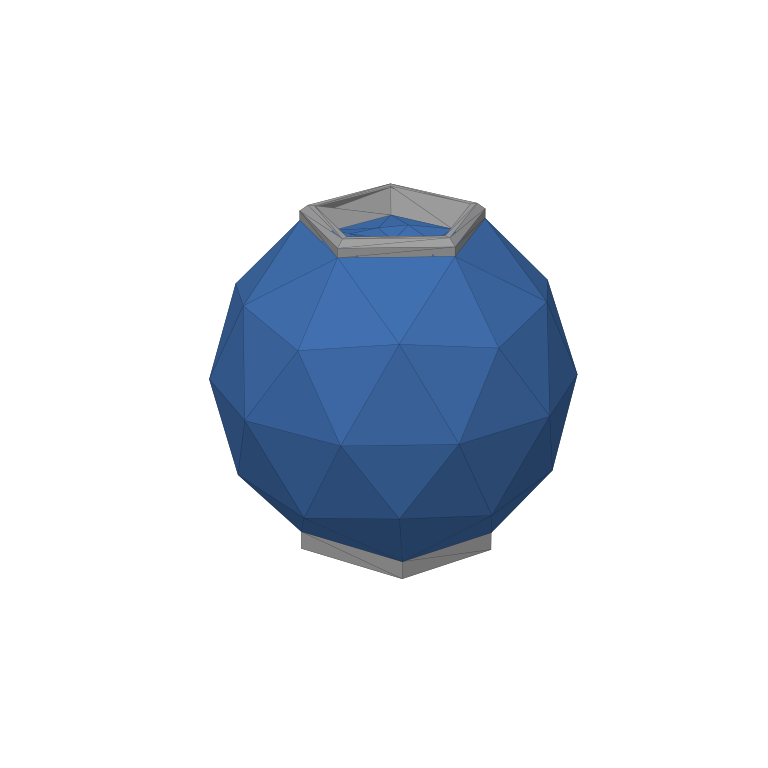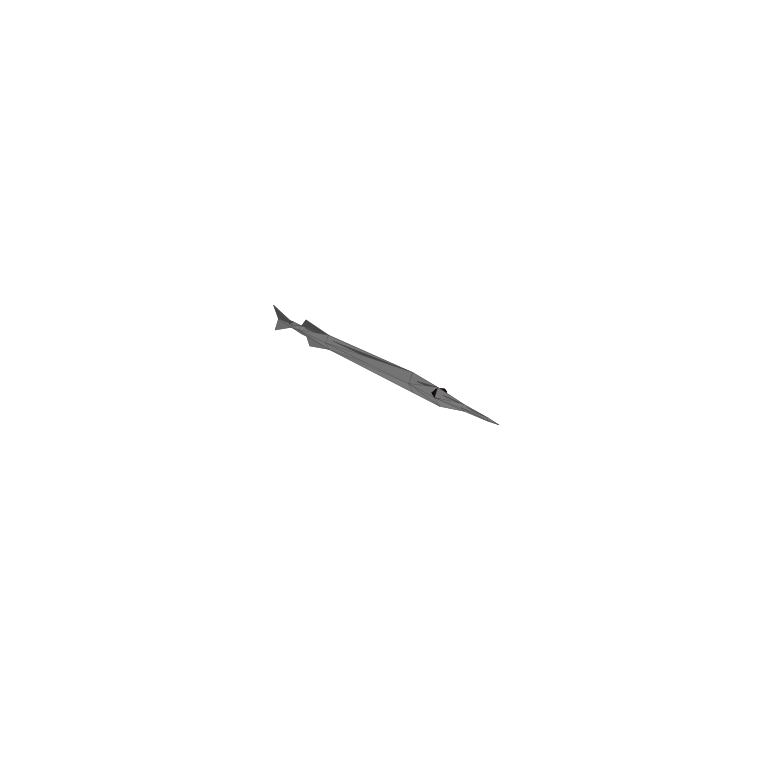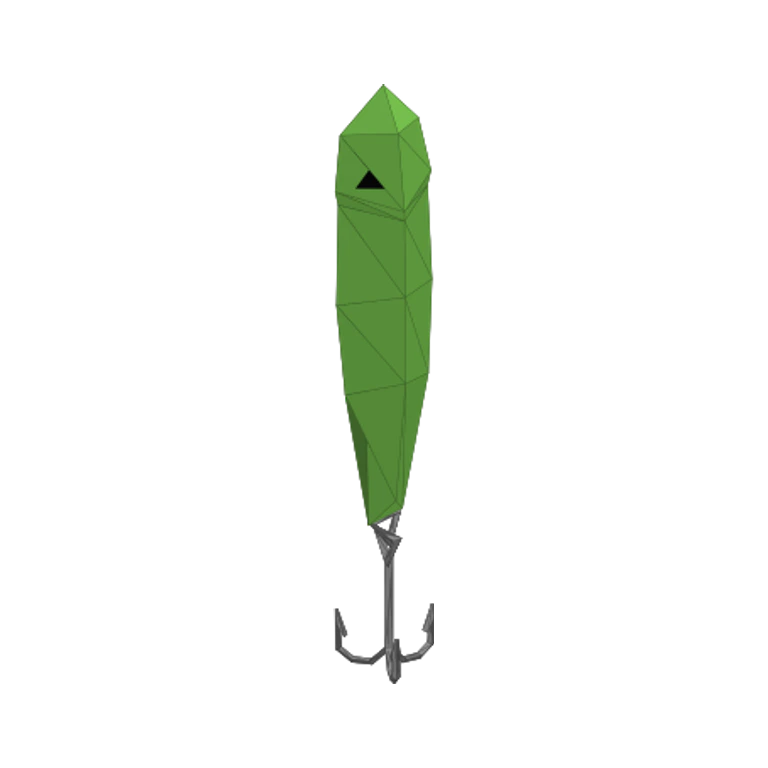
- Radar marker
- Yellow
- Story trigger
- Carrot
- Required trophy
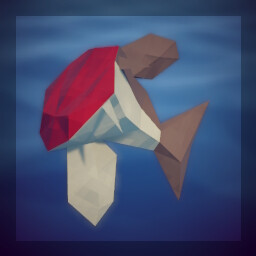
- Pufferfish fin
- Next destination
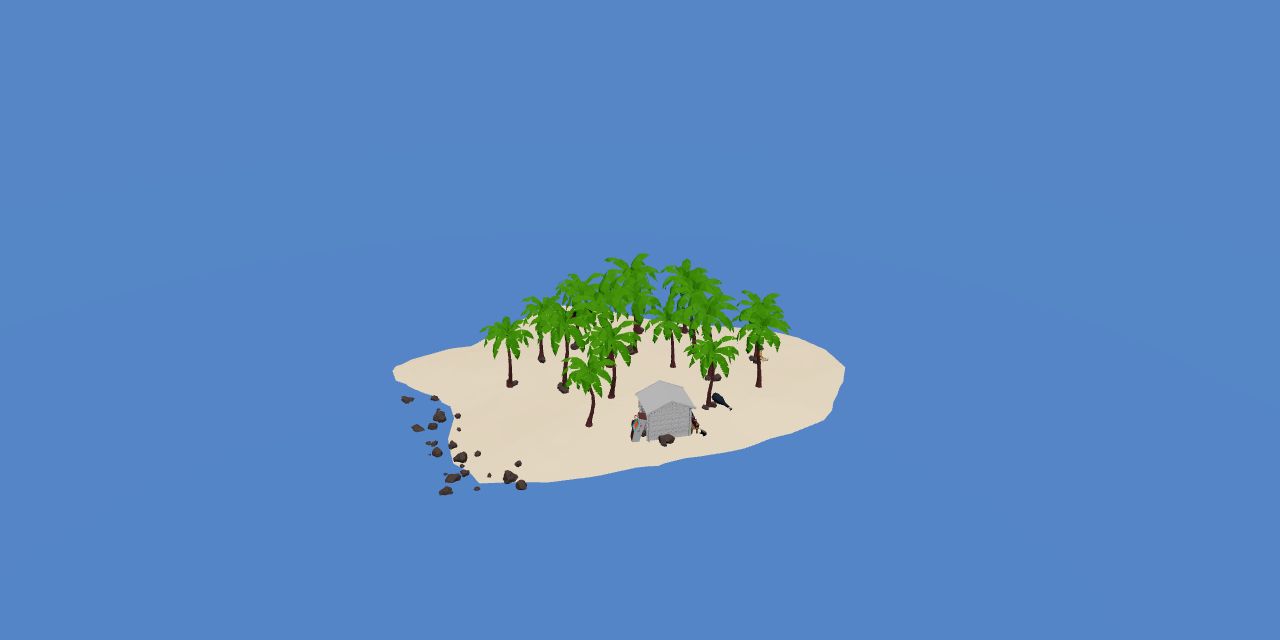
- Rocks Island
Game version and evidence: Known route coverage: Patch 1.0.10. These guides organise the site’s reviewed game facts; they do not claim a fresh playthrough of every later patch. Follow your current quest dialogue if a requirement differs.
Game imagery: How to Fish by Dazed Games. Rights remain with the respective owners. Media and source notes.
Bring the Tourist an accepted catch
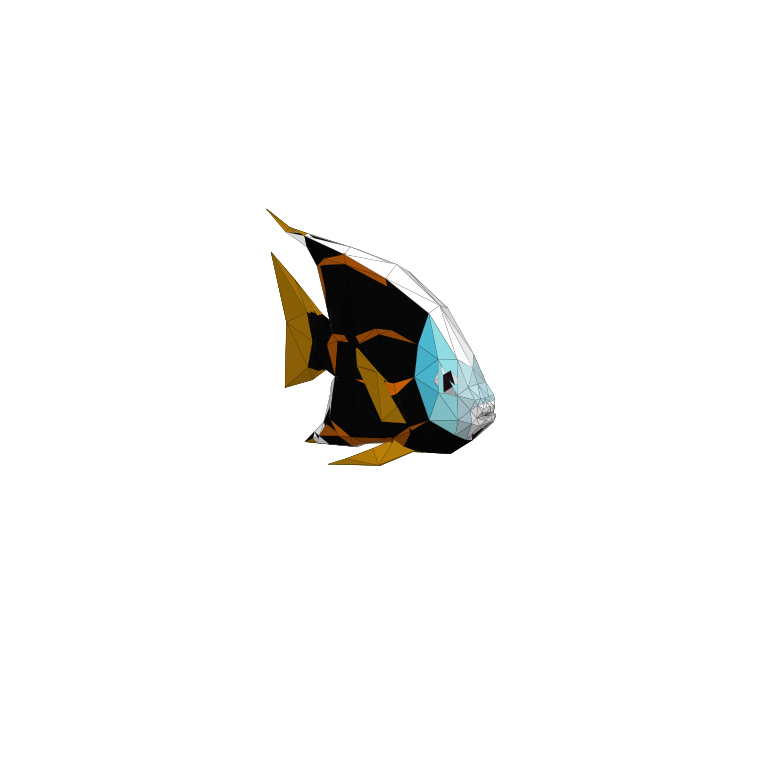
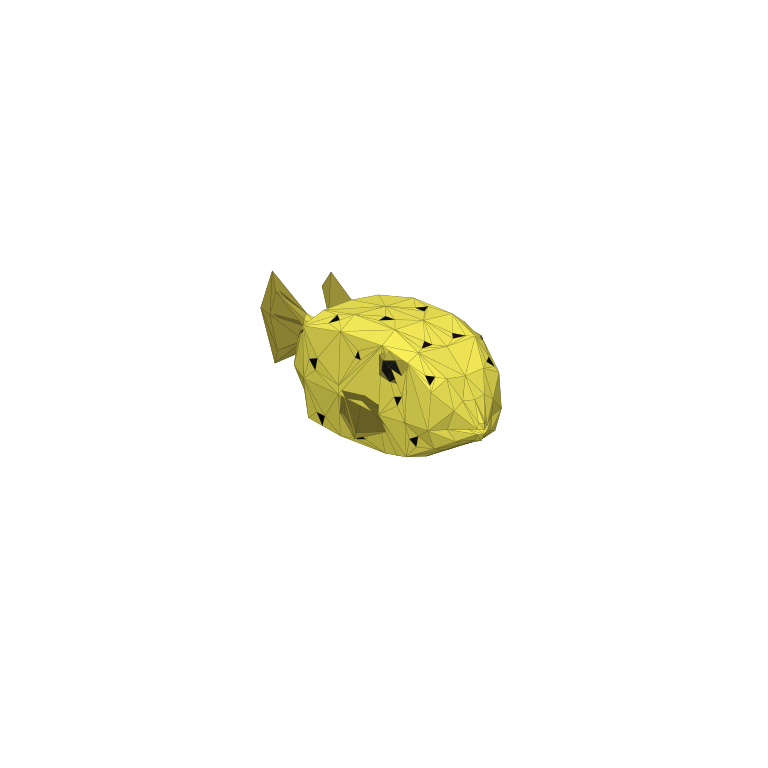
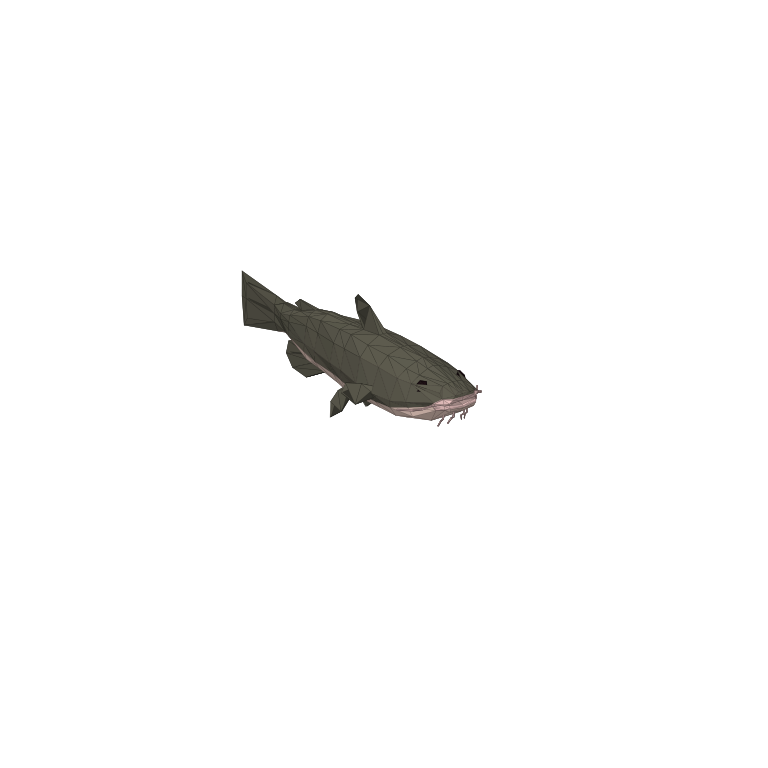
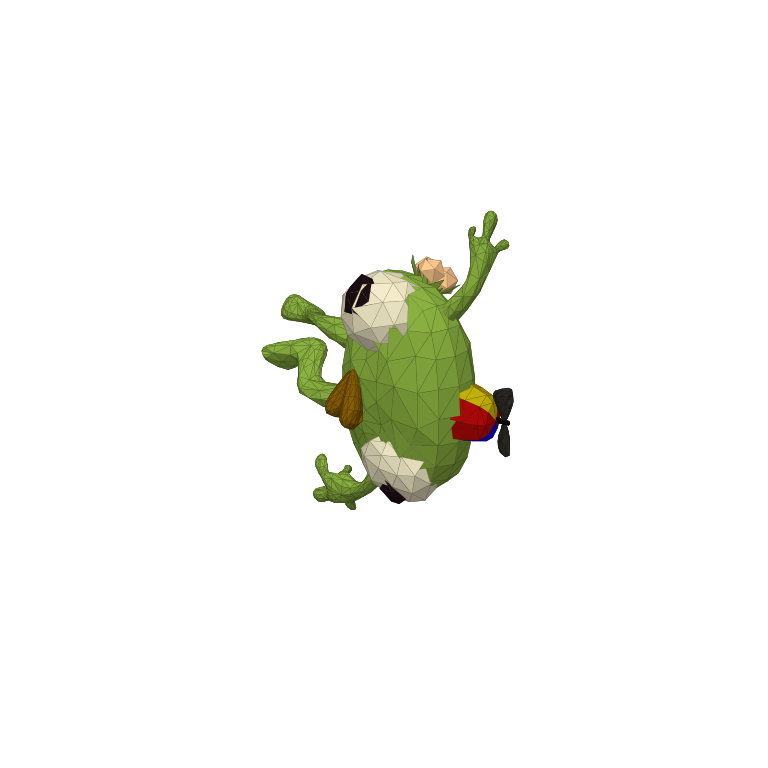
Desert opens after the Forest trophy hand-in. Here the main route starts with a trade, not a boss lure purchase. Use the Standard fishing pool to obtain a catch the Tourist accepts, such as Needlefish or Seahorse, and take it to the Tourist under the tree.
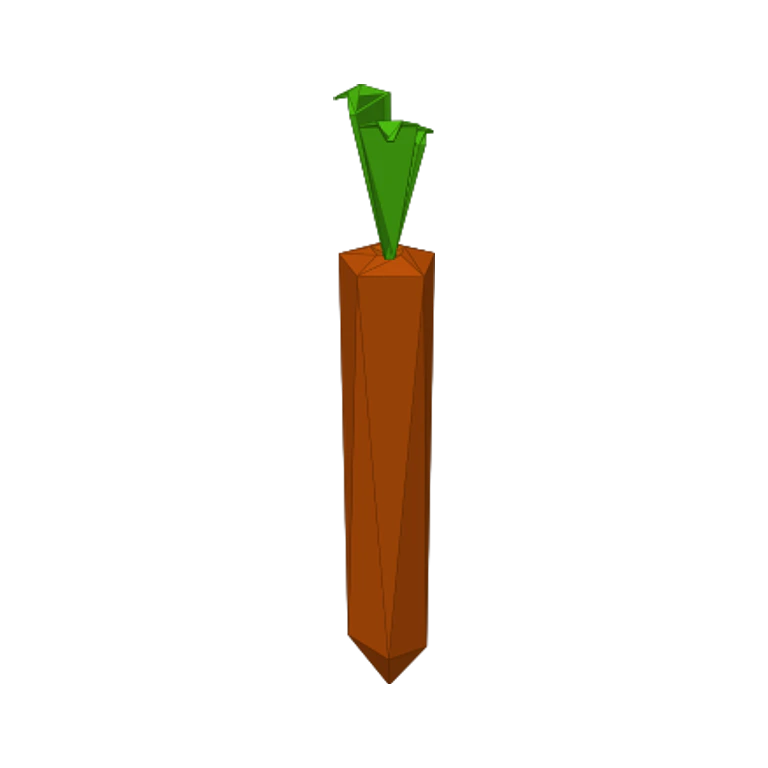
Set this catch aside from your sale pile until the dialogue confirms the exchange. You receive a Carrot, which is the Pufferfish encounter bait. Keep it reserved while you prepare the fight instead of treating it as spare food.
Make space for the charge
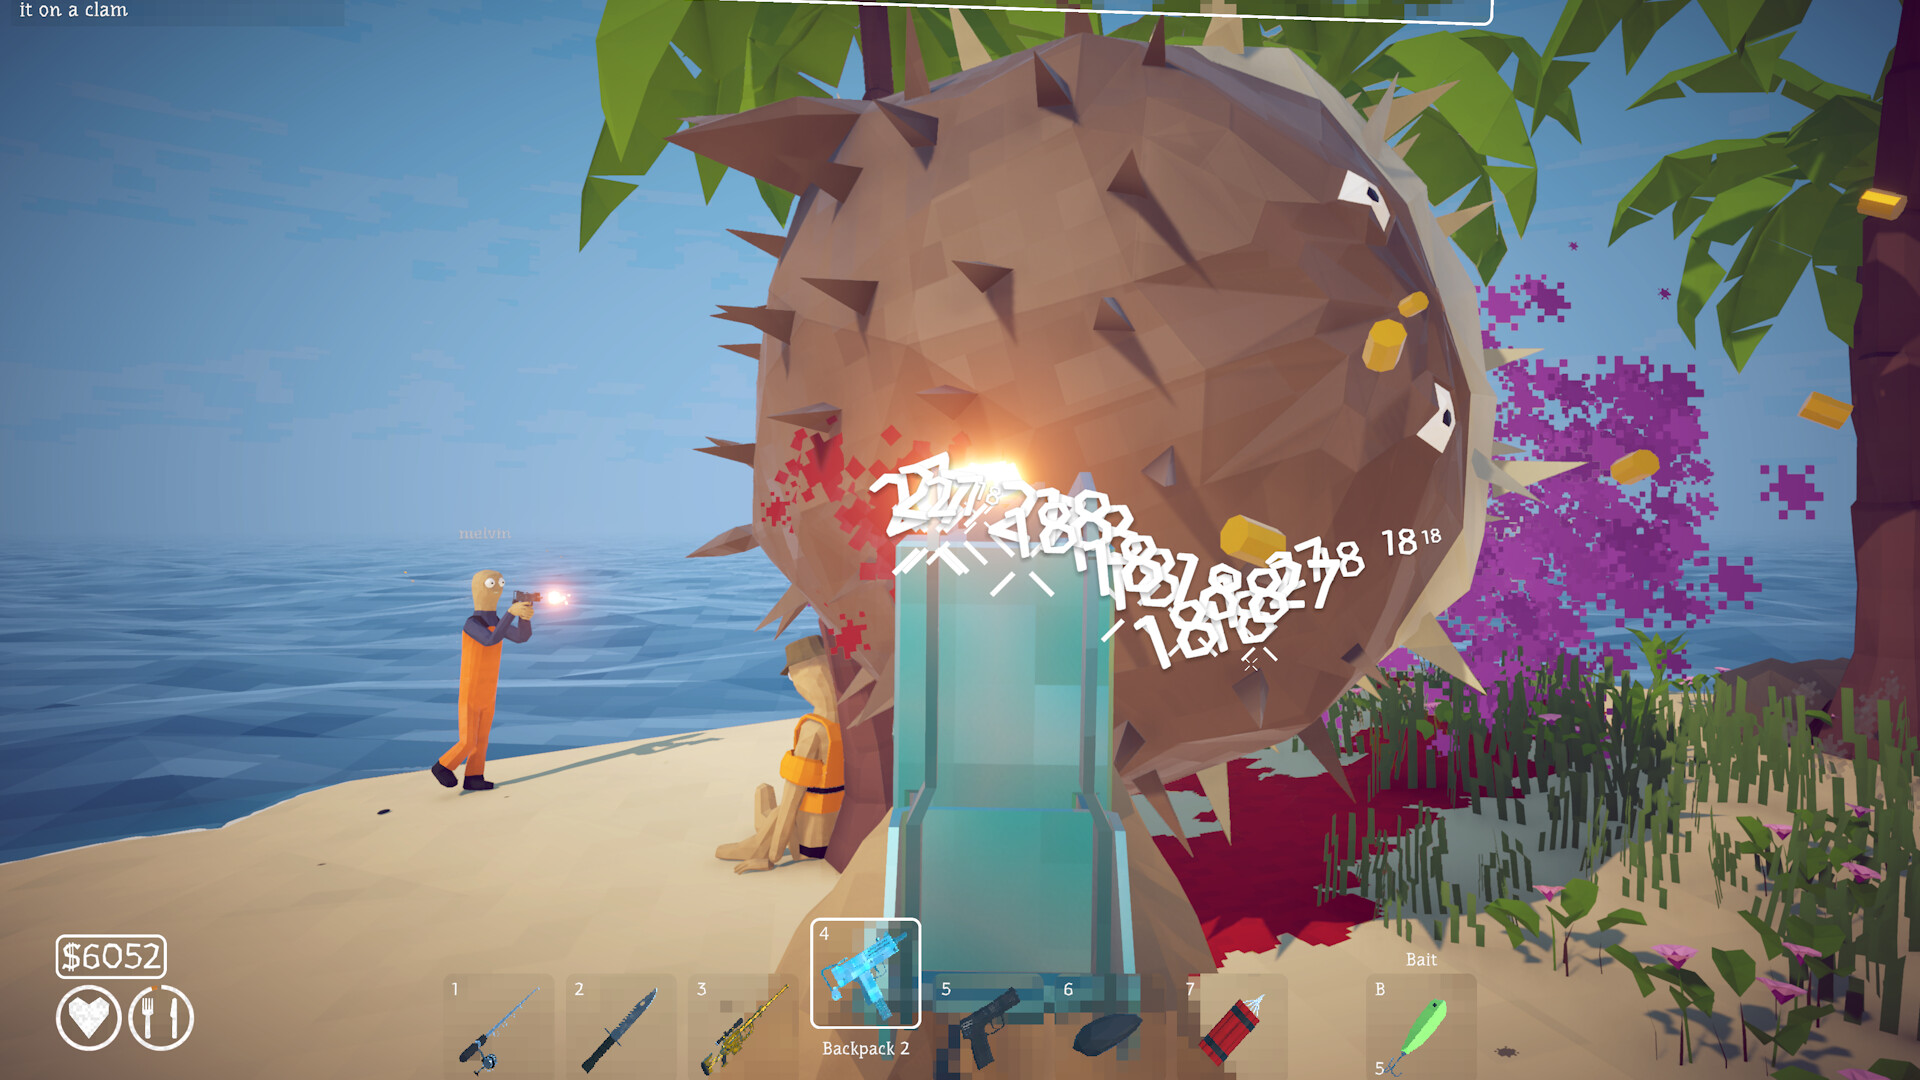
Prepare ranged damage and healing before using the Carrot. Look for ground where you can move across the boss’s approach without getting caught against scenery. Running directly away from a charge gives you fewer choices than keeping a lateral escape available.
Use the recovery after a missed attack to deal damage, then reset your position. Once Pufferfish is defeated, locate the fin and protect it during the trip back. The story exchange needs that item; a boss defeat alone does not reveal the next route.
Keep the Grillmaster route distinct
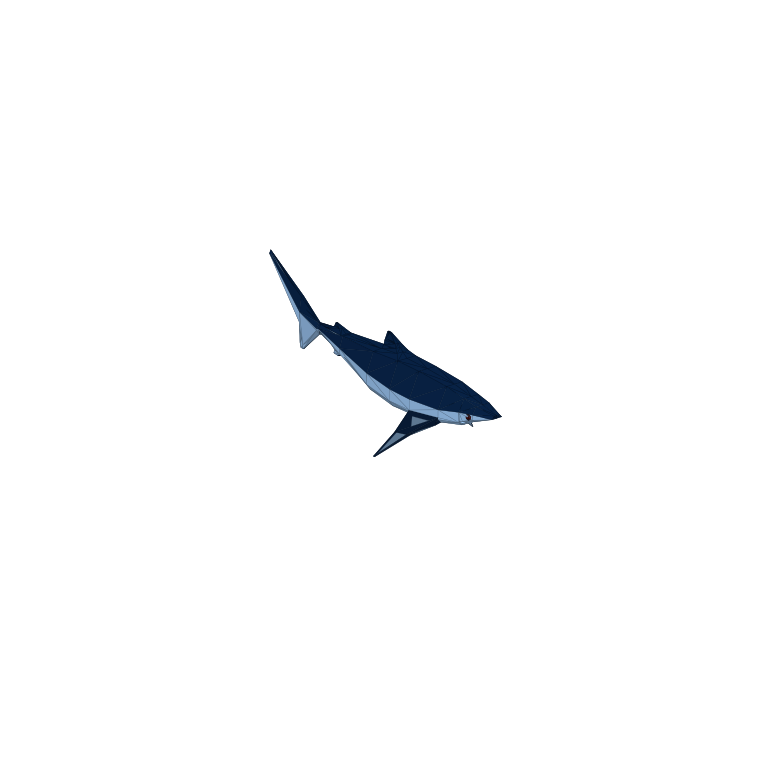
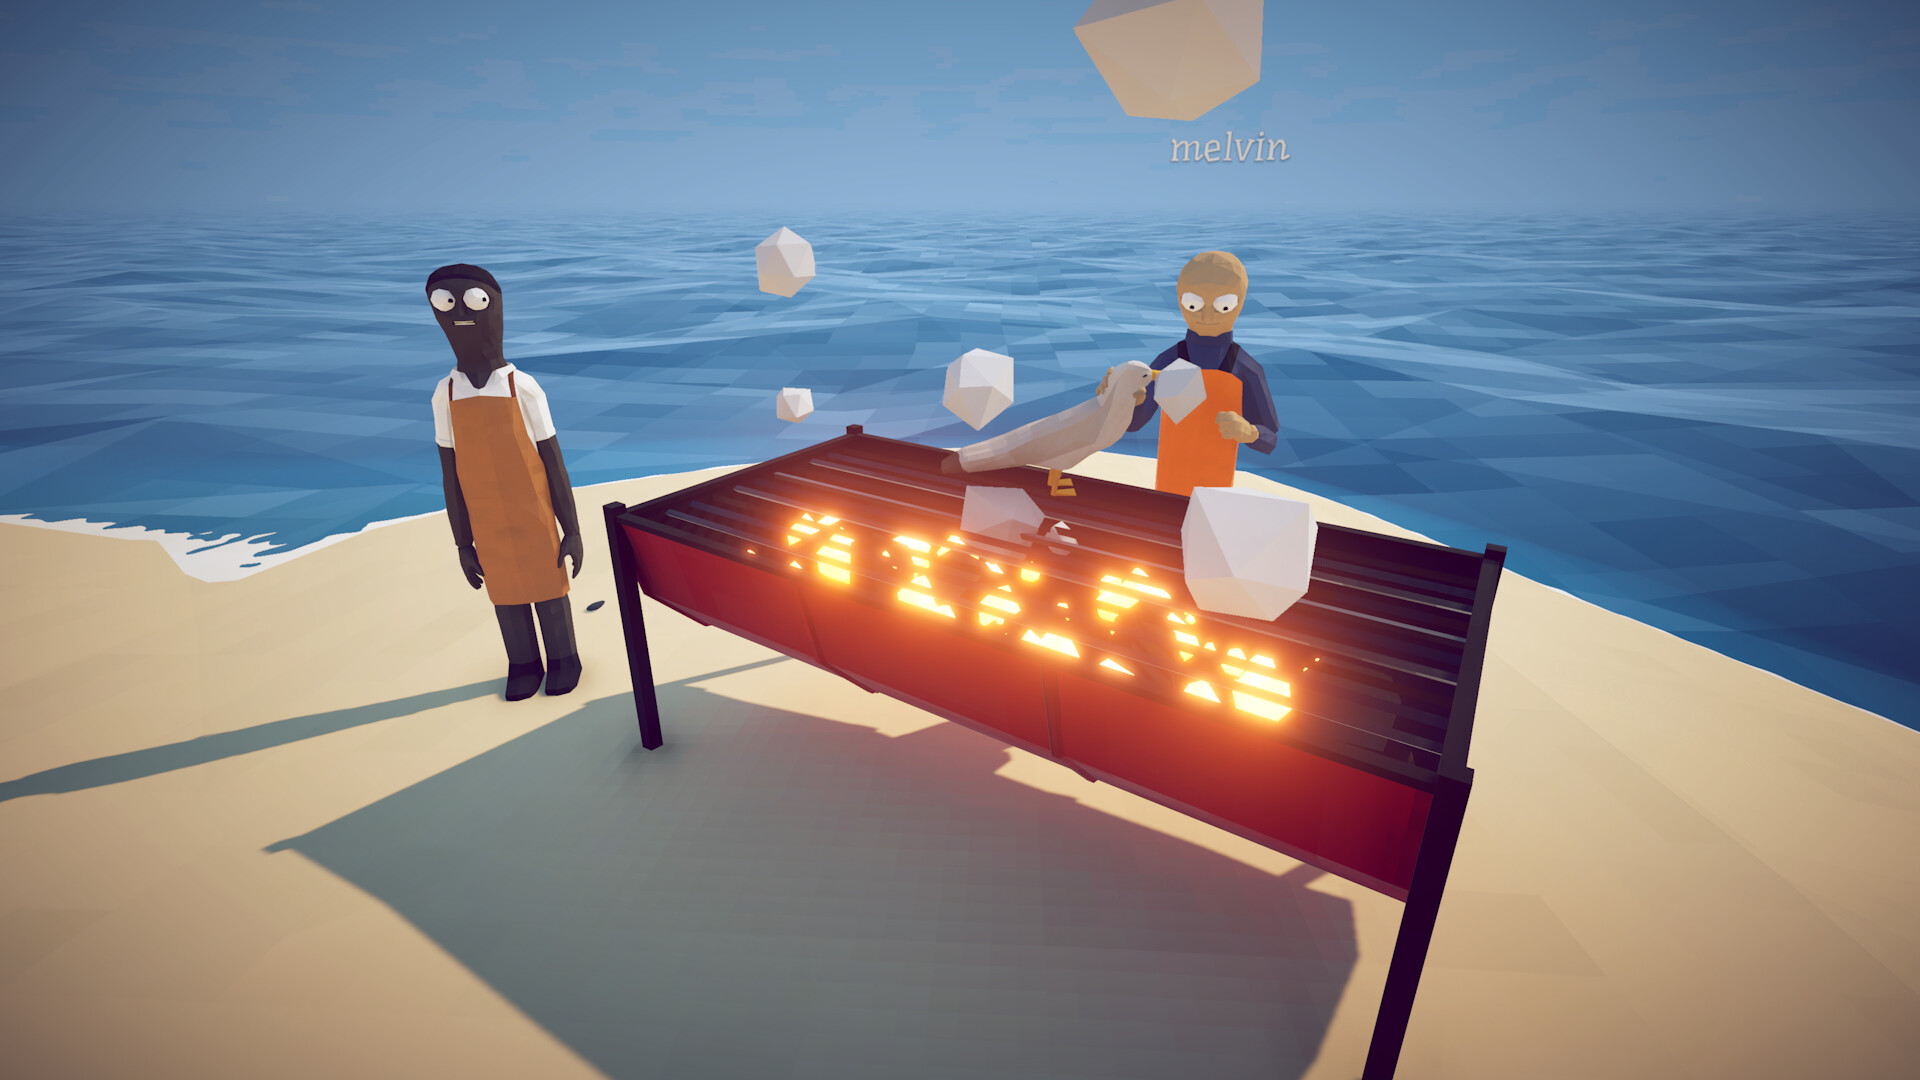
Blue Shark provides a separate Desert objective connected to the Grillmaster and cooking. The reviewed Standard Boss Lure price is 280 coins, so include weapons and healing in the budget before buying an attempt.
Cooking can make later preparation more comfortable, but the Rocks unlock belongs to the Pufferfish fin hand-in. If you have completed the Grillmaster delivery and still cannot continue, return to the Tourist’s story chain rather than buying another shark lure.
| Route | Trigger or delivery | Purpose |
|---|---|---|
| Main story | Accepted catch → Carrot → Pufferfish fin | Unlock Rocks Island |
| Grillmaster | Blue Shark delivery | Unlock cooking |
Reserve a candidate before the next sale
Needlefish and Seahorse are the accepted Tourist examples in the documented route. Both appear in the Standard tier, whose regular lure costs 15 coins in the historical table. That is a reason to read the request before clearing ordinary catches. A candidate already in the pile may complete the exchange without another purchase, while selling it first can create an unnecessary return to fishing.
Eligibility is not established by a high sale price, a colorful appearance or the word rare in an unrelated collection context. Compare the actual creature name with the Tourist’s current request. Seahorse also appears in a later Professional pool, but that overlap does not mean you must leave Desert to obtain the trade. Start with the local recorded setup and the object currently available.
Put each optional purchase on a separate budget line
The main quest obtains a Carrot through a trade rather than through either of the paid boss-lure tiers. Blue Shark uses the 280-coin Standard Boss Lure for its dedicated encounter and cooking delivery. Coconut has a recorded 350-coin cost and is associated with the optional Bing Bong catch. A player seeking the Rocks unlock should not assume that either optional purchase replaces the Carrot.
For a simple comparison, four Standard Lure purchases at 15 coins total 60 coins before weapons, food or other supplies. That arithmetic does not promise four catches or establish the chances of an accepted trade fish. Decide on a supply limit, check the catches already available and retain a candidate when it appears. Evaluate the optional shark or Coconut visit after preserving the resources needed for the story fight.
Use two distinct delivery piles
The Tourist chain and Grillmaster chain can be active during the same visit, but they require different objects. The Carrot becomes the Pufferfish trigger and the fin goes back into the story hand-in. Blue Shark’s defeated body belongs to the cooking unlock. Label those destinations in your own notes or tell the crew before anyone carries an object towards a shop or grill.
Cooking access can support later preparation, but learning the grill with a reserved quest object creates a new problem while solving an optional one. Use replaceable ordinary catches to learn the cooking interaction. Once the shark delivery is finished, check the grill and its achievement separately from the red Rocks marker. Neither observation substitutes for the other.
Keep the fight plan connected to the fin delivery
Arrange a movement loop and supplies before using the Carrot. The recorded Pufferfish advice is to move across a committed charge and use the recovery after a miss, while respecting the space affected by poison. It is not a guarantee of a fixed attack sequence or a measured safe interval. Favor a view that lets you see the approach and the ground you intend to use for the next movement.
After the kill, identify and reserve the fin immediately. If you plan to restock before the Tourist visit, make sure the fin cannot be included in a batch sale. The useful completion check is an accepted hand-in and the red destination, not merely a remembered kill. In co-op, one person can finish that delivery while the others collect routine supplies for departure.
Use the missing item to choose the recovery step
No Carrot means you should inspect the trade, the accepted creature and any uncollected reward. A Carrot without a completed boss points to encounter preparation. A defeated Pufferfish without the next route points to the fin or its hand-in. Grill access without Rocks is consistent with finishing only the side quest. These are different states, so repeating Blue Shark because it was the last successful encounter is not a useful default.
Before sailing, confirm the red marker, recover the equipment you intend to carry and read the two-fight Rocks chain. Its Professional Boss Lure reference is much more expensive than the Desert regular tier, and the resulting Tuna must be kept for a second encounter. Desert’s best departure preparation is therefore a completed story exchange and an intact supply reserve, rather than spending every remaining coin on optional collection.
Explore the island in 3D
Rotate the original island model, zoom in on the terrain, or open the viewer in its own tab.
Load the 3D island viewer
Guide images
View 25 related images